8 delete area codes, 10 pbx line access code programming, 11 touch-tone dialing pause – DoorKing 1833 PC Programmable User Manual
Page 44
1835-065-E-7-13
42
This program sequence deletes area code numbers that have been programmed into the system. Refer to section 3.2.2. for
programming on step 2 or 2A.
3.5.8 Delete Area Codes
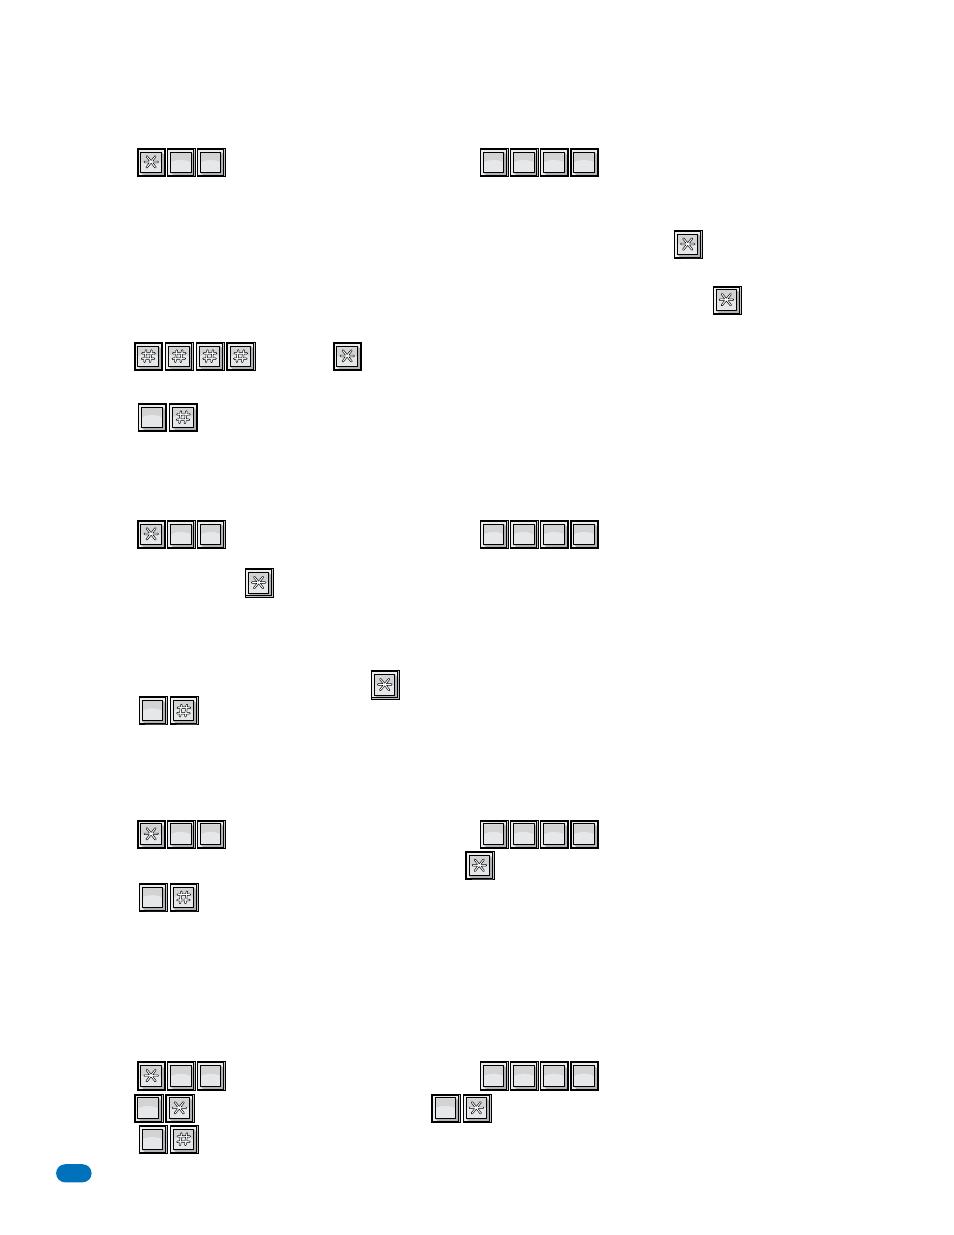
1. Press and enter your four-digit MASTER CODE (beep).
“Up to 10” programmed, LCD display on the 1834, 1835 and 1837 systems will read: 0 – 9 AAC POINTER
“Up to 255” programmed, LCD display on the 1834, 1835 and 1837 systems will read: 000 – 254 AAC POINTER
2. Enter the single-digit area code pointer (0 – 9 when set for up to 10 area codes), then press (beep).
The LCD display will read: 4 DIGIT AREA CODE
2A.Enter the three-digit area code pointer (000 – 254 when set for up to 255 area codes), then press (beep).
The LCD display will read: 4 DIGIT AREA CODE
3. Enter , then press (beep).
4. Repeat steps 2 or 2A and 3 to delete additional area codes.
5. Press together to end this programming sequence (beeeeeep).
??
??
??
??
44
GHI
GHI
22
ABC
ABC
00
OPER
OPER
Use this programming sequence to display phone numbers programmed under known directory codes, i.e. if you wanted to see
what phone number was programmed under directory code 271. This programming sequence WILL NOT allow you to delete the
phone numbers that are displayed.
3.5.9 Display Phone Numbers - 1834, 1835 and 1837 Systems Only
1. Press and enter your four-digit MASTER CODE (beep).
2. Enter the existing directory code (section 3.5.2 or 3.5.4) that the phone number has been assigned to (1, 2, 3 or 4 digits,
section 3.5.1), then press (beep).
The phone number programmed under the directory code that was just entered will be displayed on the LCD screen.
-
If C C C C C C C is displayed - this indicates that NO phone number has been programmed under the entered directory code.
-
If the first digit is flashing - this is the area code reference code and indicates that the number displayed is a long distance
or 10-digit number.
3. To display additional phone numbers, press and repeat step 2 or proceed to step 4 to end programming.
4. Press together to end this programming sequence (beeeeeep).
??
??
??
??
66
MNO
MNO
00
OPER
OPER
00
OPER
OPER
If the telephone entry system is connected to a PBX telephone system rather than a dedicated C.O. line, you may need to set
the unit to dial a line access code prior to dialing the resident phone number. Typically, the line access code is “9”, but check
with the PBX system administrator to be sure.
3.5.10 PBX Line Access Code Programming
1. Press and enter your four-digit MASTER CODE (beep).
2. Enter the single-digit line access code number, then press (beep).
3. Press together to end this programming sequence (beeeeeep).
Note: To change a line access number, enter the correct number in step 2. To delete a line access number, enter # in step 2.
??
??
??
??
99
WXYZ
WXYZ
00
OPER
OPER
00
OPER
OPER
During touch-tone dialing, the system (by default) places a 2 second pause after dialing a line access code (9 in a PBX system
for example) and after the area code. For example: 9 (2 second pause) 1310 (2 second pause) 6450023
The 2 second pause can be removed by programming 0 into the steps below. In this example, the system would simply dial out
the line access code (9), area code (1310) and phone number (6450023) without any pauses. 913106450023
Factory setting is 1 (pause ON).
3.5.11 Touch-Tone Dialing Pause
1. Press and enter your four-digit MASTER CODE (beep).
2. Enter (beep) to turn the pause OFF, or enter (beep) to turn the pause ON.
5. Press together to end this programming sequence (beeeeeep).
??
??
??
??
77
PQRS
PQRS
22
ABC
ABC
00
OPER
OPER
00
OPER
OPER
11
SP
SP