Datamax-O'Neil M-Class Mark II Operator’s Manual User Manual
Page 55
Chapter 5 – Maintenance and Adjustments
49
Automated Printhead Cleaning
(Display-equipped printers, only)
1. Remove media and ribbon.
2. Place a Datamax-O’Neil Cleaning Card, part number 70-2013-01 under the printhead. Lower
and lock the printhead. Ensure that the Media Width Adjustment is not engaged.
3. Press and hold the TEST Key for approximately four seconds.
The printer will begin the cleaning routine.
4. In cases of heavy build-up, or if high heat values are typically used for printing, flip the card
over and repeat Step 3.
5. Reinstall your ribbon and media (if necessary, readjust the Media Width Adjustment, see
Section 5.3). Lower and lock the printhead. Close the cover.
5
5
5
.
.
.
3
3
3
M
M
M
e
e
e
d
d
d
i
i
i
a
a
a
W
W
W
i
i
i
d
d
d
t
t
t
h
h
h
A
A
A
d
d
d
j
j
j
u
u
u
s
s
s
t
t
t
m
m
m
e
e
e
n
n
n
t
t
t
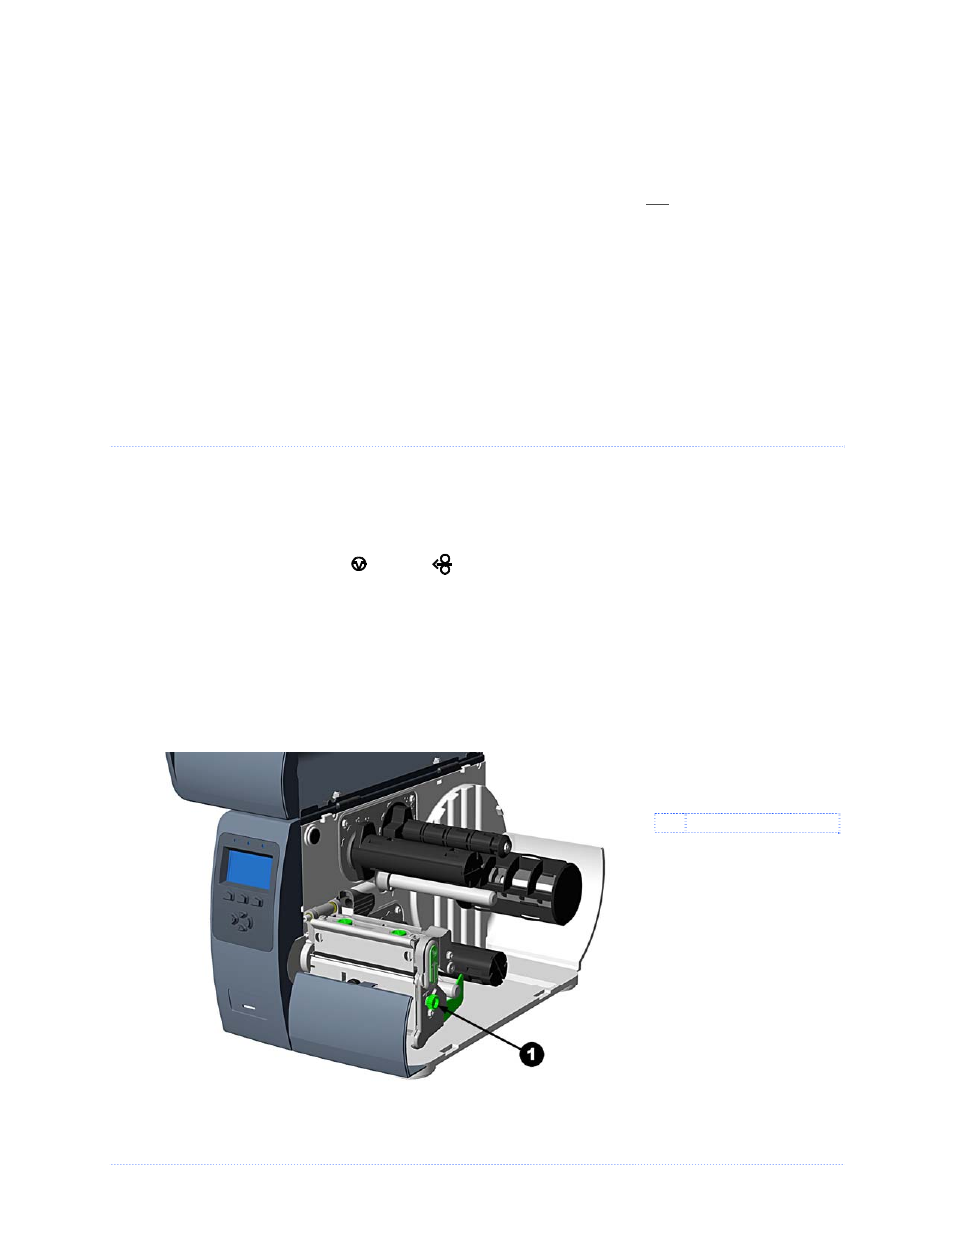
When printing on less than full width media, adjust for even pressure distribution, as follows:
1. With media loaded in the printer, print a label and examine it.
Non-display printers:
Simultaneously press the
PAUSE
+
FEED
buttons
Display-equipped printers:
See Section 4.4
2. While observing the printed labels, loosen the Thumbscrew 1/4 turn. This keeps enough
tension on the screw preventing the thumbscrew from slipping from the desired position while
still allowing for adjustment. Slide the thumbscrew to the left most position, (see Example 1,
below).
3. Next, move the Thumbscrew to the right for each printed test label until the labels contain a
complete, even image (see Example 2). Tighten the Thumbscrew.
Thumbscrew