Eleting, 2 data deleting – Autel Autolink AL609 User Manual
Page 61
59
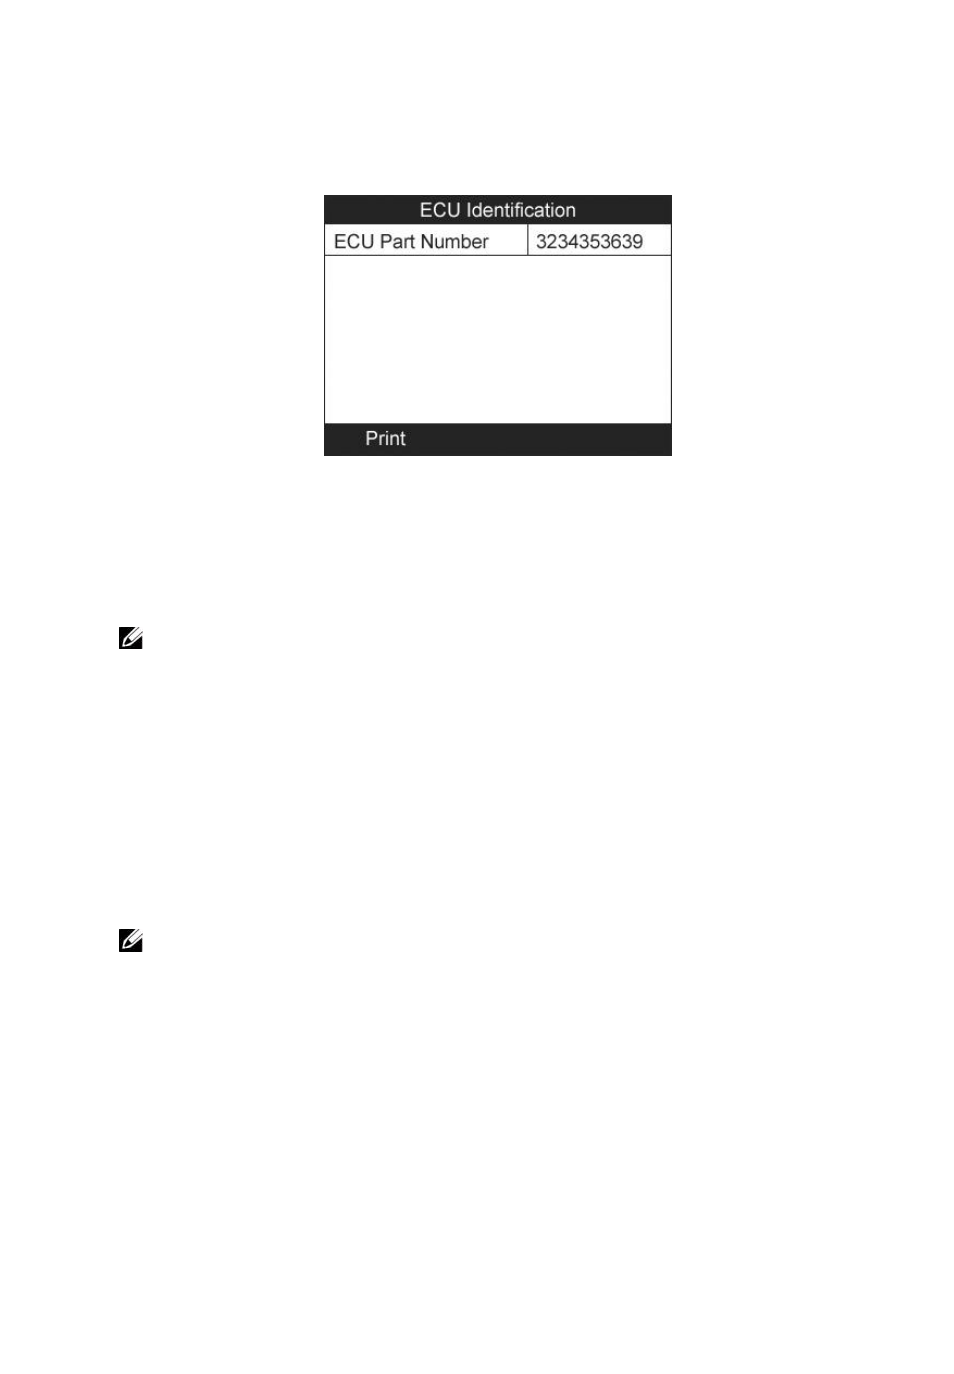
3) Use the UP/DOWN scroll button to select the desired item for
detailed information from the OBDII menu or the ABS menu,
and press the OK button to continue.
Figure 6.3
4) Select Print to upload the recorded data to your computer for
printing, or press the ESC button to exit.
NOTE: For operation details of data printing, see 7.1 Print
Data.
6.2 Data Deleting
By selecting Delete on the data screen users can erase the selected
data on the scan tool. Review the recordings thoroughly before
erasing. Users can also erase all recordings by select Delete All.
(Figure 6.2),
NOTE: Don’t use Delete All unless you are definitely sure
what you are going to proceed.