Control buttons, Button icons, Front panel operations – Extron Electronics DXP Series User Manual
Page 20: Power, Dxp 8 8 ve r x . xx, Dxp 8 8 extron
3-3
Digital XPoint Matrix Switchers • Operation
Control buttons
4
Enter button
— The Enter button saves changes when you set up a new
configuration. To create a simple configuration, press the desired input
button
1
, press the desired output button(s)
2
, and press the Enter button.
5
Preset button
— The Preset button saves a configuration as a preset or recalls
and makes current a previously defined preset. The Preset button indicates
the save preset mode when it is blinking and the recall preset mode when it
lights steadily.
Button icons
The translucent covers on the pushbuttons can be removed and replaced to insert
labels behind the covers.
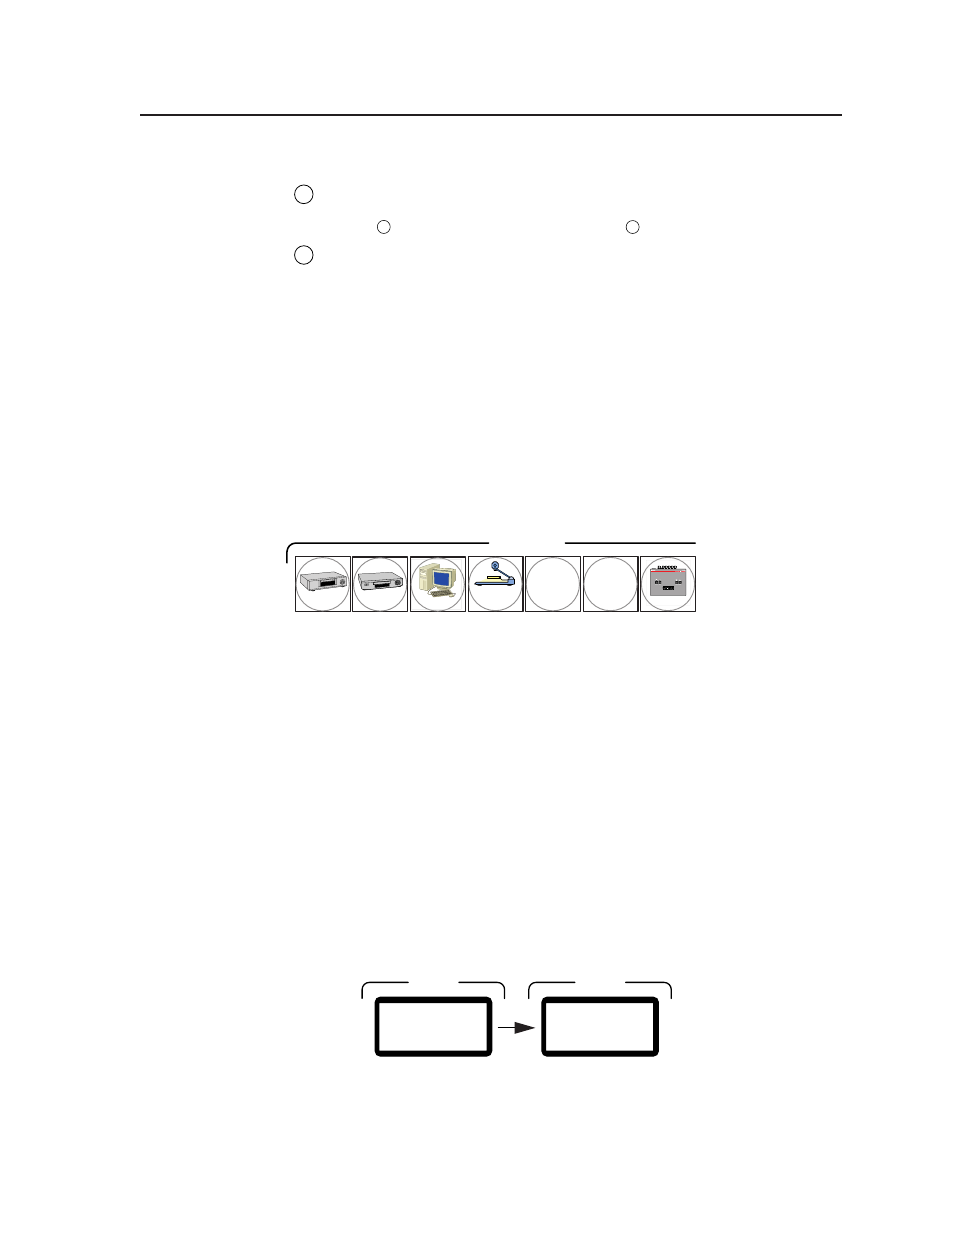
Input and output labels can be created easily with Extron’s Button Label Generator
software, which ships with every Extron matrix switcher. Each input and output
can be labeled with names, alphanumeric characters, or even color bitmaps for easy
and intuitive input and output selection (figure 3-2). See chapter 5, “Matrix
Software”, for details on using the labeling software. See chapter 6, “Maintenance
and Modifications”, for blank labels and procedures for removing and replacing the
translucent covers.
DVD
VCR
Computer
Document
Camera
VTG 200
INPUTS
5 6
Figure 3-2 — Sample button icons
Front Panel Operations
The following paragraphs detail the power-up process and provide sample
procedures for creating ties, sets of ties, and configurations; changing a
configuration; viewing ties, sets of ties, and configurations; saving a preset; and
recalling a preset.
Power
Power is automatically applied when the power cord is connected to an AC source.
When AC power is applied, the switcher performs a self-test that cycles the front
panel button indicators on and off from left to right lit green, right to left lit red,
and left to right lit amber. The self-test also displays the model name and the
firmware version in the LCD display. After approximately 2 seconds, the LCD
reverts to its default display, Extron DXP 88 (or Extron DXP 44) (figure 3-3). An
error-free power up self-test sequence leaves all of the button indicators off or
background illuminated and the LCD displaying the default display.
INPUTS
OUTPUTS
DXP 8 8
Ve r X . XX
STATUS
DXP 8 8
EXTRON
STATUS
Figure 3-3 — LCD power up and default displays