2 central processing unit (cpu) – Asus AP2400R-E2(AS8) User Manual
Page 28
C h a p t e r 2 : H a r d w a r e s e t u p
C h a p t e r 2 : H a r d w a r e s e t u p
C h a p t e r 2 : H a r d w a r e s e t u p
C h a p t e r 2 : H a r d w a r e s e t u p
C h a p t e r 2 : H a r d w a r e s e t u p
2 - 8
2 - 8
2 - 8
2 - 8
2 - 8
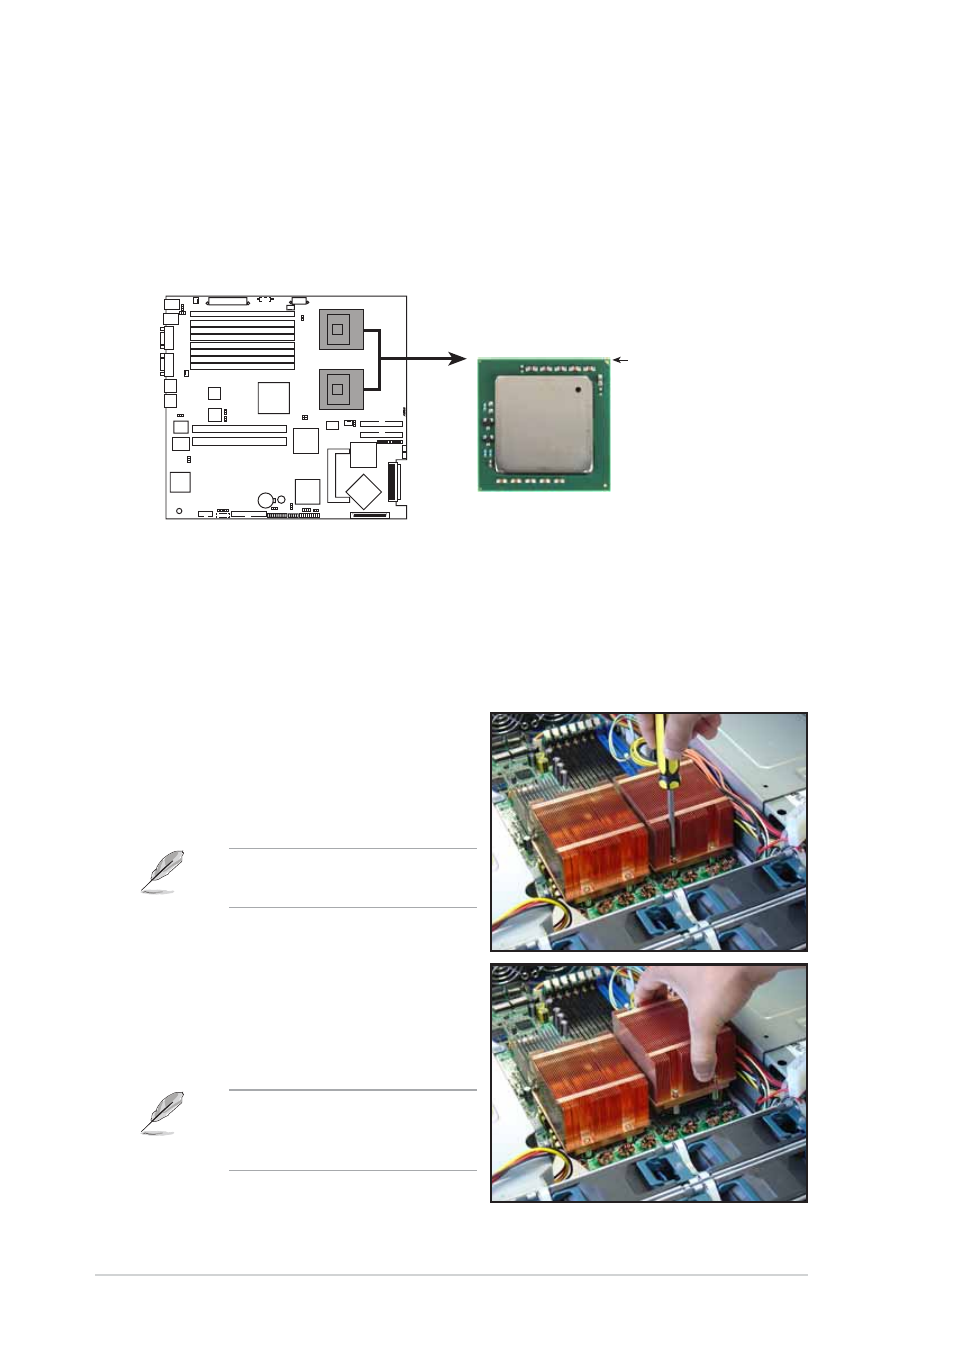
2.2
Central Processing Unit (CPU)
The motherboard comes with two surface mount 604-pin Zero Insertion
Force (ZIF) socket and designed for the Intel
®
Xeon™ processors.
Note in the illustration that the CPU has a gold triangular mark on one
corner. This mark indicates the processor Pin 1 that should match a
specific corner of the CPU socket.
2.2.1
2.2.1
2.2.1
2.2.1
2.2.1
Removing the CPU heatsink
Removing the CPU heatsink
Removing the CPU heatsink
Removing the CPU heatsink
Removing the CPU heatsink
You must remove the CPU heatsink(s) before installing the CPU(s).
To remove the CPU heatsink:
1.
Use a Phillips (cross) screwdriver
to loosen the four screws that
secure the heatsink until it is
released.
You don’t need to detach the
screws from the heatsink.
®
NCL-DS1R2
NCL-DS1R2 CPU Socket 604
Intel Xeon
Gold Arrow
Pin A1
2.
Carefully lift the heatsink from
the motherboard.
3.
Remove the rubber pad(s) on
top of the CPU socket(s).
Remove the rubber pad(s)
only when you are ready to
install the CPU(s).