Chapter 14. about p606, Installing p606, Controlling p606 from the sp-606 – Roland SP-606 User Manual
Page 86: Before you control p606 from the sp-606, List of control functions, Installing p606 controlling p606 from the sp-606
86
Chapter 14. About P606
* In order to use P606 you will need to install the included USB
driver in your computer. Refer to “Installing the USB Driver”
(p. 83).
* For details on how to use P606, refer to
P606 Help
.
* P606 will not start up unless the SP-606 is connected to your
computer using USB.
Run the program setup.exe from the included “P606” CD-
ROM. Install P606 as directed by the instructions that appear
on your screen.
When using the SP-606 together with P606, you can set the SP-
606 to External mode so the P606 can be controlled from the
SP-606 (p. 15).
1.
Using USB, connect the SP-606 to your
2.
Start up P606.
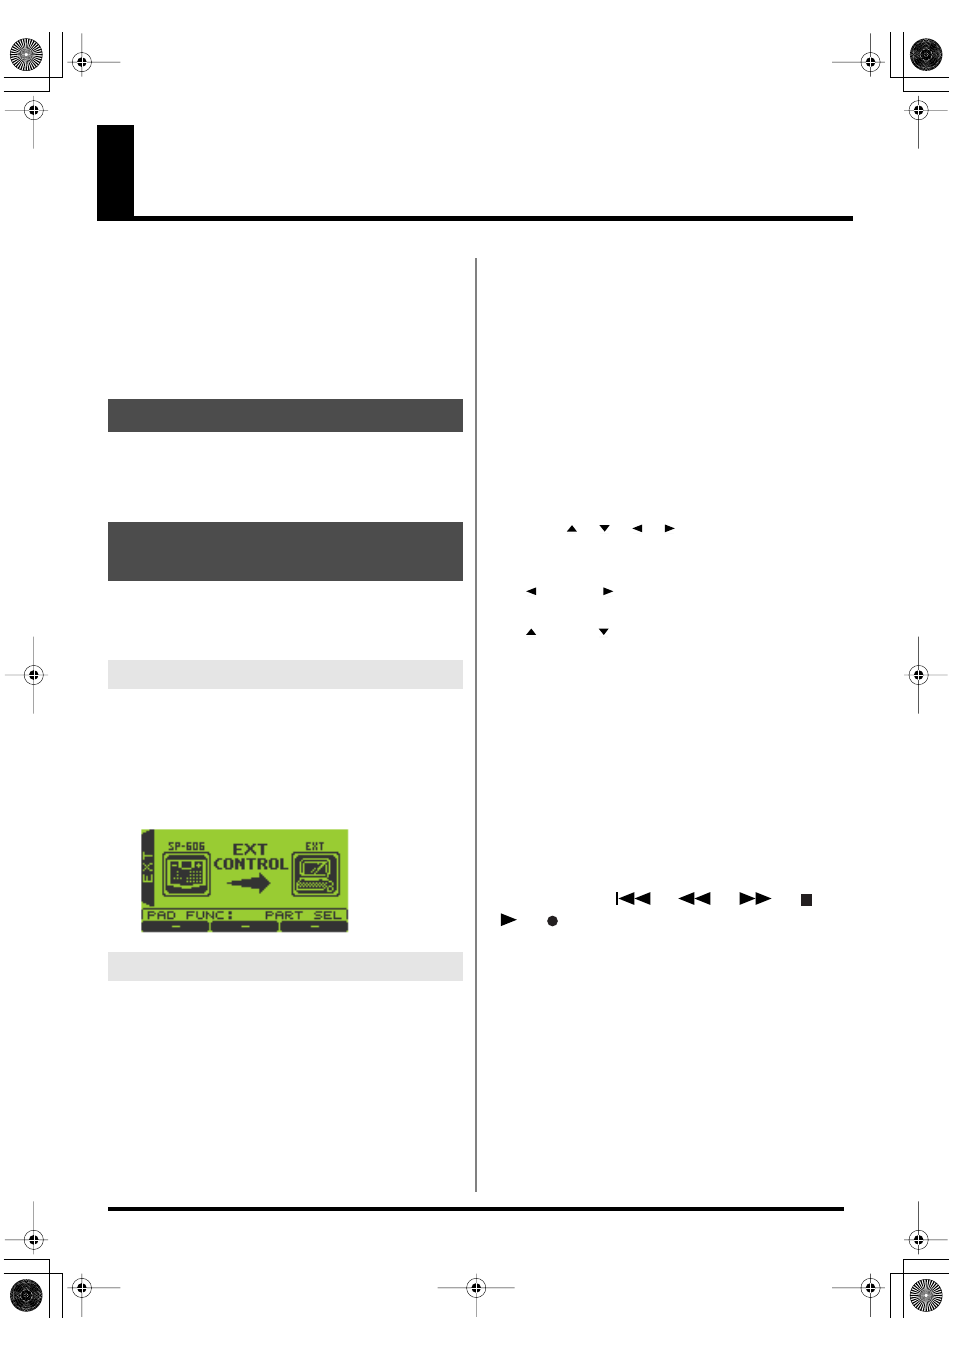
3.
On the SP-606, press [EXT] so it’s lit.
The screen will indicate “
EXT Control
.”
Pads [1]–[16]
By holding down [FUNC] and pressing pads [1], [2], [3], [5], or
[6], you can select the function that the pads will subsequently
perform.
• Hold down [FUNC] and press pad [1] (PART SEL)
Pads [1]–[16] will directly select the identically numbered
part within P606.
• Hold down [FUNC] and press pad [2] (MUTE)
Pads [1]–[16] will directly switch Mute on/off for the
identically numbered part within P606.
• Hold down [FUNC] and press pad [3] (SOLO)
Pads [1]–[16] will directly switch Solo on/off for the
identically numbered part within P606.
• Hold down [FUNC] and press pad [5] (NOTE TRIG)
Pads [1]–[16] will transmit note messages to P606; you
can use the pads to play the current part within P606.
• Hold down [FUNC] and press pad [6] (SEQ TRIG)
Pads [1]–[16] will switch to the identically numbered
current sequence within P606.
Cursor [
][
][
][
]
These buttons move the cursor within the “PART MIXER” of
P606.
• [
] (Left) / [
] (Right)
Press these buttons to move the cursor between parts.
• [
] (Up) / [
] (Down)
Press these buttons to move the cursor between
SELECT
,
MUTE
,
SOLO
,
PAN
, and
LEVEL
.
VALUE dial, [DEC][INC]
These edit the value (
MUTE
,
SOLO
,
PAN
,
LEVEL
) at the
cursor location.
[ENTER]
When the cursor is located at
MUTE
or
SOLO
, this button
switches the setting on/off.
SEQUENCER [
] [
] [
] [
]
[
] [
]
These buttons correspond to the “TRANSPORT” buttons in
P606.
CTRL 1–3 knobs, D Beam controller
These correspond to P606’s “ASSIGNABLE CONTROLS”
settings for the CTRL 1–3 knobs and D BEAM.
Installing P606
Controlling P606 from the
SP-606
Before You Control P606 from the SP-606
List of Control Functions
SP-606_e.book 86 ページ 2004年6月21日 月曜日 午前10時8分