Commands – Line 6 POD X3 Family User Manual
Page 49
Reference: Configuration & Setup
4•5
Loopsw (POD X3 & POD X3 Pro only) – pick which function will be controlled by the FX Loop
footswitch of the optional FBV or FBV Shortboard foot controller. Your choices are COMP, AMP or
DUAL for X3 Bean, and COMP, AMP, LOOP or DUAL for X3 Pro. DUAL will perform the same
toggling between Tone 1 and Tone 2 as the TONE 2 (Hold For Dual) button, including the Hold For
Dual function to enable/disable Dual Tone via footswitch.
System Page 2: Pedal and other settings
From the first System page, pressing down on the 4-way Nav takes you to page 2 where the firmware
version and USB version of your unit are displayed, along with:
Cntrst – set the contrast of the POD X3, POD X3 Live & POD X3 Pro’s display.
MIDI Ch (POD X3 Live & POD X3 Pro only) – choose from MIDI Channel 1-16, or select Omni
to have POD X3 Live & Pro respond to all MIDI channels, while transmitting on Channel 1. The MIDI
channel chosen from the display user interface will be used as the Channel for Tone 1. Tone 2 will use
the next MIDI Channel.
When program change messages 0-127 are received, POD X3 Live & Pro will recall User Presets 01A-32D,
and will transmit those same program changes as presets are selected from the POD X3 Live & Pro
hardware. It also echoes all program change messages it receives, so it can be connected “thru” to another
MIDI device.
Visit www.line6.com/manuals for more comprehensive MIDI CC information.
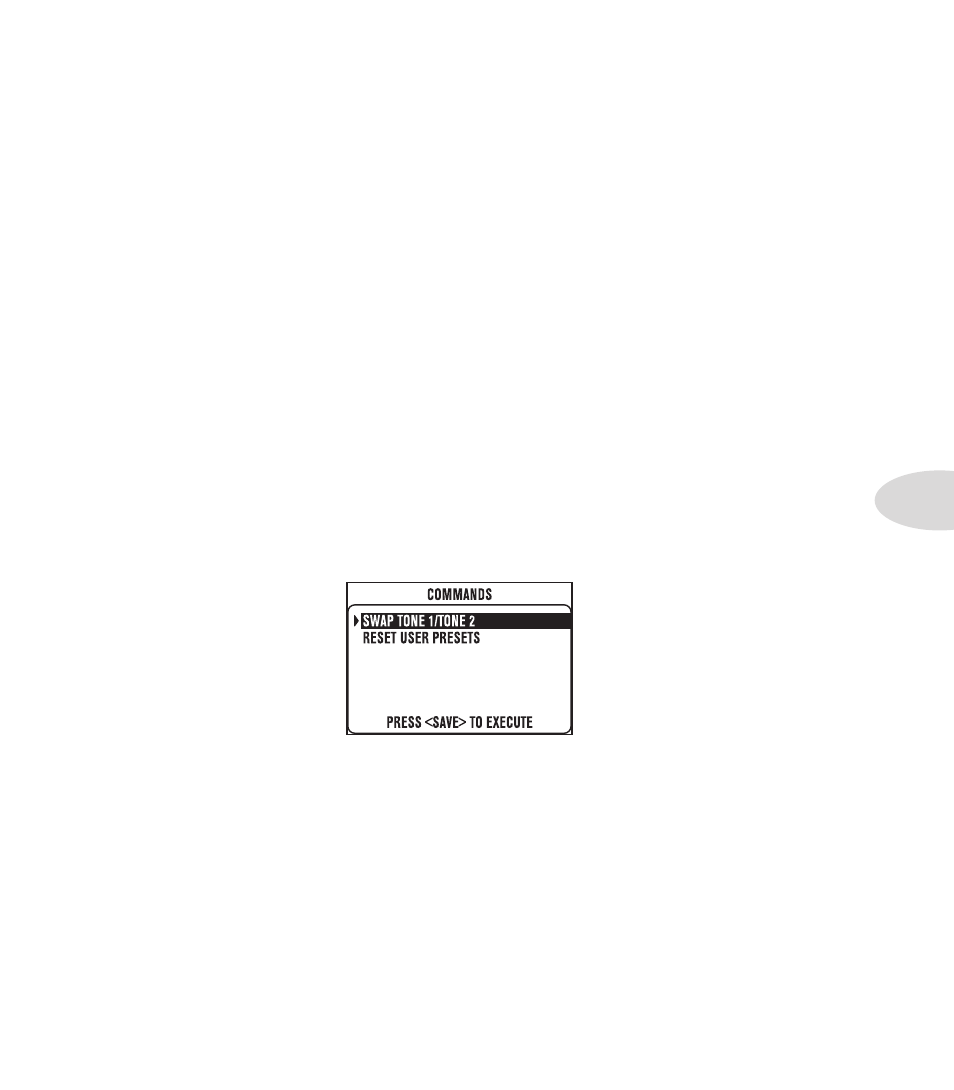
Commands
Press and hold the Home / Hold for Commands button for 2 seconds to get to the Commands page:
Turn the Select knob to choose a Command, then press the Save button to execute the Command. Press the
Home button to exit without executing a command.
Swap Tone 1 / Tone 2 – just like the name says, your current Tone 1 and Tone 2 settings will be
swapped.
Reset User Presets – this command will reset all 128 User presets to their factory-standard settings.
WARNING: this will destroy any customized settings you may have saved.