Linksys ETHERFAST LNE100M User Manual
Page 7
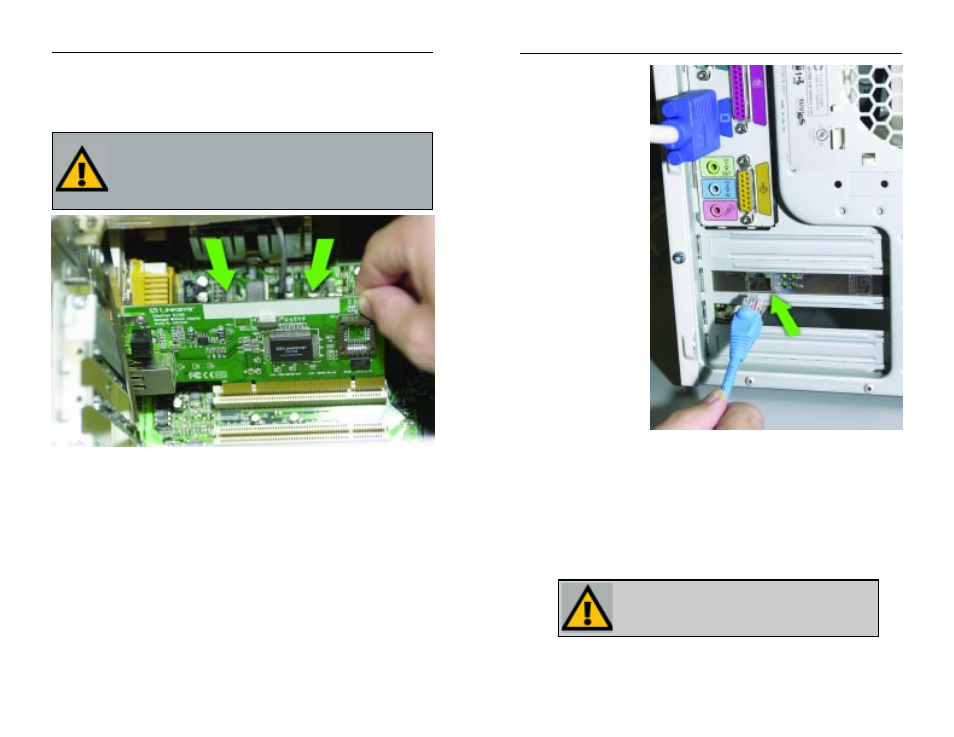
6. Plug one end of a
twisted-pair network
cable into the
Adapter's RJ-45 port,
as shown in Figure 3-
2.
7. Plug the other end of
the cable into a net-
work device, such as
a hub or switch, DSL
modem, cable
modem, router, etc.
8. Reconnect your PC’s
power, then power on
your computer. Your
computer will auto-
matically recognize
the Adapter and
assign it a unique
IRQ ("interrupt") and
I/O address.
The Adapter’s installation is complete. Next, to install the Adapter’s device
drivers, turn to Chapter 4: Installing the Adapter’s Drivers with the Setup
Utility CD. If your operating system will not install the drivers using the
Setup Utility on the CD or if you’d rather install the drivers manually, turn
to the chapter appropriate to your Operating System.
Instant EtherFast
®
Series
3. Open your computer and locate the PCI slot(s) on your motherboard. PCI
slots are easily identified by their beige or white color. Remove the metal
slot cover on the back of the PC, then insert the Adapter into an empty PCI
slot, as shown in Figure 3-1.
4. Once the Adapter is firmly in place, secure its fastening tab to your PC's
chassis with a mounting screw.
5. Replace your PC's cover.
Important: When installing the Adapter, be sure to press it solidly into the
PCI slot. The Adapter are built to resist the pressure necessary to insert it
correctly in the PCI slot. Avoid a call to technical support by making sure
that the Adapter is inserted all the way into your PCs network slot! You will
know this has occurred when the Adapters faceplate is flush with your
computers slot.
Figure 3-1
6
Important: If you intend to use both 10Mbps and 100Mbps
components on your network, you will need an auto-sensing
hub or switch. For more information on auto-sensing hubs or
switches, go to the Linksys website at www.linksys.com.
Figure 3-2
5
EtherFast
®
10/100 Managed Network Adapter