Linksys ETHERFAST LNE100M User Manual
Page 42
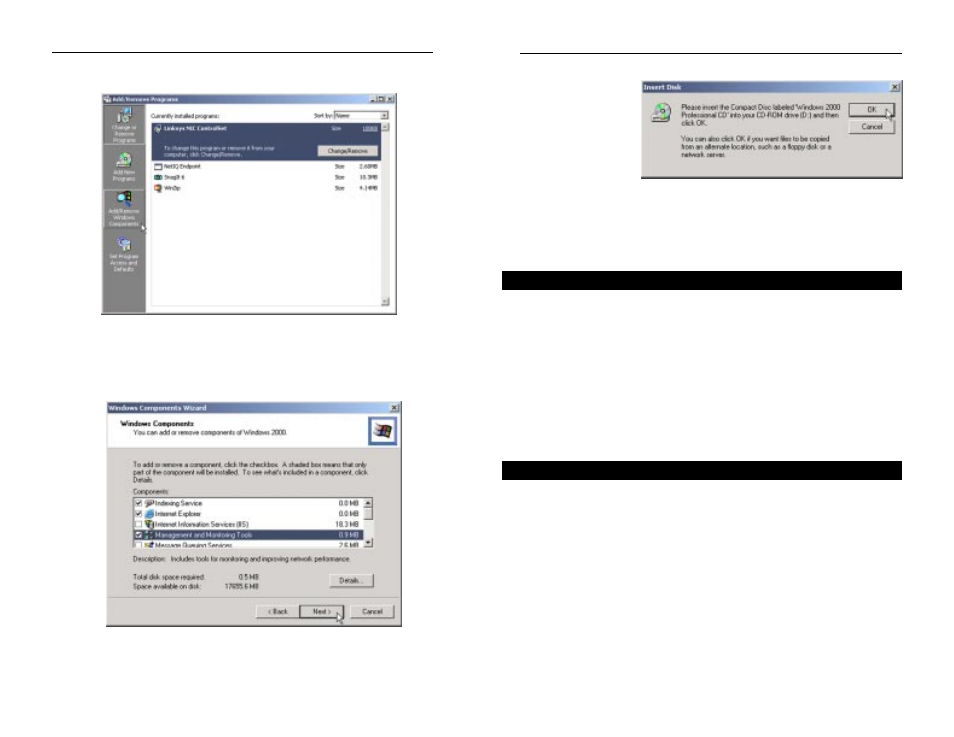
4. When the Insert Disk screen appears, as shown in Figure B-15, insert your
Windows CD into
your CD-ROM and
click the OK but-
ton.
5. When the installation is completed, click the Finish button.
SNMP has now been added for Windows 2000 and XP. Now, proceed to
Adding the Adapter’s SNMP Agent in this appendix.
Once SNMP has been added for Windows in the instructions above, and you
have rebooted your computer, you will need to add the Adapter’s SNMP Agent.
The Adapter’s SNMP agent is located on the Setup Utility CD by opening the
Autorun folder and opening the Utility folder within. Double-click the
NicSNMP icon.
The Adapter’s SNMP agent will install and you will be asked to restart your
computer. Reboot at this time.
Now, proceed to Utilizing the Adapter’s SNMP Agent in this appendix.
In order to utilize SNMP functions, you much use a third-party SNMP appli-
cation that includes a MIB browser, such as HP-Openview or SNMPC.
You may see the screens shown in Figures B-16 and B-17, indicating the cur-
rent statistics and information of RMON counter, depending upon the MIB
browser you use.
Instant EtherFast
®
Series
2. Click the Add/Remove Windows Components button. (See Figure B-13.)
3. Click the box beside Management and Monitoring Tools to select that
component (as shown in Figure B-14) and click the Next button to contin-
ue.
Figure B-15
Adding the Adapter’s SNMP Agent
Utilizing the Adapter’s SNMP Agent
76
EtherFast
®
10/100 Managed Network Adapter
Figure B-13
Figure B-14
75