Sanyo PJ-Net Organizer Plus POA-LN02 User Manual
Page 23
LD-NET ORGANIZER
OWNER'S MANUAL
Installation and network configuration
Completing of installation
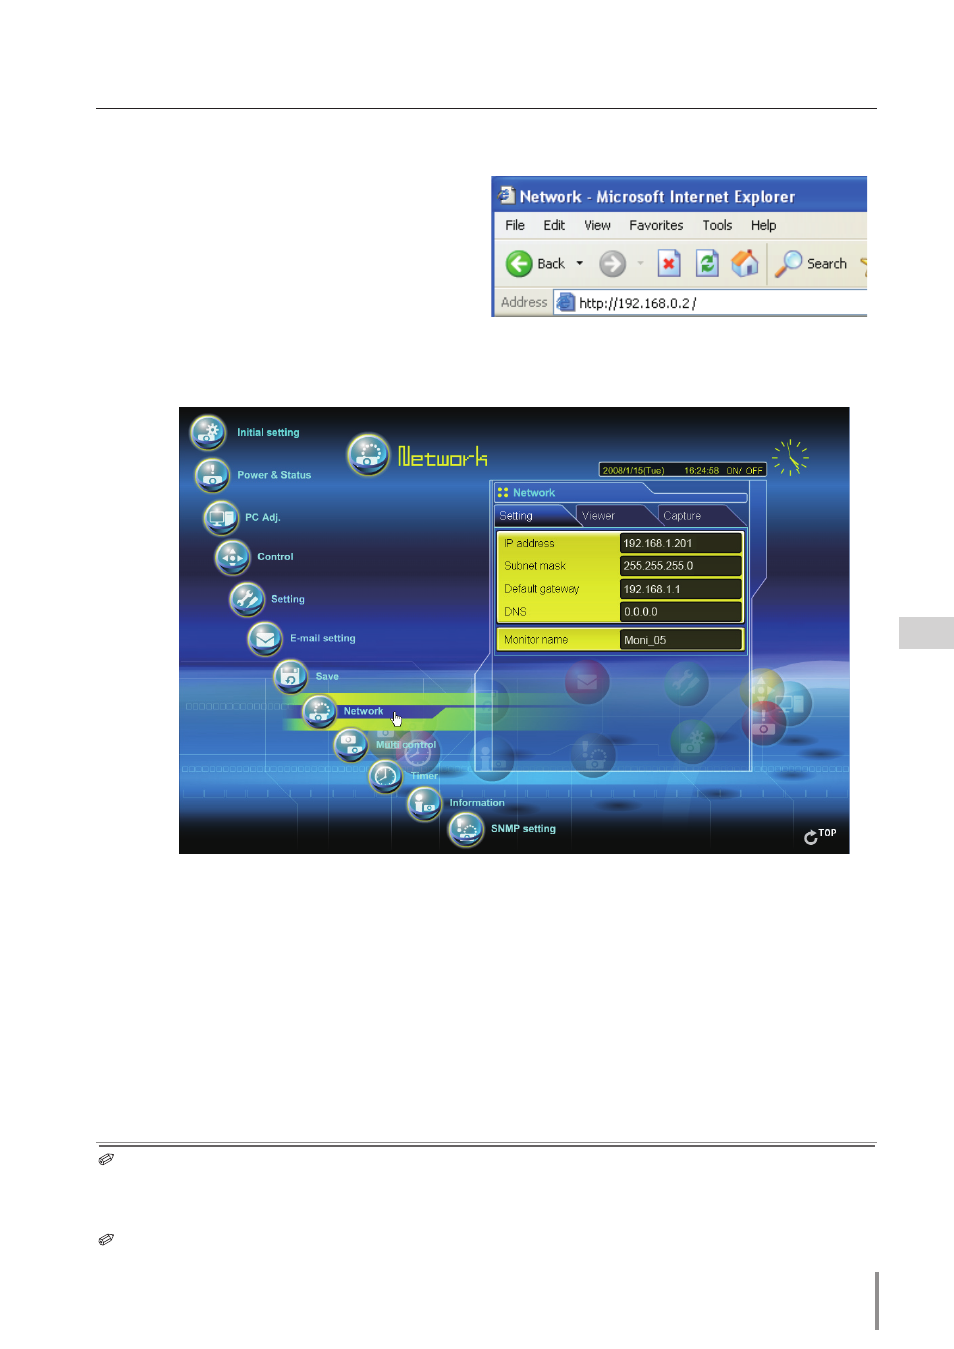
Now the installation is completed. The IP address of this monitor has been set to “192.168.1.201”.
You must reset the network configuration of the computer to the original and restart the com-
puter.
Next, please see chapter “Basic Setting and Operation” on page 30. It describes how to operate
and set up the monitor.
If you use a cable to connect the monitor and computer directly, without using a hub, you must
use a UTP cross cable. In this case, you cannot access the login page if the setting of web browser
is set to “Use proxy server”. It must be changed to the “Not use proxy server”. For further informa-
tion, please see the “Web browser setting” of chapter "Appendix" on page 100.
When you set up the network of monitor which has a default setting by using the computer, it
must be carried out in the network which does not provide any gateways (routers).
2
Configure the network of the monitor by using the web browser.
1. Enter the IP address of the monitor as the
URL. The login page will be displayed and
login. For further information, please see
chapter “3: Basic Setting and Operation” on
page 29.
2. Configure the network through the setting page on the browser. For further information, please
see chapter “Network Configuration” on page 37.