JVC GR-DVX70 User Manual
Page 47
EN
47
A
M
PL
AY
/PC
OFF CAMER
A
5S
DS
C
DS
CPLA
Y
FOCUS
FOCUS
FOCUS
EXPOSURE
AUTO
AUTO
MANUAL
W. BALANCE
4
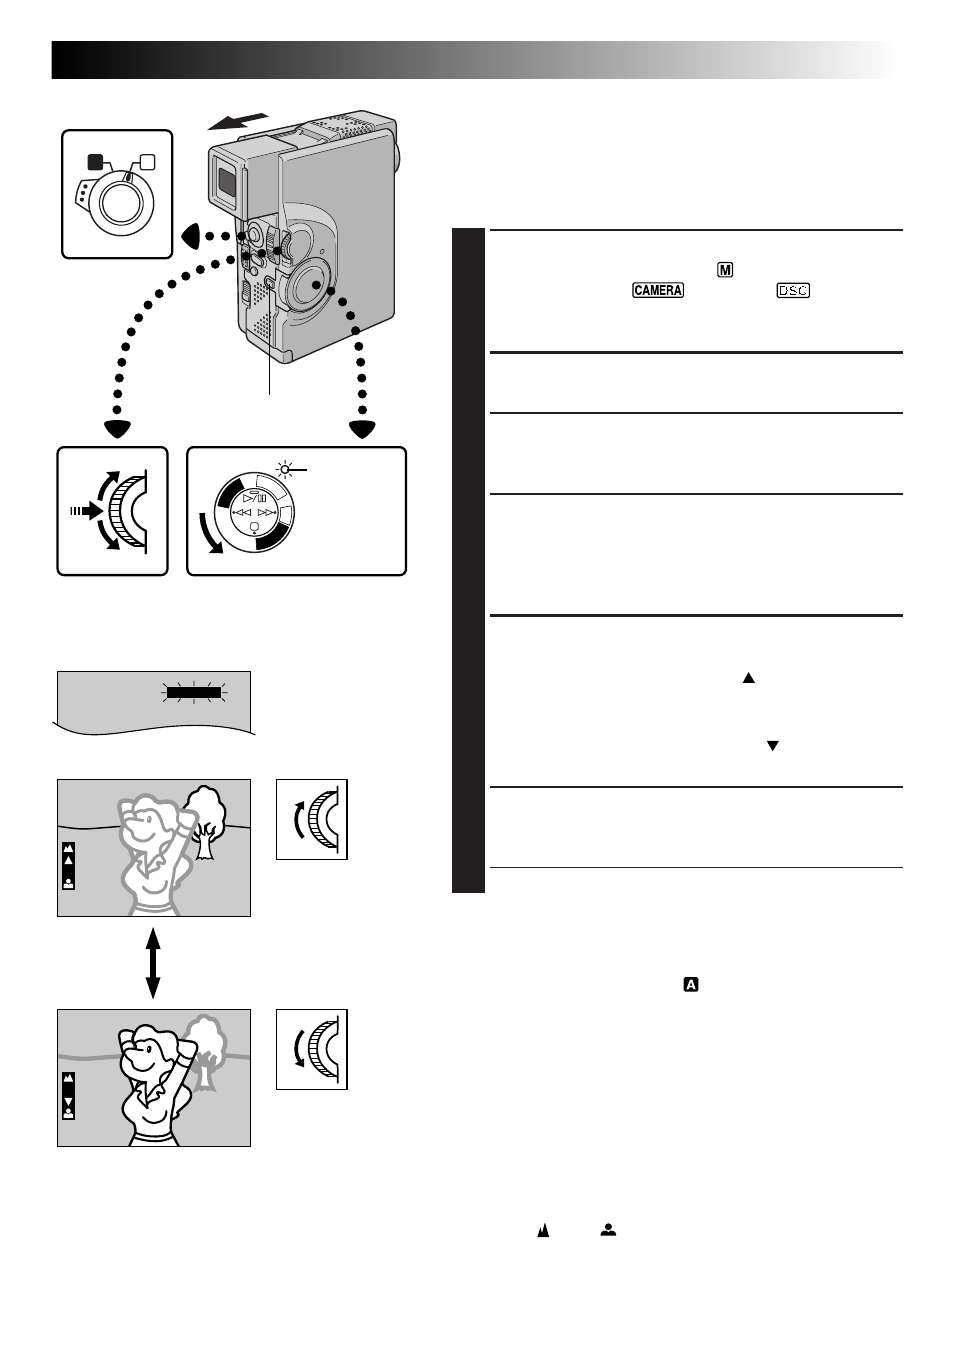
MANUAL FOCUS
NOTE:
You should already have made the necessary viewfinder
adjustments (
੬
pg. 10). If you have not, do so before
continuing.
1
SELECT OPERATION MODE
Set the Operation Switch to “
”. Then, set the
Power Switch to “
”, “5S” or “
” while
pressing down the Lock Button. Pull out the view-
finder fully or open the LCD monitor fully.
2
ACCESS RECORDING MENU
Press MENU/SET. The Recording Menu appears.
3
ACCESS “FOCUS”
Rotate MENU/SET to move the highlight bar to
“FOCUS”, then press it.
4
ACCESS MANUAL FOCUS
Rotate MENU/SET to display “MANUAL”, then press
it. The Recording Menu disappears and “FOCUS” is
displayed in the upper left corner. The focus is locked
at this point.
5
ADJUST FOCUS
To farther subject . . .
.... rotate MENU/SET upward. “ ” appears and
blinks. Go to step 6.
To nearer subject . . .
.... rotate MENU/SET downward. “ ” appears and
blinks. Go to step 6.
6
END ADJUSTMENT OF FOCUS
Press MENU/SET. Focus adjustment is complete. The
indication changes from “FOCUS” to “MANUAL”.
•If you want to reset the focus, repeat from step 2.
To Change To Auto Focus . . .
.... rotate MENU/SET to display “AUTO” then press it in
step 4. The manual focus indicators disappear. Or, set
the Operation Switch to “
”.
NOTES:
● After the Power Switch is set to “OFF”, Manual Focus is
reset to “AUTO”.
● Be sure to focus the lens in the maximum telephoto
position when you use the Manual Focus mode. If you
focus in on a certain subject in the wide-angle position,
sharply focused images cannot be obtained when
zoomed up because the depth-of-field is reduced at
longer focal lengths.
● When the focus level cannot be adjusted any farther or
closer, “
” or “
” will blink.
MENU/SET Dial
Power Switch
Recording Menu
Display
Lock Button
Power lamp
Operation Switch