Picture quality mode setting, Select operation mode, Access recording menu – JVC GR-DVX70 User Manual
Page 15: Access mode menu, Set picture quality mode
EN
15
FOCUS
EXPOSURE
AUTO
OFF
AUTO
AUTO
W. BALANCE
P. AE
/ EFFECT
END
FLASH ADJ.
0
4
TO MODE MENU
A
M
PL
AY
/P
C
OF
FC
AM
ERA 5S DSC
DS
C
PL
AY
– – – – –
6
– – – – –
QUALITY
40X
FINE
ZOOM
SELF-TIMER
GAIN UP
DIS
4
FLASH
TO DATE / TIME MENU
TO SYSTEM MENU
END
AGC
OFF
AUTO
ON
– – – – –
6
– – – – –
QUALITY
40X
FINE
ZOOM
SELF-TIMER
GAIN UP
DIS
4
END
AGC
OFF
FLASH
TO DATE / TIME MENU
TO SYSTEM MENU
AUTO
ON
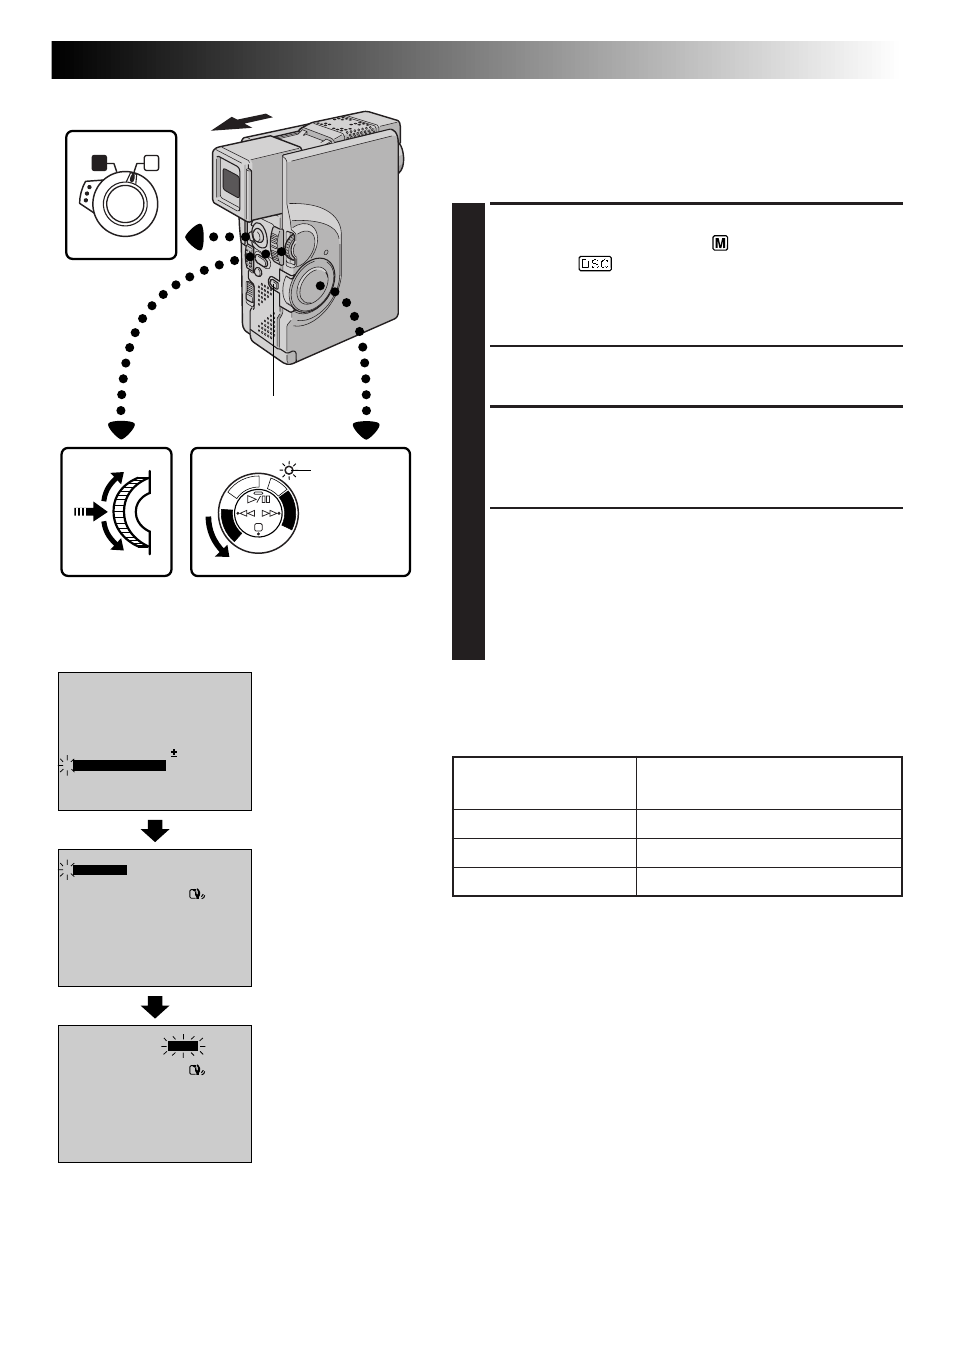
Picture Quality Mode Setting
The Picture Quality mode can be selected to best match
your needs. Three Picture Quality modes are available:
FINE, STANDARD and ECONOMY (in order of quality).
1
SELECT OPERATION MODE
Set the Operation Switch to “
”. Then, set the Power
Switch to “
” while pressing down the Lock
Button.
Open the LCD monitor fully or pull out the view-
finder fully.
2
ACCESS RECORDING MENU
Press MENU/SET. The Recording Menu appears.
3
ACCESS MODE MENU
Move the highlight bar to “TO MODE MENU” by
rotating MENU/SET. Press it and the Mode Menu
appears.
4
SET PICTURE QUALITY MODE
First, move the highlight bar to “QUALITY” by
rotating MENU/SET. Press it and the parameter
“FINE”, “STANDARD” or “ECONOMY” is high-
lighted. Select “FINE”, “STANDARD” or
“ECONOMY” by rotating MENU/SET. Press it twice
to exit the Recording Menu.
NOTE:
The number of storable images depends on the selected
Picture Quality mode as well as the size of the images.
Display
MENU/SET Dial
Power Switch
Mode Menu
Recording Menu
Lock Button
Operation Switch
Picture Quality Mode
FINE
STANDARD
ECONOMY
Number of Storable Images
(with provided MultiMediaCard)
Approximately 30
Approximately 50
Approximately 100
Power lamp