Recording, Using menu for detailed adjustment, Advanced features for video and d.s.c. (cont.) – JVC GR-DVX70 User Manual
Page 34
34
EN
A
M
PL
AY
/PC
OFF CAMER
A
5S
DS
C
DS
CPLA
Y
Using Menu For Detailed Adjustment
This camcorder is equipped with an easy-to-use,
on-screen menu system that simplifies many of the more
detailed camcorder settings (
੬
pg. 35 – 39) .
1
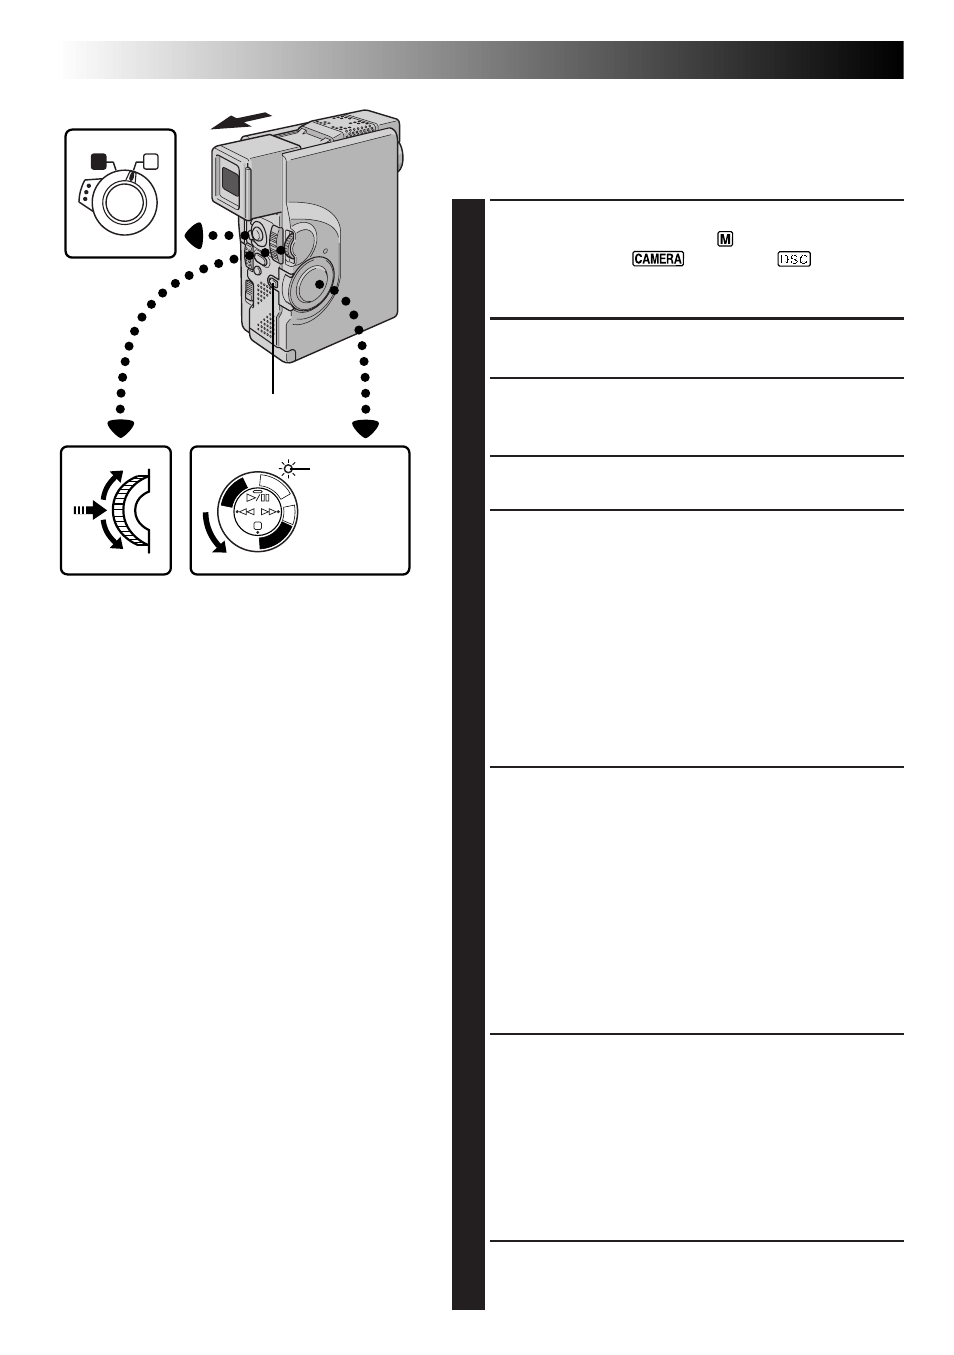
SELECT OPERATION MODE
Set the Operation Switch to “
”. Then, set the
Power Switch to “
”, “5S” or “
” while
pressing down the Lock Button. Pull out the view-
finder fully or open the LCD monitor fully.
2
ACCESS RECORDING MENU
Press MENU/SET. The Recording Menu appears.
3
SELECT FUNCTION
Rotate MENU/SET to move the highlight bar to the
desired function.
• If the setting you want cannot be found in the Menu
Screen, place the highlight bar on “END”, then go to step 7.
4
MAKE SETTING
Press MENU/SET. The setting procedure depends on
the function you select.
If you select “FOCUS”, “EXPOSURE”, “W.BALANCE”,
“FADER/WIPE”, “P.AE/EFFECT” or “FLASH ADJ.” . . .
..... see respective pages (FOCUS:
੬
pg. 47,
EXPOSURE:
੬
pg. 48, W.BALANCE:
੬
pg. 50,
FADER/WIPE:
੬
pg. 41, P.AE/EFFECT:
੬
pg. 44,
FLASH ADJ.,:
੬
pg. 33) and do each procedure
from step 4.
If you select “TO MODE MENU” . . .
..... the Mode Menu appears. Go to step 5.
5
SELECT FUNCTION PARAMETERS IN
MODE MENU
Rotate MENU/SET to move the highlight bar to the
desired function and press it.
If you select a function other than “TO DATE/TIME
MENU” or “TO SYSTEM MENU” . . .
..... each function’s parameter starts blinking. Rotate MENU/
SET until the desired parameter appears. Go to step 7.
If you select “TO DATE/TIME MENU” . . .
..... the Date/Time Menu appears. Go to step 6.
If you select “TO SYSTEM MENU” . . .
..... the System Menu appears. Go to step 6.
6
SELECT FUNCTION PARAMETERS IN
DATE/TIME MENU OR SYSTEM MENU
Rotate MENU/SET to move the highlight bar to the
desired function, then press it.
If you select “DATE/TIME” . . .
੬
pg. 11.
If you select other functions . . .
..... rotate MENU/SET until the desired parameter
appears, then press it. The highlight bar automati-
cally moves to “RETURN”. Go to step 7.
7
CLOSE MENU SCREEN
Press MENU/SET as many times as necessary to
return to the normal screen.
Power Switch
MENU/SET Dial
Lock Button
Power lamp
Operation Switch
RECORDING
Advanced Features For Video And D.S.C. (cont.)