JBL CVPD50 User Manual
Page 58
58
movie frame. For this reason, it is not possi-
ble to remove those black bars, and you
may prefer to watch a non-letterboxed ver-
sion of the movie if provided on the disc.
You may notice that the picture jumps as
it is resized, and this is normal. If the pic-
ture has large dark areas, particularly
near the frame edges, the picture may be
resized frequently. In that case, you may
prefer to turn off the Auto Resize function
while watching that disc and use the
Frame Button `
or the Letterbox
Button z
to select a display.
Screen status LED: Some
people may find the status LED on the
front panel of the CVPD50 to be distract-
ing while watching movies, and this set-
ting allows you to turn the LED off. If pos-
sible, it is recommended that you leave
the LED turned on to alert you to its sta-
tus, such as flashing red and yellow to
indicate that it has come unplugged.
4:3 Scaling
The
4:3 SCALING setting is only
needed for sources where the original
program material is in the 4:3 aspect
ratio. The default setting is
NORMAL,
where 4:3 materials are displayed in their
original aspect ratio, with black bars
appearing on the left and right sides of
the image. If you wish to have the image
stretched to fill the CVPD50’s 16:9 screen,
select
LINEAR scaling to have the
picture stretched at the same rate through-
out the frame, or
NON-LINEAR to
leave the center of the frame virtually
untouched, with the degree of scaling
increasing towards the edges. You may
override this setting manually for a
specific disc by using the Frame
Button `
.
NOTE: Leaving the black bars on screen
for long periods of time, especially during
the first 1,000 hours of operation, may
cause burnout of the CVPD50 plasma
display, which is not covered under
warranty. JBL recommends using the
Frame Button `
or the Letterbox
Button z
to select a display mode
for each source that fills the screen.
Information Menu
The last submenu in the Screen menu
system is the
INFORMATION
menu. It does not contain any user-
adjustable settings. In the unlikely event
that you have a problem with your CVPD50
screen, a customer service representative
may ask you to access this screen and
report the information it contains.
With the
SCREEN MENU (Fig. 33) on
screen, scroll to the
INFORMATION
line and select it by pressing the Set
Button s
. The
INFORMATION
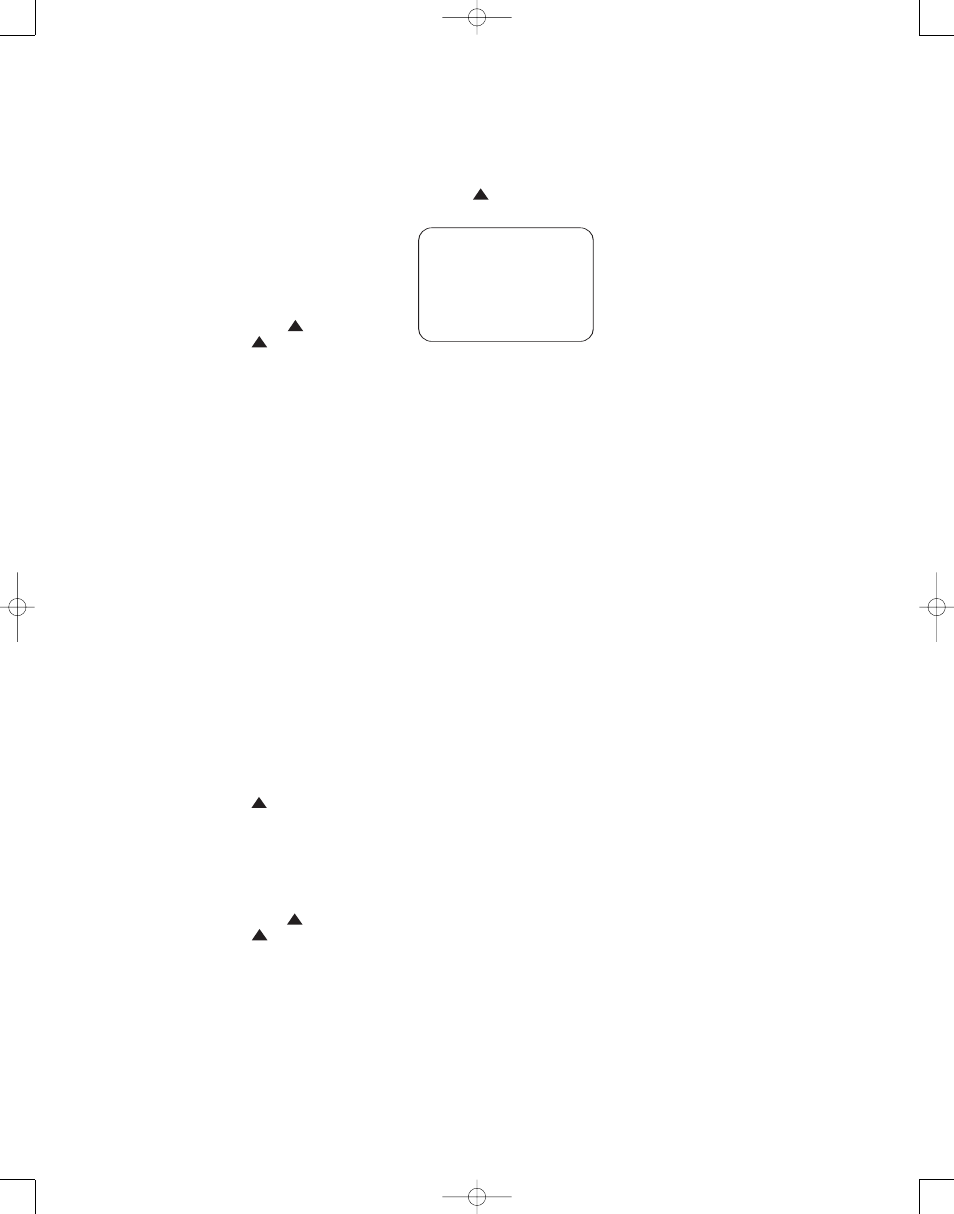
submenu (Figure 40) will be displayed.
Figure 40
This menu displays the version numbers
of your screen and its software drivers.
Your JBL Cinema Vision system is now
completely configured, and you are ready
to begin enjoying the finest in home the-
ater entertainment.
INFORMATION
Hardware Version
Rev02
Software Version
251004R
Back to screen menu
33
34
35
36
37
38
39
40
41
42
43
44
45
46
47
48
49
50
51
52
53
54
55
56
57
38
39
40
41
31
32
30
28
29
25
26
27
28
29
30
24
23
22
21
20
31
37
36
35
34
33
32
31
37
36
35
34
33
32
48
49
50
51
47
46
45
44
43
42
1
2
3
4
5
6
7
8
9
10
11
12
13
14
15
16
17
18
19
20
21
22
23
24
25
26
27
28
29
30
31
32
33
34
35
36
37
38
39
40
41
42
43
44
45
46
47
48
33
34
35
36
37
38
39
40
41
42
43
44
45
46
47
48
49
50
51
52
53
54
55
56
57
38
39
40
41
31
32
30
28
29
25
26
27
28
29
30
24
23
22
21
20
31
37
36
35
34
33
32
31
37
36
35
34
33
32
48
49
50
51
47
46
45
44
43
42
1
2
3
4
5
6
7
8
9
10
11
12
13
14
15
16
17
18
19
20
21
22
23
24
25
26
27
28
29
30
31
32
33
34
35
36
37
38
39
40
41
42
43
44
45
46
47
48
CVR700 OM 12/17/04 4:24 PM Page 58