GarrettCom 6K32 User Manual
Page 37
Magnum 6K32 Managed Switch Installation and User Guide (02/05)
31
www GarrettCom com
.
.
NOTE:. When leaving 6KPM slots empty, always use a face plate (Magnum 6K8-
BLNK) to cover the slot opening in the front panel. This will maintain proper cooling
air flow, safety, and operation as required by FCC, CE, and other regulations.
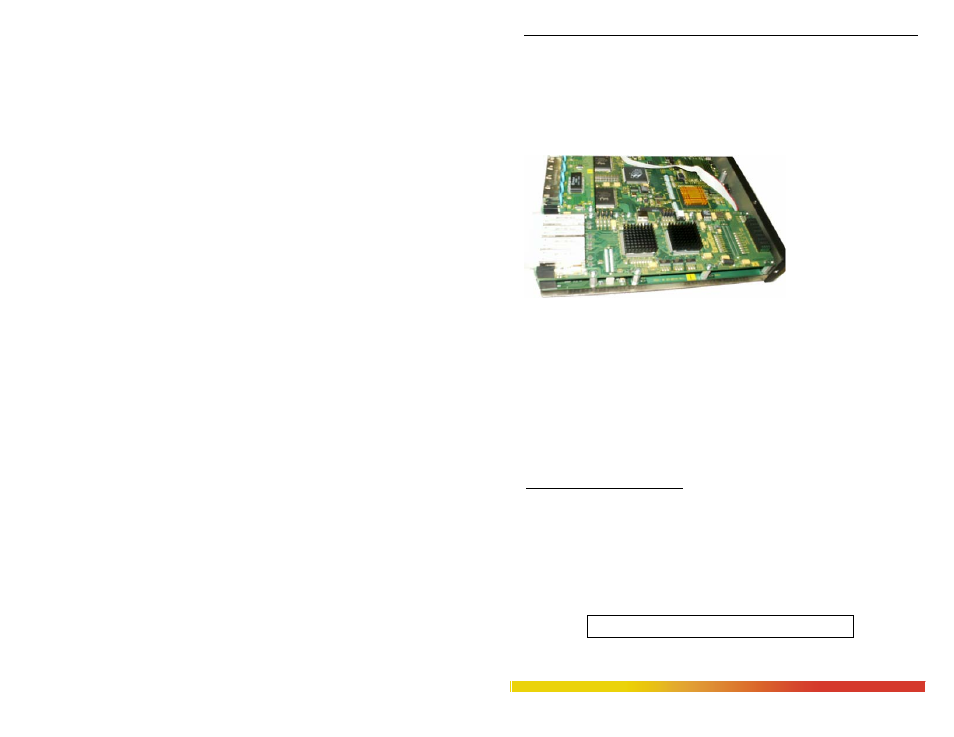
Step 6. Now screw down the daughter board with 7 #440 screws except the last two at
the end, so that it holds the daughter board securely. The figure below shows the
top view of 6KPM card after successfully installing the 6KPM cards inside the
Magnum 6K32.
Fig. 3.5.2g Top View :
6KPM Module installed
inside a 6K32 Switch
Step 7. Once the installation of granddaughter and daughter modules is done properly,
the front panel screen plates(come along with the 6K-module) need to be properly placed
on the front of the chassis cover to complete the installation process.
Step 8. Once the 6KPM cards have been installed, the chassis top cover should be
replaced by matching at the two front corners properly and slide in until it
reaches the rear end and fit properly to match the holes. Make sure the chassis
cover is aligned properly before securing the enclosure. Place the front panel
part at the end by sliding in to the front side and secure it with 12 screws as
being mentioned earlier.
NOTE (
Reverse mount Model): The Reverse model require a LED Decal, (for
checking the speed, F/H, and activity status)
3.5.3
Removing 6KPM Cards
To properly remove a 6KPM card from the 6K32 Managed Switch, follow the
3 steps below.
Step 1. Remove chassis cover See procedures in Section 3.5.1 above.
Caution: Be sure the power cord is unplugged.