Step 18: out call routing – AltiGen MAXCS 7.5 Softswitch Deployment Guide User Manual
Page 34
Page 34 of 37
MAXCS 7.5 All-Software Solution Deployment Guide
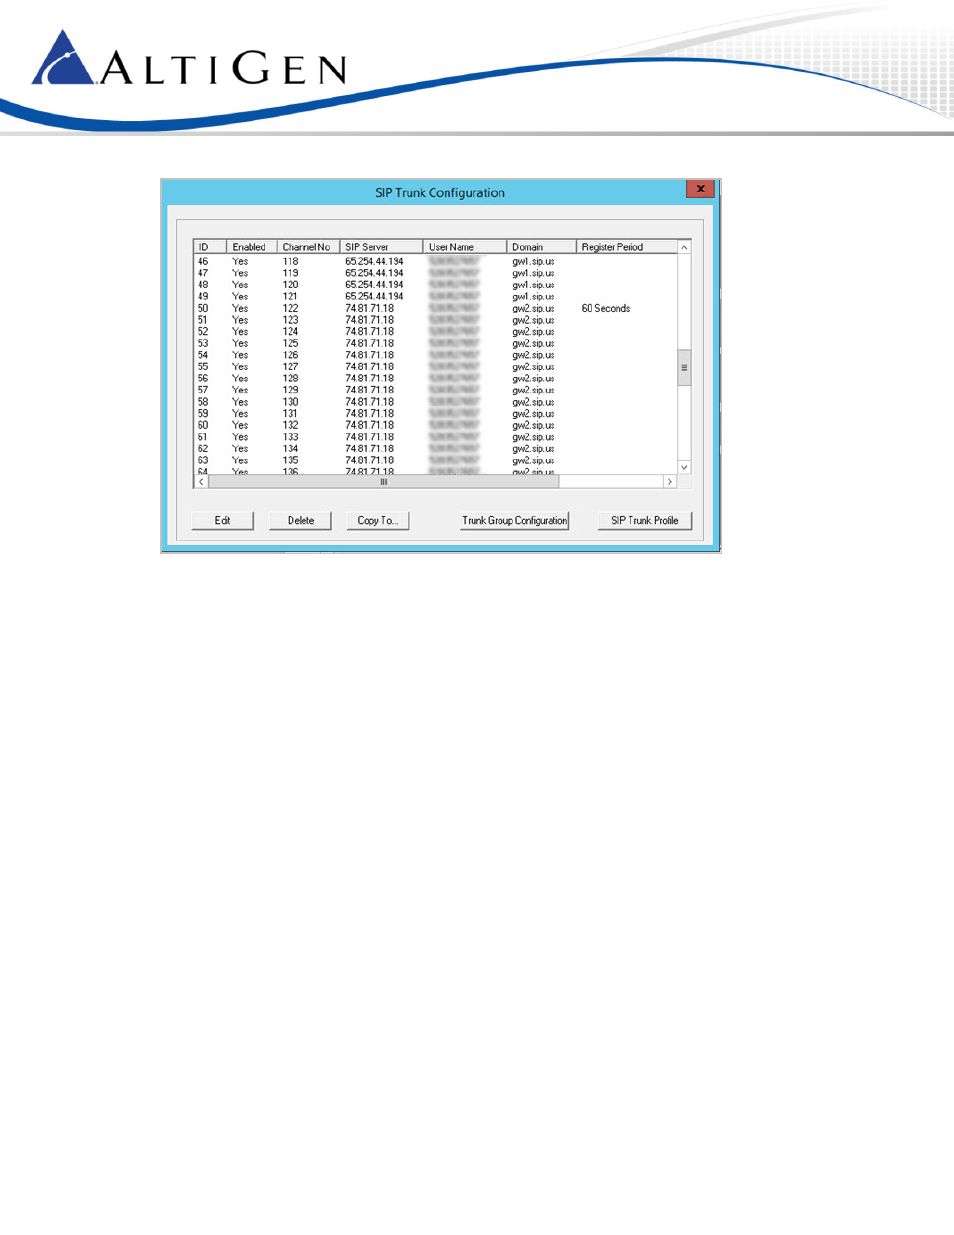
3. Return to the main Trunk view (close the various panels to reach that view) and confirm that all
configured SIP trunk channels show as Idle, including the two channels that are configured
Step 18: Out Call Routing
You can configure out-call routing rules; this step is optional. Refer to the Out-Call Routing Configuration
chapter of the MAXCS 7.5 ACM Administration Manual for full details.
1. Identify the system home area code: Select
System > System Configuration. Switch to the General
tab and note the System Home Area Code.
2. Select
PBX > Out Call Routing Configuration. On the Route Definition tab, add a route called
Primary:
a. Click
Add. Leave the index number as is and enter the name Primary.
b. To add member trunks, select the channels that are assigned to the first server in the Not Member
list (refer back to page 30, where you identified ChannelB). Click the
Left Arrow button to add
these channels to the Member Trunks list. Click
Apply.
3. Add three additional routes:
a. Follow the same process as the preceding step to add another route, called Secondary. This time,
add the channels that are assigned to the second server. Click
Apply.
b. Create a third route, called Primary Local. Add the channels for the first server. In addition, under
Digit Manipulation, check the box and select
Insert to Head. Add the system area code you
identified in step 1, preceded by the numeral 1. Click
Apply.
c. Add a fourth route, Secondary Local. Add the channels for the second server. Check the box and
select
Insert to Head. Add the system area code preceded by the numeral 1. Click Apply.