HP VECTRA VL800 User Manual
Page 36
2 Installing and Replacing Hardware Parts in Your PC
Installing a Device in a Front Access Bay
36
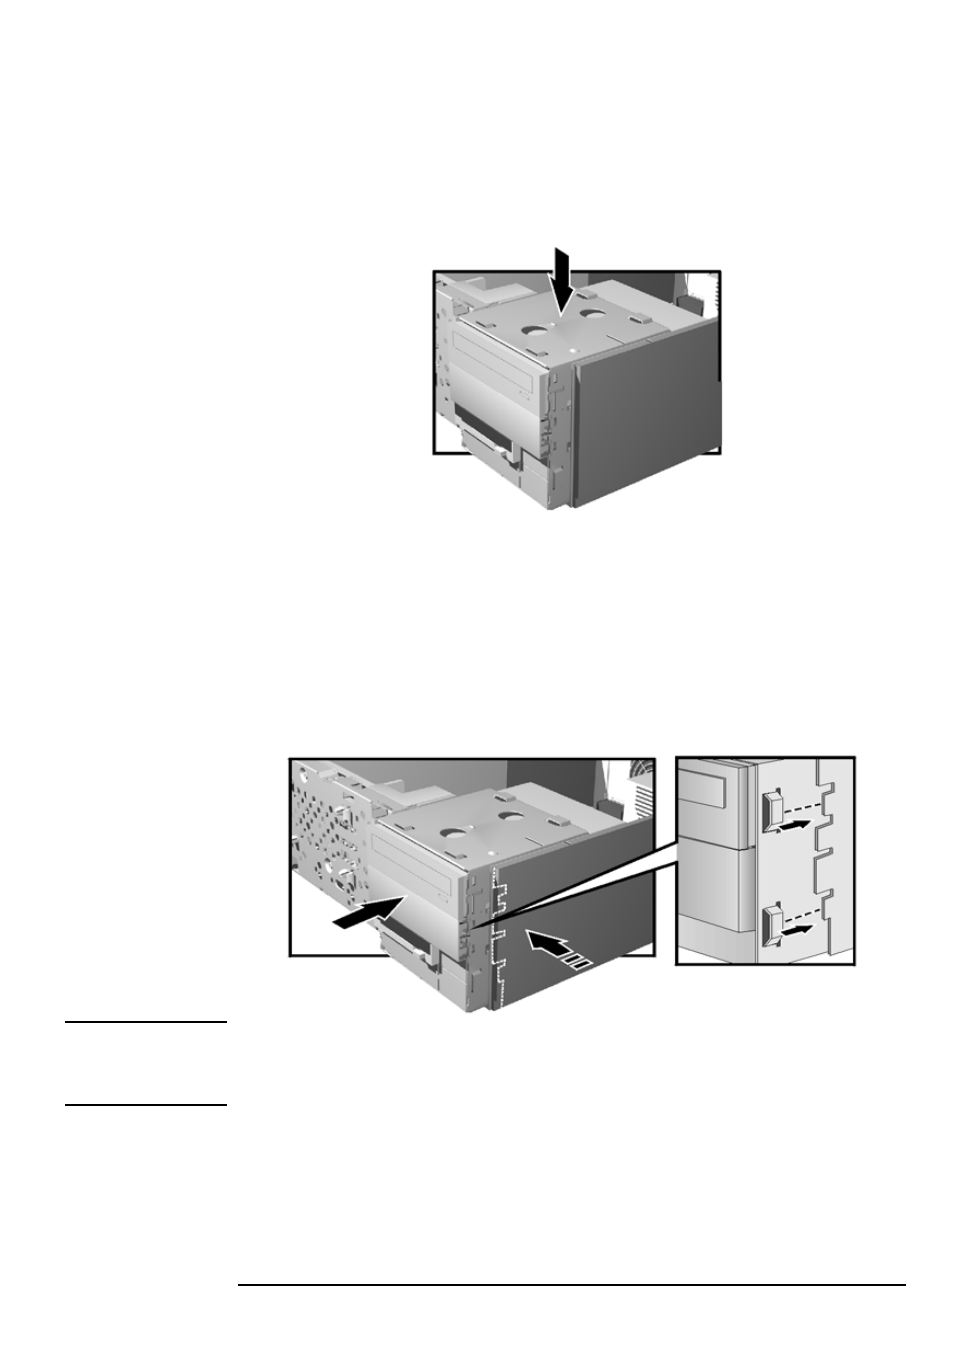
Replacing the Front Access Drive Cage
1
Place the front access cage back into the PC. The front access cage
retainers should be correctly aligned with the bottom of the chassis.
2
Connect the power and data cables to the installed devices. For
convenience, it is recommended to start from the bottom and work
upwards. The connectors are shaped to go in one way only. If you are
not sure which connector to use, refer to "Installing Mass Storage
Devices", on page 29.
3
Ensure that the metal guides on the front access cage are aligned with
those on the chassis. (There are two on either side.) Slide the front
access cage into the chassis until it snaps into place.
NOTE
To verify that the front access cage is correctly in position, check that the
“ALIGN” mark on top of the front access cage is parallel with the one on
chassis.
4
Secure the front access cage in position using the retaining screw you
removed earlier.
5
Replace the front bezel and PC’s cover (refer to page 25). Reconnect all
the power and telecommunications cables.
6