G. install metal roof flashing, H. assemble and install storm collar – Heat & Glo Fireplace Heat & Glo Fireplace 6000C User Manual
Page 49
Heat & Glo • 6000C, 6000C-IPI, 8000C, 8000C-IPI • 2164-900 Rev. T • 9/12
49
G. Install Metal Roof Flashing
• See minimum vent heights for various pitched roofs
(Figure 10.14) to determine the length of pipe to extend
through the roof.
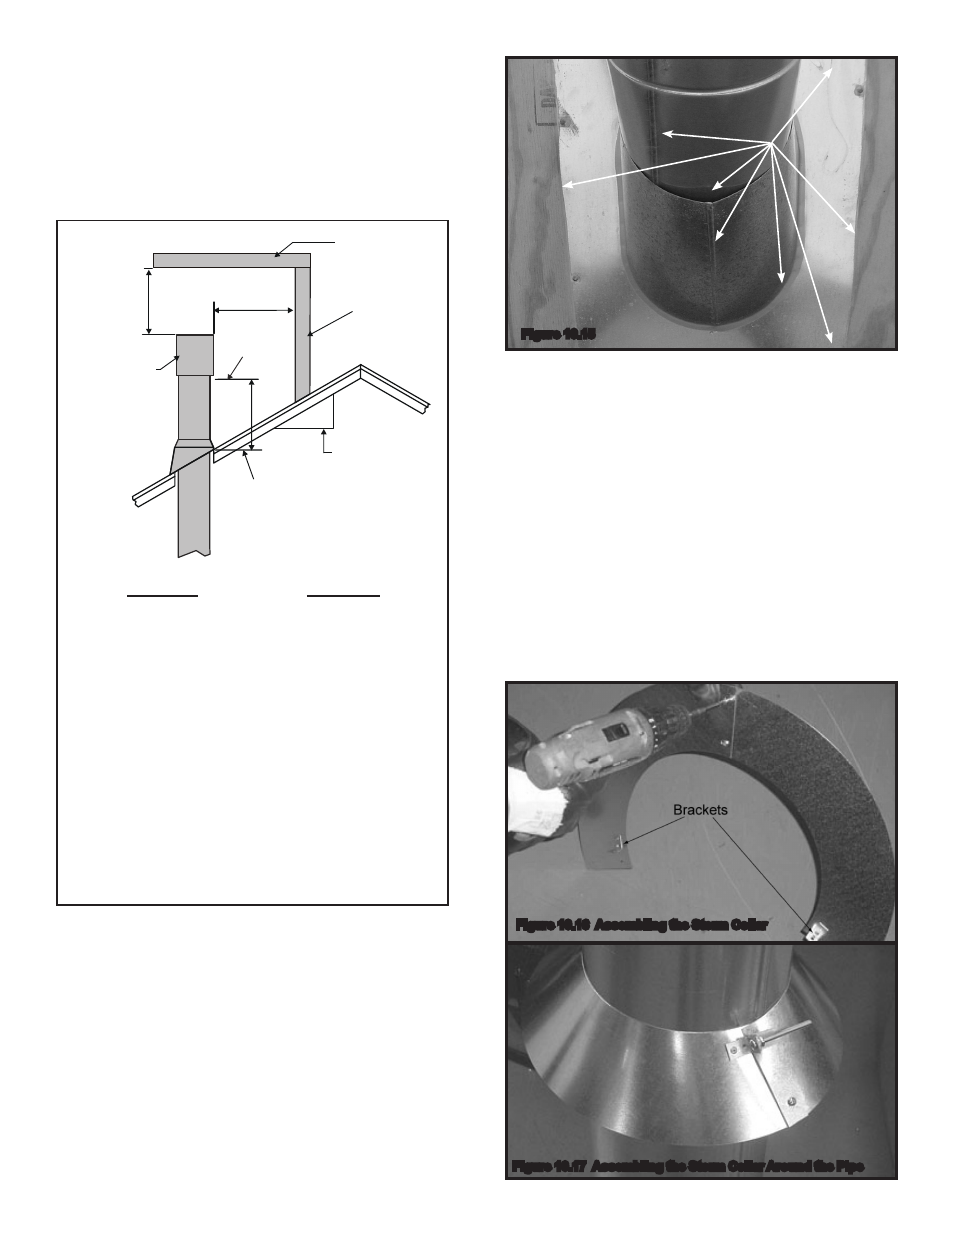
• Slide the roof flashing over the pipe sections extending
through the roof as shown in Figure 10.15.
Roof Pitch H (Min.) Ft.
Flat to 6/12........................................1.0*
Over 6/12 to 7/12 ............................1.25*
Over 7/12 to 8/12 ..............................1.5*
Over 8/12 to 9/12 ..............................2.0*
Over 9/12 to 10/12 ............................. 2.5
Over 10/12 to 11/12 ......................... 3.25
Over 11/12 to 12/12 ........................... 4.0
Over 12/12 to 14/12 ........................... 5.0
Over 14/12 to 16/12 ........................... 6.0
Over 16/12 to 18/12 ........................... 7.0
Over 18/12 to 20/12 ........................... 7.5
Over 20/12 to 21/12 ........................... 8.0
* 3 foot minimum in snow regions
Figure 10.14 Minimum Height From Roof To Lowest Discharge
Opening
HORIZONTAL
OVERHANG
VERTICAL
WALL
GAS DIRECT VENT
TERMINATION CAP
12
X
ROOF PITCH
IS X/ 12
LOWEST
DISCHARGE
OPENING
2 FT.
MIN.
20 INCHES MIN.
H (MIN.) - MINIMUM HEIGHT FROM ROOF
TO LOWEST DISCHARGE OPENING
H. Assemble and Install Storm Collar
CAUTION! Risk of Cuts, Abrasions or Flying Debris.
Wear protective gloves and safety glasses during instal-
lation. Sheet metal edges are sharp.
• Connect both halves of the storm collar with two screws
(see Figure 10.16).
• Wrap the storm collar around the exposed pipe section
closest to the roof and align brackets. Insert a bolt
(provided) through the brackets and tighten the nut to
complete the storm collar assembly. Make sure the collar
is tight against the pipe section.
• Slide the assembled storm collar down the pipe section
until it rests on the roof flashing (see Figure 10.17).
• Caulk around the top of the storm collar (see Figure 10.18).
Figure 10.16 Assembling the Storm Collar
Figure 10.17 Assembling the Storm Collar Around the Pipe
NOTICE: Failure to properly caulk the roof flashing and
pipe seams may permit entry of water.
• Caulk the gap between the roof flashing and the outside
diameter of the pipe.
• Caulk the perimeter of the flashing where it contacts the
roof surface. See Figure 10.15.
• Caulk the overlap seam of any exposed pipe sections
that are located above the roof line.
CAULK
Figure 10.15