Connecting to the ethernet port – Epson 10600 User Manual
Page 40
1-25
Setting Up the Printer
|
1-25
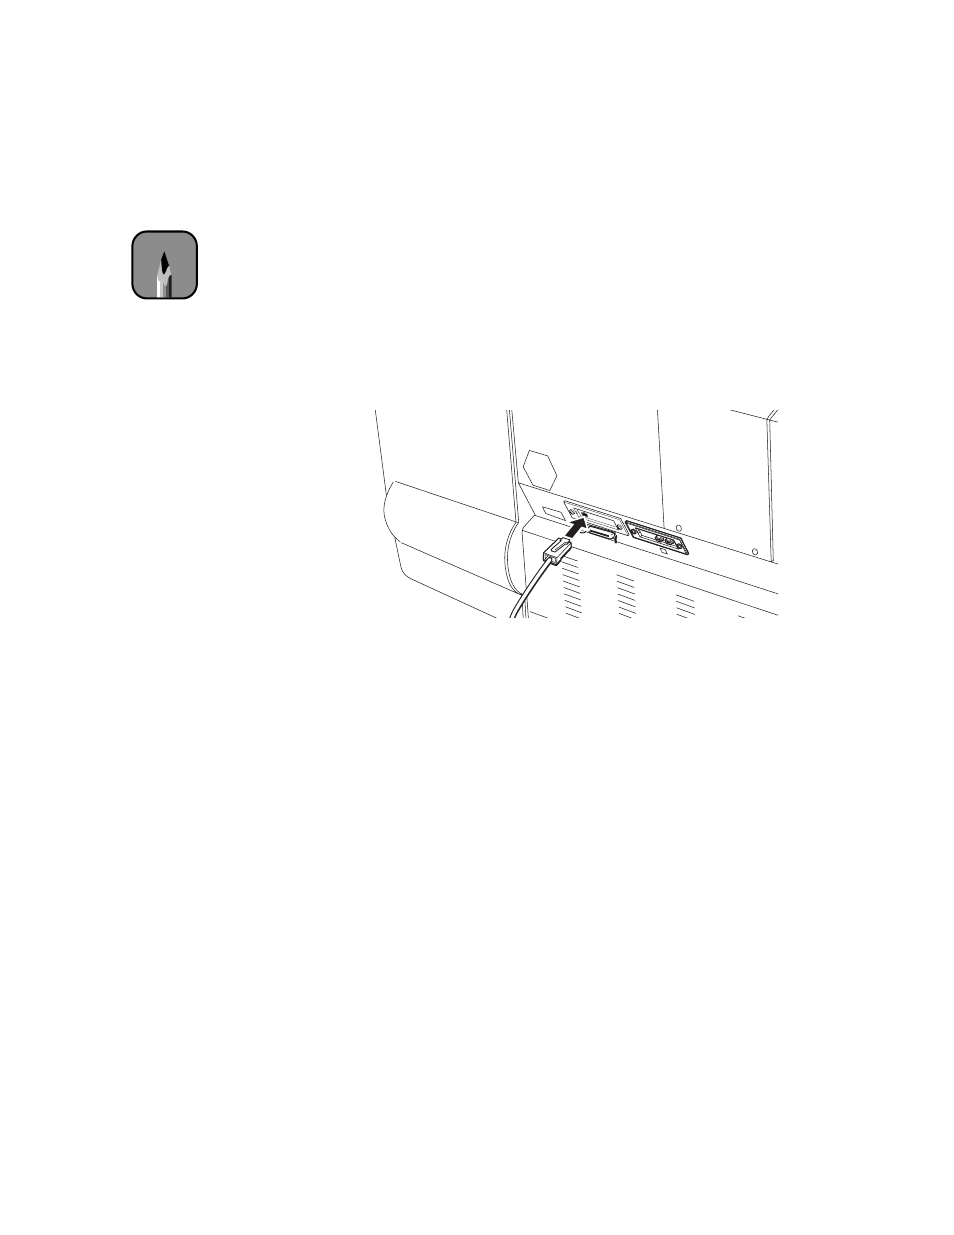
Connecting to the Ethernet Port
To connect the printer using its Ethernet port, you need a 10/100 Ethernet
cable. Follow the steps below to connect the printer.
1. Make sure the printer is turned off.
2. Connect one end of the network cable to the 10/100 port on the back of
your printer.
3. Connect the other end of the cable to your network hub or directly to
your computer, as needed.
If you’re connecting through a network, see page 1-41 for instructions on
configuring your client systems and to finish setting up the printer. If you’re
connecting directly to a computer, continue with the instructions in the next
section.
Note
To connect to a network
hub, you need a standard
RJ-45 “straight through”
network cable. If you
want to connect the
printer directly to your
computer (instead of
through a network), use
an RJ-45 “crossover”
cable.
- Stylus Pro 7800 (11 pages)
- Stylus Pro 4000 (49 pages)
- Stylus Photo R300 (2 pages)
- Stylus Pro 7000 (147 pages)
- AcuLaser C3000 (316 pages)
- Stylus Pro 7900 (24 pages)
- Stylus Pro 4450 (21 pages)
- 1000 (272 pages)
- T034120 (4 pages)
- T580300 (4 pages)
- 300 (91 pages)
- B 510DN (218 pages)
- B 510DN (190 pages)
- Stylus NX510 (8 pages)
- Stylus Photo RX580 (95 pages)
- T549300 (4 pages)
- B 500DN (168 pages)
- AculaserCX11NF (5 pages)
- 480SXU (24 pages)
- 4500 (317 pages)
- STYLUS RX500 (99 pages)
- 2100 (13 pages)
- Stylus NX215 (2 pages)
- T098320 (4 pages)
- T041020 (4 pages)
- R210 (8 pages)
- All-In-One Stylus Photo RX600 (164 pages)
- 777I (53 pages)
- T033120 (4 pages)
- Stylus CX7000F (8 pages)
- 60 (113 pages)
- T034220 (4 pages)
- WorkForce 40 Series (36 pages)
- T054220 (4 pages)
- Stylus CX3200 (11 pages)
- Stylus CX7800 (18 pages)
- T060220 (4 pages)
- 2500 (180 pages)
- AcuLaser CX11N (32 pages)
- AcuLaser CX11N (4 pages)
- 2000P (16 pages)
- T606600 (4 pages)
- Stylus CX6000 (18 pages)
- FS-4000DN (2 pages)
- MSDS T544700 (4 pages)