Replacing the black ink cartridge – Epson 10600 User Manual
Page 146
5-17
Maintaining and Transporting the Printer
|
5-17
Replacing the Black Ink Cartridge
Make sure you have all the needed supplies as described above. Once you
remove the ink cartridges from the printer, you must not turn off the printer
until you have finished switching black ink modes. Follow these steps to
carry out the process:
1. Make sure the printer is on and
READY
is displayed on the control
panel.
2. Press the
SelecType
button until
MAINTENANCE MENU
is displayed
on the control panel.
3. Press the Item button until you see
BK INK CHANGE=EXEC
, then
press
Enter
.
The control panel displays
OPEN INK COVER
.
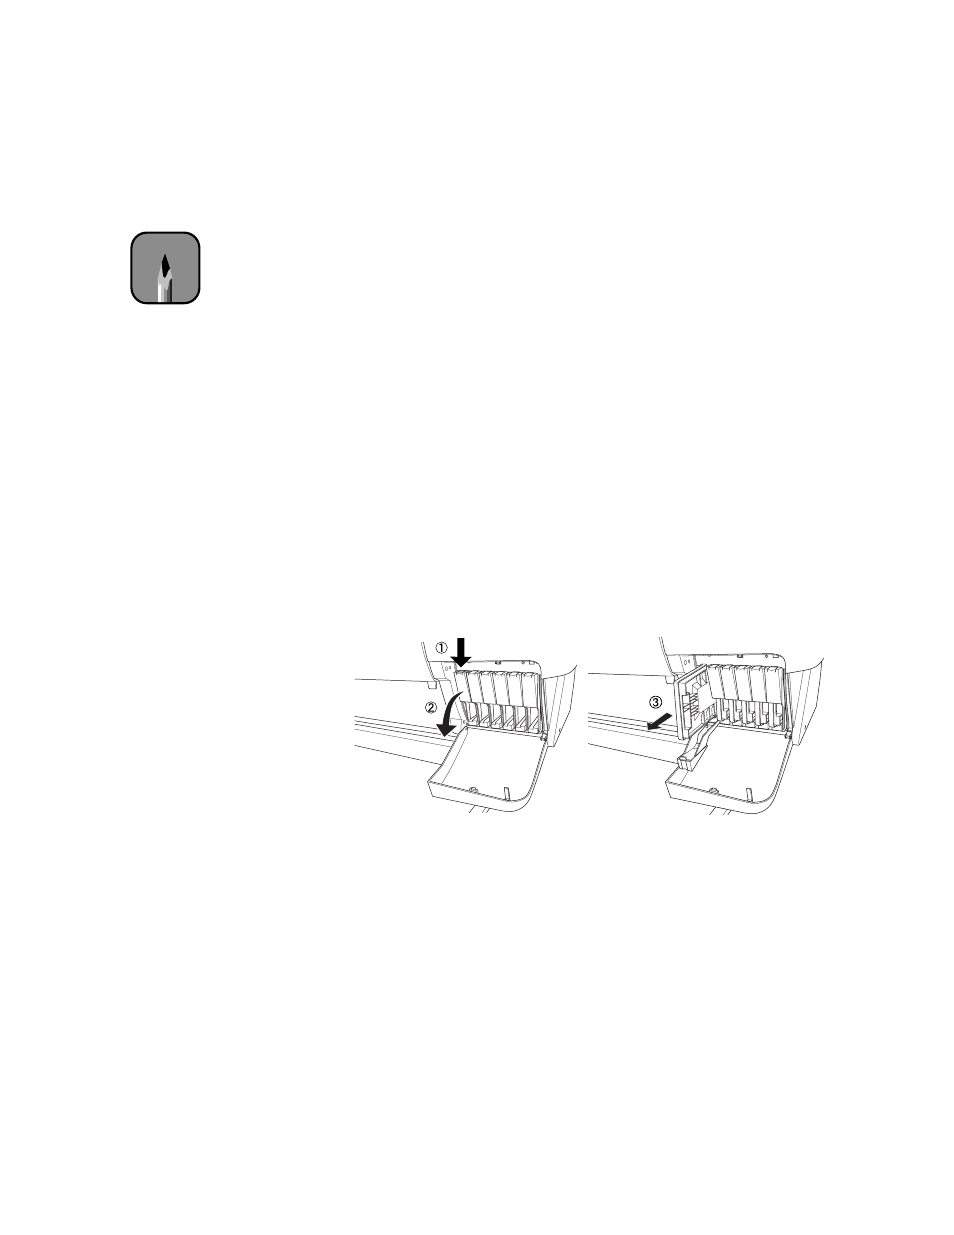
4. Open the ink compartment cover and remove the black ink cartridge.
(Press down on the top of the cartridge clamp to release it, then pull out
the cartridge.)
5. Insert the draining cartridge into the black ink slot. Close the ink
cartridge clamp, then close the cover.
The printer begins draining the ink, and you see a message on the
control panel to indicate the progress.
6. Once draining is complete, you see the message
OPEN INK COVER
.
Open the ink compartment cover and remove the draining cartridge.
Note
Do not turn off the printer
once the cartridge is
removed.
If a power failure occurs,
turn the printer back on.
You can resume the
procedure at the point
where it was interrupted.