Multi-Contact MA221 User Manual
Page 5
5/8
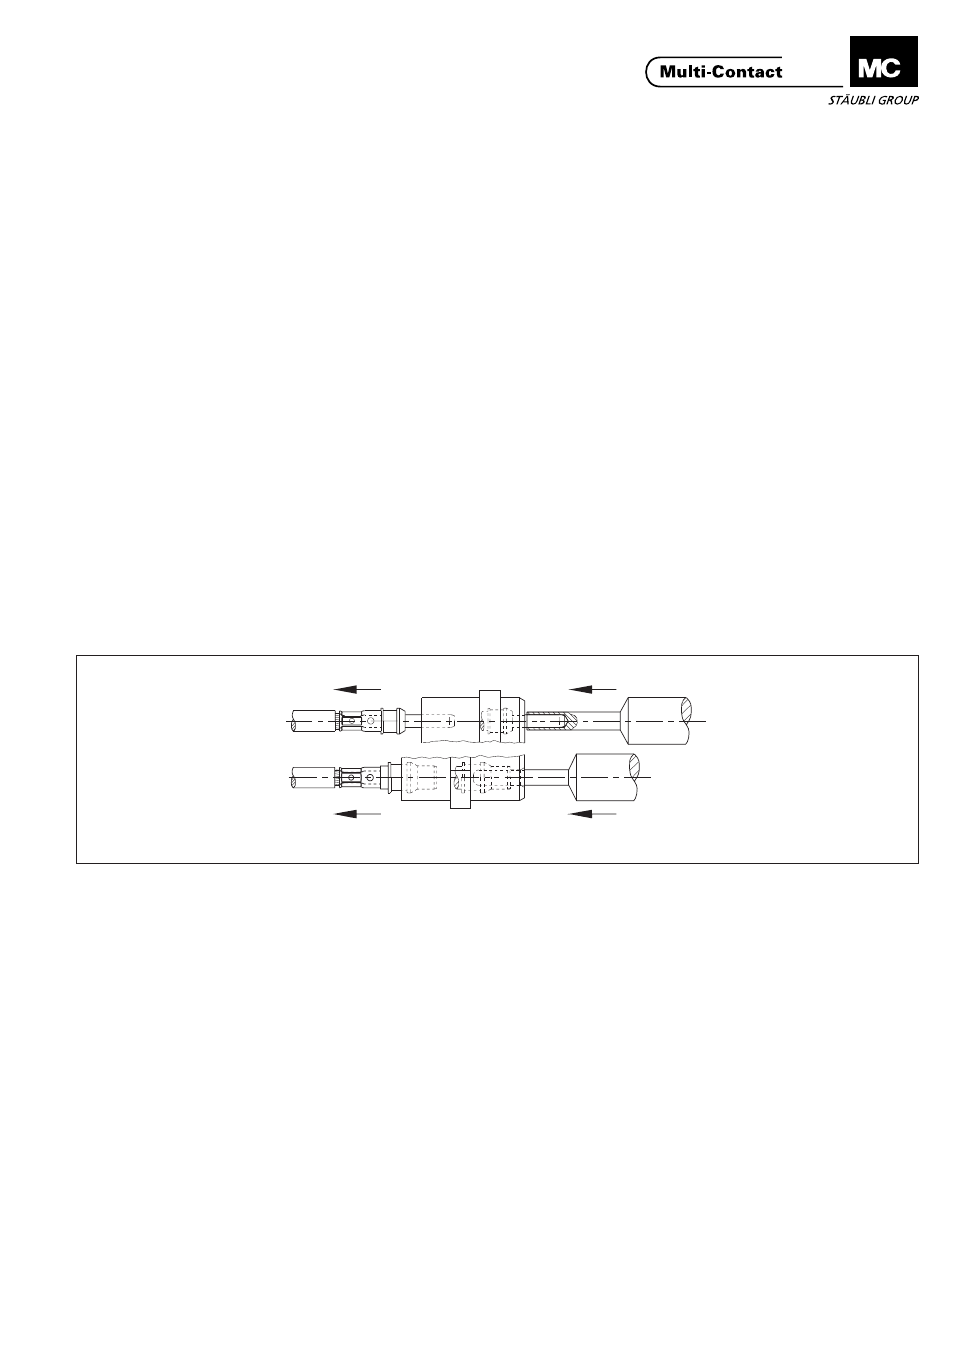
ill.12
Beim Stifteinsatz müssen alle Stifte
steckseitig gleich weit aus dem Stiftträ-
ger stehen, mit Ausnahme des PE-
Stiftes, bei Kontakten bis Ø 2mm, vorei-
lend ca. 2mm.
Beim Buchsenträger liegen die Buchsen
(bis Ø 2mm) in einer Ebene hinter dem
verjüngten Einlauf. Bei Buchsen ab Ø
3mm eilt die PE-Buchse vor.
Kontakte in die Kontaktkammern der
Stift- bzw. Buchsenträger von der An-
schlussseite her (grösserer Ø der Kon-
taktkammern) mit normaler Handkraft
vorstecken. Kontakte mit Kontaktein-
setzwerkzeug eindrücken.
Beim Stifteinbau wird als Montagehilfe
ein Stiftgehäuse-Vorderteil empfohlen.
Beim Buchseneinbau wird der Buchsen-
träger direkt auf eine ebene Unterlage
gestellt.
Werkzeug beim Eindrücken und Heraus-
ziehen parallel zur Achse führen.
Insert contacts by hand into the contact
holes of the pin or socket carrier from
the connection side (larger hole Ø).
Press in the contacts with the insertion
tool.
For the insertion of the pins, it is advisa-
ble to use the front part of an appropria-
tely sized housing as an assembly jig. To
install sockets, simply place socket car-
rier directly on a flat bench.
Be sure to keep tool straight when in-
stalling or removing contacts.
Emmancher à la main les contacts dans
leur logement respectif, par la face arriè-
re du corps isolant (grand Ø des loge-
ments).
Terminer le montage des contacts à l'ai-
de de l'outil approprié.
Pour le montage des broches, poser le
support isolant sur le boîtier avant corre-
spondant. Pour le montage des douilles,
poser le support isolant sur une surface
plane.
Lors du montage ou du démontage des
contacts, veiller à manipuler les outils
parallèlement à l'axe du support.
In pin carriers, all pins should project the
same distance out of the carrier. Excep-
tion: The PE-pin on contacts up to Ø
2mm should project about 2mm further.
In socket carriers, the sockets (up to Ø
2mm) are all seated in the same plane
behind the tapered opening. The PE so-
cket is advanced in the case of sockets
on Ø 3mm or larger.
Après leur mise en place, vérifier que
toutes les broches sont au même ni-
veau par rapport au support isolant. Ex-
ception: les broches de terre pour con-
tacts de Ø 2mm max. doivent être 2mm
plus en avant par rapport aux autres bro-
ches. Toutes les douilles jusqu'au
Ø 2mm doivent être au même niveau
dans le support. A partir de Ø 3mm, la
douille de terre sera en avant par rapport
aux autres douilles du support.
Überprüfung auf einwandfreie
Konfektionierung
Control of correct assembly
Contrôle du montage
(ill12)
Zu weit eingedrückte Buchsen werden
mit dem Buchsenausbauwerkzeug (ill.5)
bis zu ihrer Einrastlage zurückgedrückt.
Bei Belegungsfehlern und Reparaturen
werden die Kontakte mit den entspre-
chenden Ausbauwerkzeugen (ill.4, ill.5)
aus den Kontaktträgern gedrückt und
neu eingesetzt.
(ill12)
Sockets pressed in too far can be
pushed back to their correct seating posi-
tion with the socket extraction tool
(ill. 5).
In case of repairs or installation errors,
remove the contacts from the contact
carrier with the appropriate extraction
tool (ill.4, ill.5) and then reinstall them
correctly.
(ill12)
Les douilles trop enfoncées peuvent
être ramenées dans leur position nomi-
nale à l'aide de l'outil de démontage de
douille (ill.5).
En cas d'erreurs de montage ou lors
d'une réparation, extraire les contacts
du support isolant avec l'outil de démon-
tage approprié (ill.4, ill.5) puis les réinsé-
rer correctement.
www.multi-contact.com
Advanced Contact Technology