Copying a photo – Epson RX620 User Manual
Page 11
Copying a Photo
11
Copying a Photo
To print long-lasting photos with a professional finish, choose an Epson paper
specially designed for printing photos. Many different sizes and paper types are
available (see the inside back cover). To print beautiful photos without white
borders around the edges, try using a borderless layout (available only when
printing on 4 × 6-inch, 5 × 7-inch, 8 × 10-inch, and letter-size Epson paper).
1. Load your paper, then place your original on the scanner glass (see page 9).
2. Press the
Copy
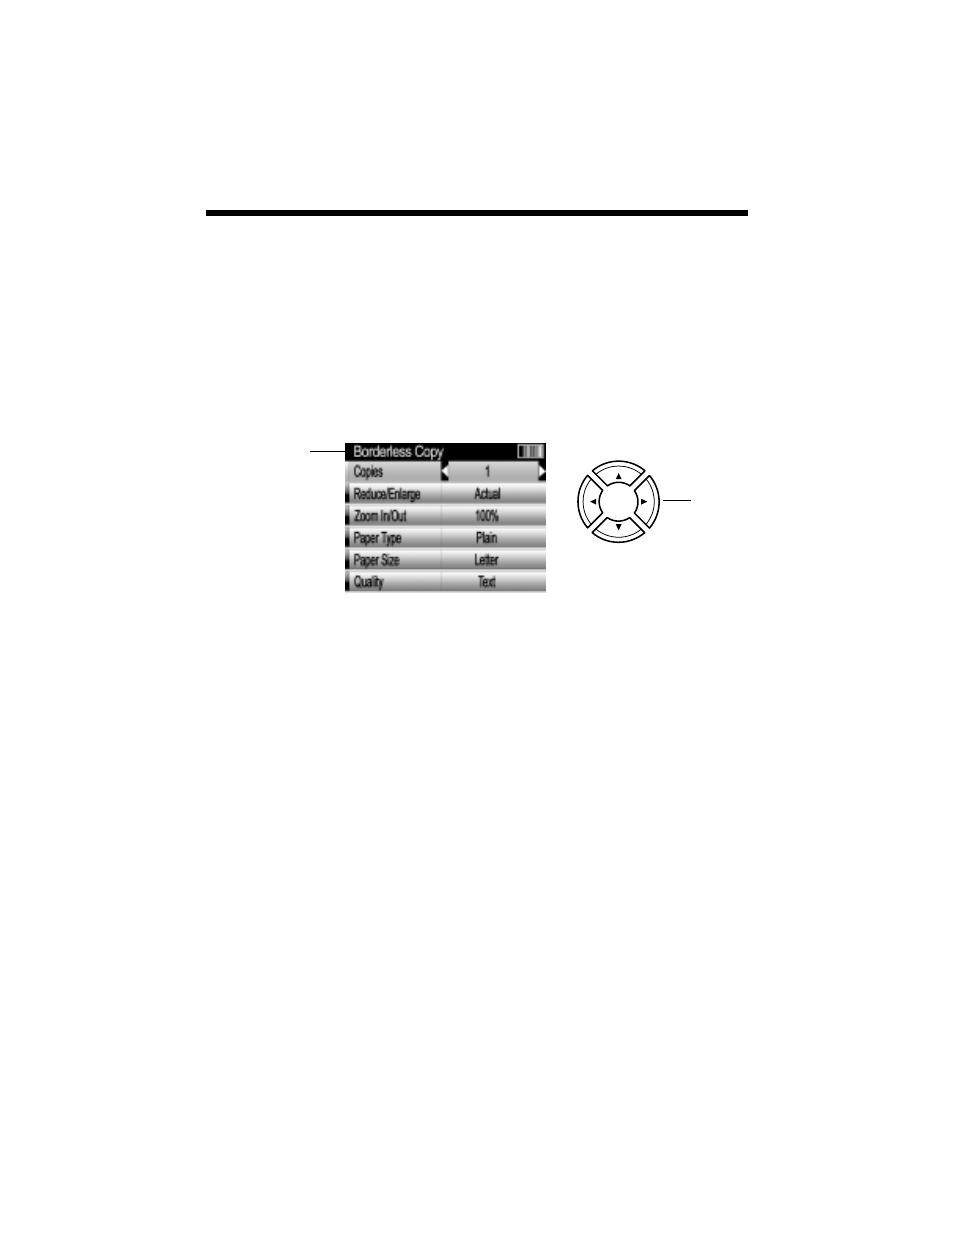
button. You see this screen:
3. Check the layout setting at the top of the screen and make sure it’s the one you
want to use (see pages 13 and 14 for layout options). If you want to print your
photo without white borders, make sure
Borderless Copy
is shown.
If necessary, press the
Copy Options
button and change
Copy Layout
to the
desired setting. Then press
OK
to apply the setting.
4. Use the u, d, l, and r buttons to select these settings:
■
Copies
: Print from 1 to 99 copies.
■
Reduce/Enlarge
: For borderless printing, select
Auto Fit Page
.
Otherwise, select
Actual
to print your photo at its original size; or resize
the image to fit various common paper sizes:
■
Zoom In/Out
: Resize the original by a specific amount (25% to 400%).
Letter
!
4 × 6
Letter
!
5 Ч 7
4 Ч 6
!
8 Ч 10
4 Ч 6
!
Letter
5 × 7
!
Letter
8 Ч 10
!
5 Ч 7
Arrow
buttons
Confirm the
layout setting
at the top of
the screen
(see step 3
below)