Epson RX620 User Manual
Page 10
10
Copying
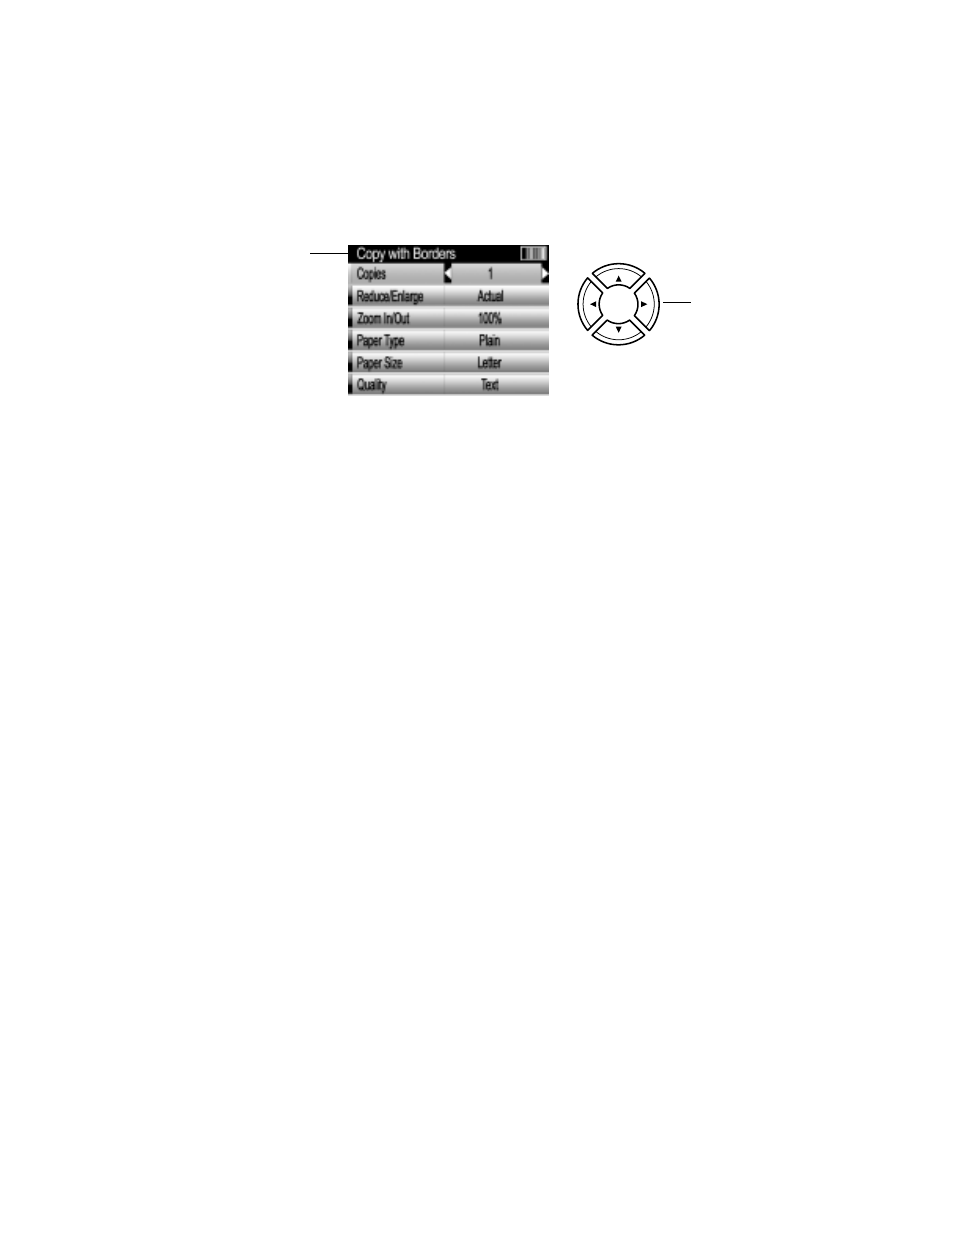
4. Press the
Copy
button. You see this screen:
Note:
The RX620 retains the last settings you used, so always check them to make sure
they’re the ones you want to copy with.
5. Check the layout setting at the top of the screen and make sure
Borderless
Copy
does not appear. You cannot make plain paper copies using a borderless
layout (it’s only for printing on selected types of Epson photo paper).
If necessary, press the
Copy Options
button and change
Copy Layout
to a
different option, such as
Copy w/Borders
. (See page 13 for more layout
options.) Then press
OK
to apply the new setting.
6. Use the u, d, l, and r buttons to select these settings:
■
Copies
: Print from 1 to 99 copies.
■
Reduce/Enlarge
: Print your scanned material at its original size (
Actual
)
or adjust it to fit the selected paper size (
Auto Fit Page
).
■
Zoom In/Out
: Resize the original by a specific amount (25% to 400%).
■
Paper Type
: Select
Plain
.
■
Paper Size
:
Letter
is automatically selected. (You can’t change this
setting when plain paper is chosen as the Paper Type.)
■
Quality
: Make quick copies (
Draft
) or quality copies of text and graphics
(
Text
).
7. Press the x
Color
button (for color copies) or the x
B&W
button (for black-
and-white copies). Your document is copied.
To cancel a copy job in progress, press the y
Stop
button.
Tip:
If you need to make your copies lighter or darker, press the Copy Options button and
adjust the Copy Density. Press OK when done to apply the setting.
Arrow
buttons
Confirm the
layout setting
at the top of
the screen
(see step 5
below)