22 installing epson net!2 in windows – Epson 900N User Manual
Page 29
22
Installing EPSON Net!2 in Windows
1. Insert the printer software CD-ROM in your drive.
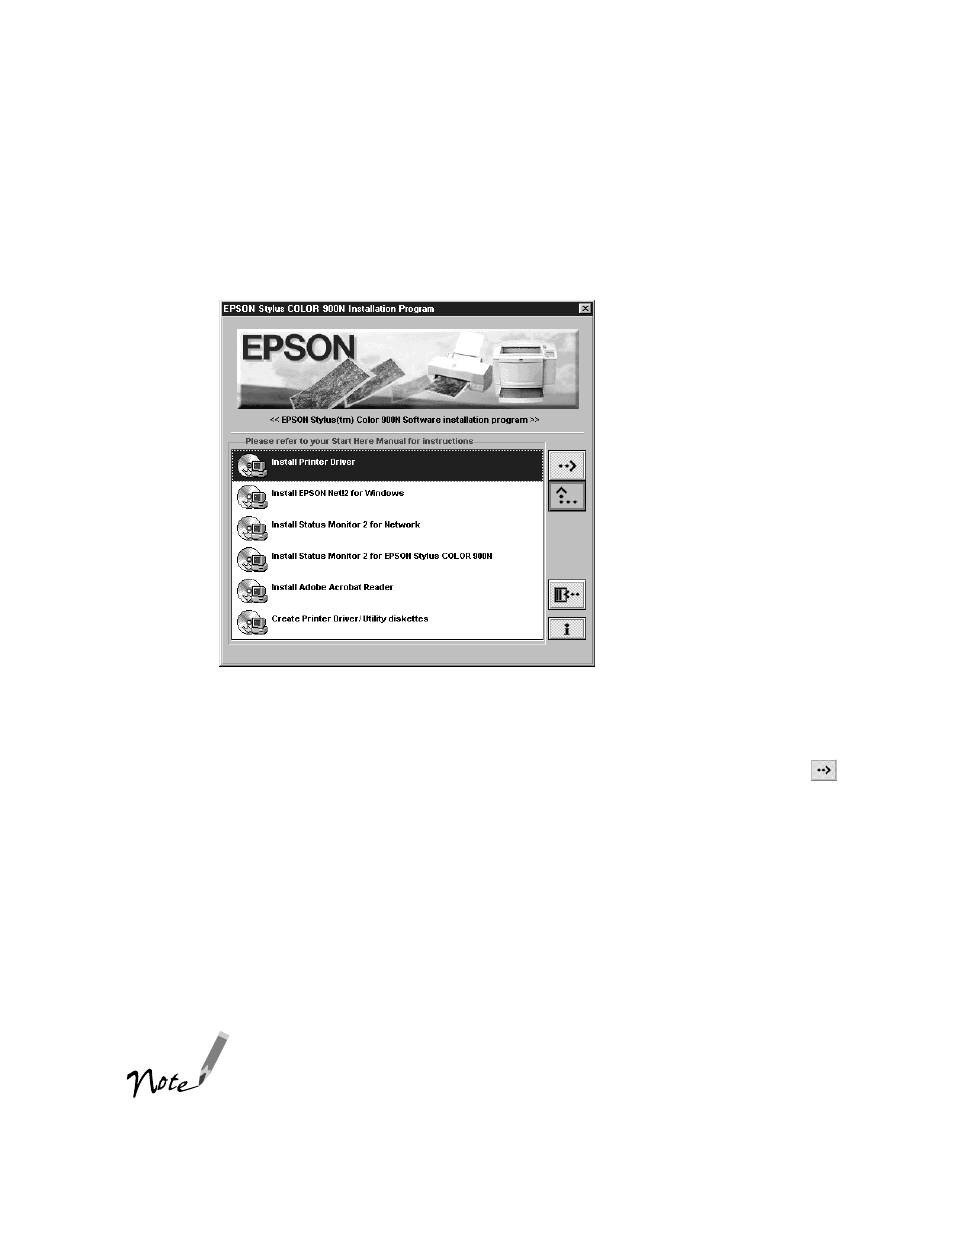
You see the EPSON Installation Program screen:
If the screen does not appear, go to
My Computer
and double-click the Epson
CD-ROM icon to start the EPSON Installation program.
2. Highlight
Install EpsonNet!2 for Windows
and click the right arrow button
.
3. Follow the instructions on screen to install EPSON Net!2.
When you are finished, you can install Status Monitor 2 to monitor information
about your printer including ink levels and printer errors. See page 23 for
instructions.
Status Monitor 2 can create extra network traffic, so if you don’t want to install it,
you can skip to configuring the Ethernet card with EPSON Net!2. See page 26
for NetWare and page 39 for TCP/IP and NetBEUI.
If you have any Windows 98 or Windows 95 systems on your
TCP/IP network, you need to install Status Monitor 2 on each
one to use EPSON TCP/IP printing. Windows 98 and
Windows 95 do not have TCP/IP printing built-in like
Windows NT.
instconf.fm Page 22 Friday, February 19, 1999 4:00 PM