Using your cub, Turning the cub on, Alarms – Ion Science Cub User Manual
Page 11
CUB MANUAL
Ion Science Ltd
Page 11 of 42
Unrivalled Detection. www.ionscience.com
Using your Cub
Turning the Cub on
Press and hold the button on the top of your Cub for three seconds
to turn it on. The Cub will beep when the button is first pressed. A
progress bar is shown on the display screen as the unit switches
on, with segments being added from left to right. When the Cub is
switched on, the display screen will be illuminated with a green light
for a few seconds, and the firmware version number is displayed.
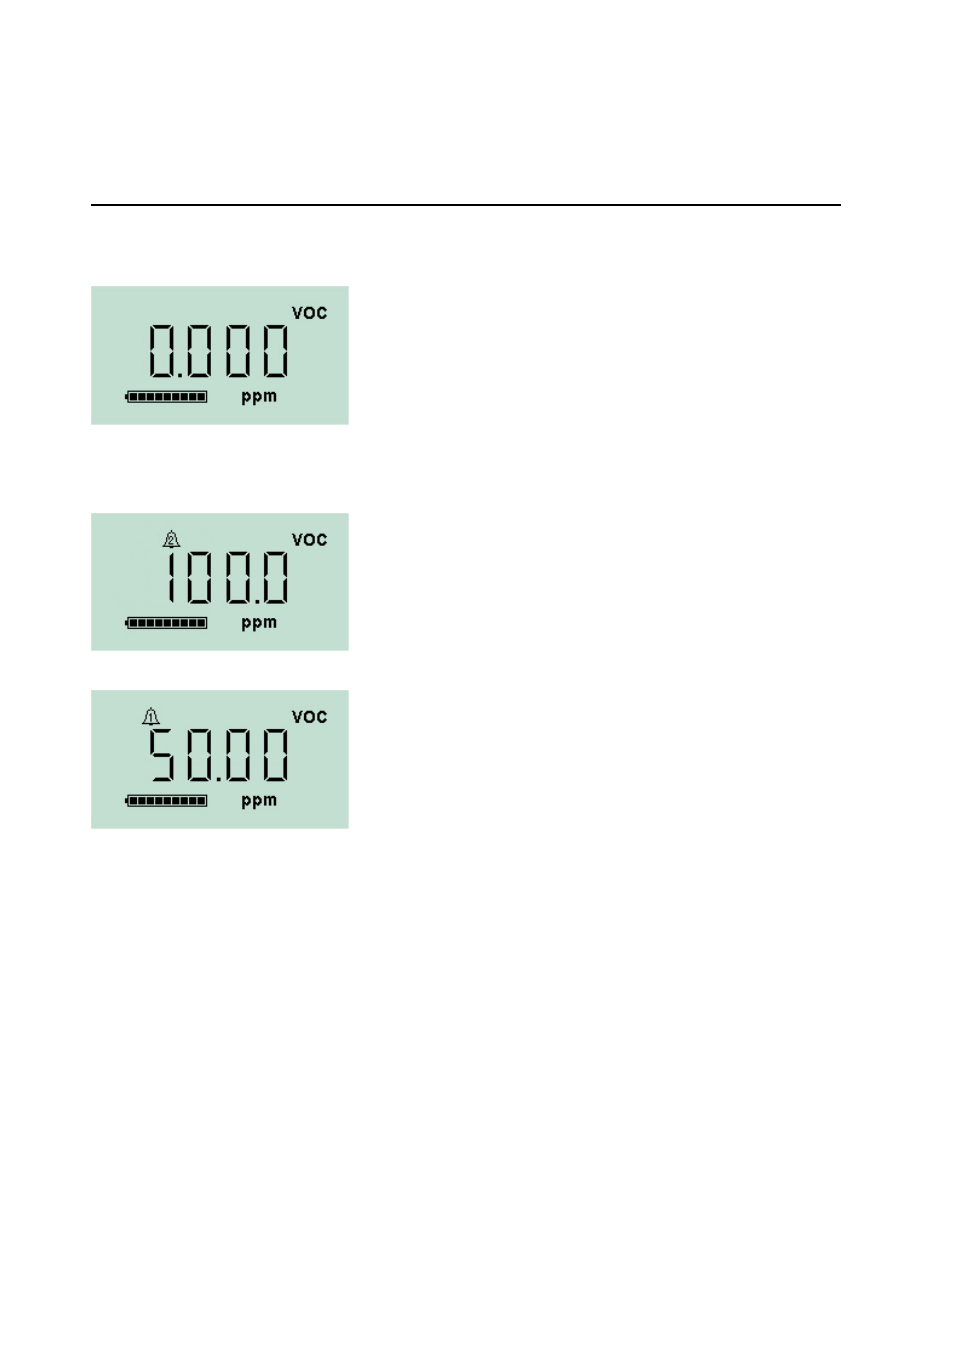
The screen will display the detected gas level and the current
battery charge condition.
Alarms
If the detected gas level triggers a high level alarm, the display
screen will be illuminated with a flashing red light, and the lights on
the top of the unit will flash red.
The high level alarm symbol will be displayed on the screen.
If the detected gas level triggers a low level alarm, the display
screen will be illuminated with a flashing orange light, and the lights
on the top of the unit will flash red.
The low level alarm symbol will be displayed on the screen.
Depending on how the Cub was set up (see Configuring a Cub, below), an alarm may also sound and the
unit may vibrate.
If the alarm latch is set (see Configuring a Cub, below), these alarm indications cannot be switched off
except by switching off the Cub, or placing it in a docking station.
If the alarm latch is not set, pressing the button once will turn off the alarm sound and vibration. The alarm
lights will continue to flash.
Pressing the button a second time will stop the alarm lights flashing, however, they will continue to flash if the
gas level is above the alarm threshold.