Configuration and upload, step by step – Visara 410 User Manual
Page 75
Appendix A-3
Appendix A: Remote Configuration
707027-002
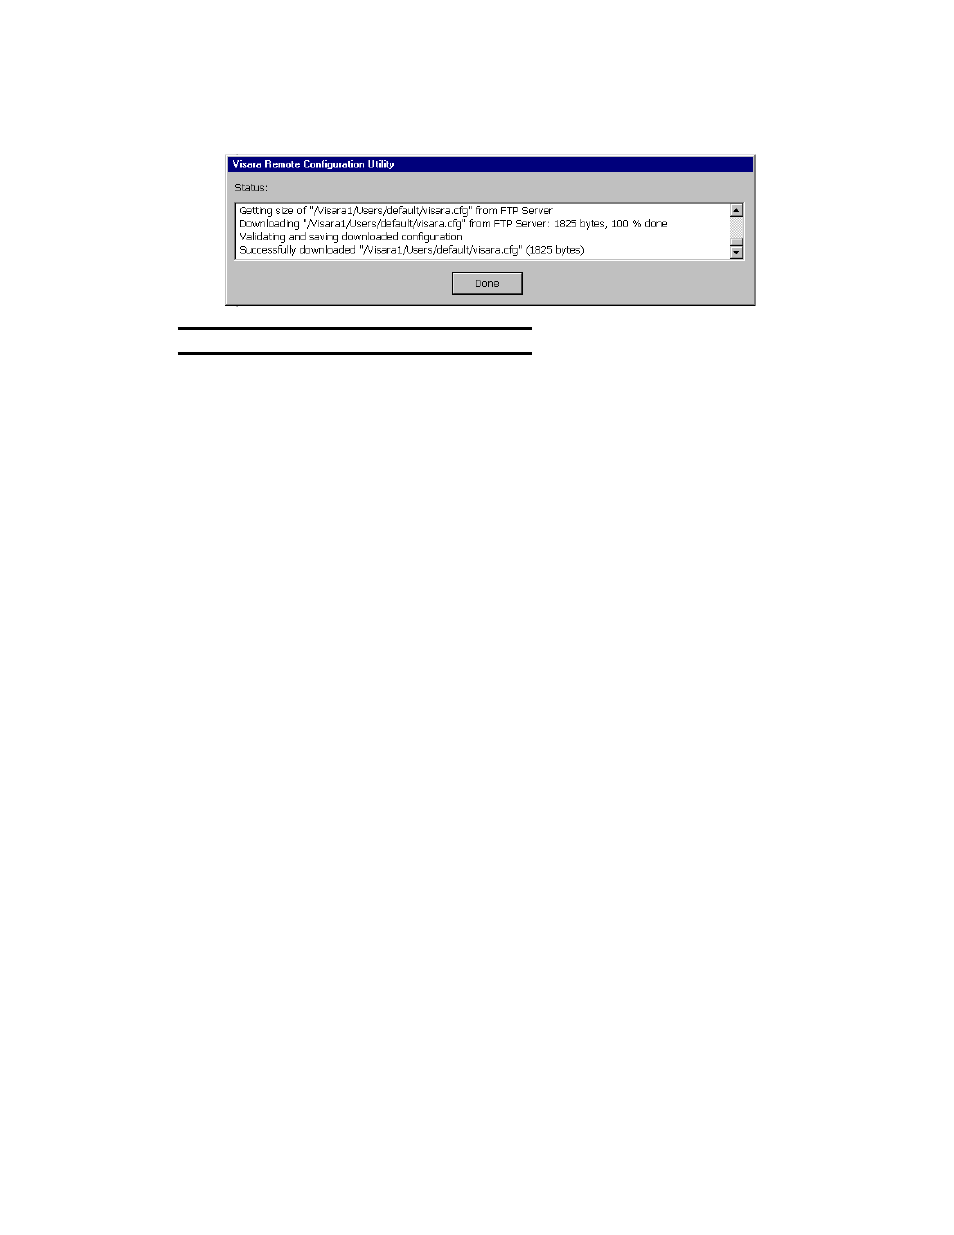
The Remote Configuration status window will open providing FTP status
on the transfer.
Configuration and Upload, Step By Step
1. Connect all Visara cables and turn on the power.
2. The Visara Remote Configuration Utility dialog box will display.
3. Click Cancel, the Visara Remote Configuration Utility startup window
will close. Configure using the Setup Wizard if not previously
configured and the Main Menu will appear.
4. Create the connection(s) which will be used by this Account (see
Chapter 3, Terminal Emulation Configuration)
5. Use the F2 key to access the Terminal Properties page and select the 1.
Admin tab.
6. The Admin window will display with the Configuration FTP Server
settings.
7. Check the FTP Server settings to be certain they match the server
address and path for your FTP server.
8. Append the correct Account name to the Server Path. This is the name
the user will use as an account name at startup.
9. Click Apply.
10.Click the “Upload configuration now” button to perform the upload
function.
11.In the Status window, watch for the message, Successfully uploaded
“/Visara1/userswbt/
12.When this message appears the Cancel button will change to Done.
13.Click Done and you will return to the Terminal Properties page.
14.Select the Admin Tab again. Remove the Account name from the
Server path. Click Apply.