Setting the built-in clock, Shutting down, Connecting monitoring devices and headphones – Teac DR-22WL User Manual
Page 9: Basic menu operation procedures, Menu structure, Recording, Recording screen, 9setting the built-in clock
TASCAM DR-22WL
9
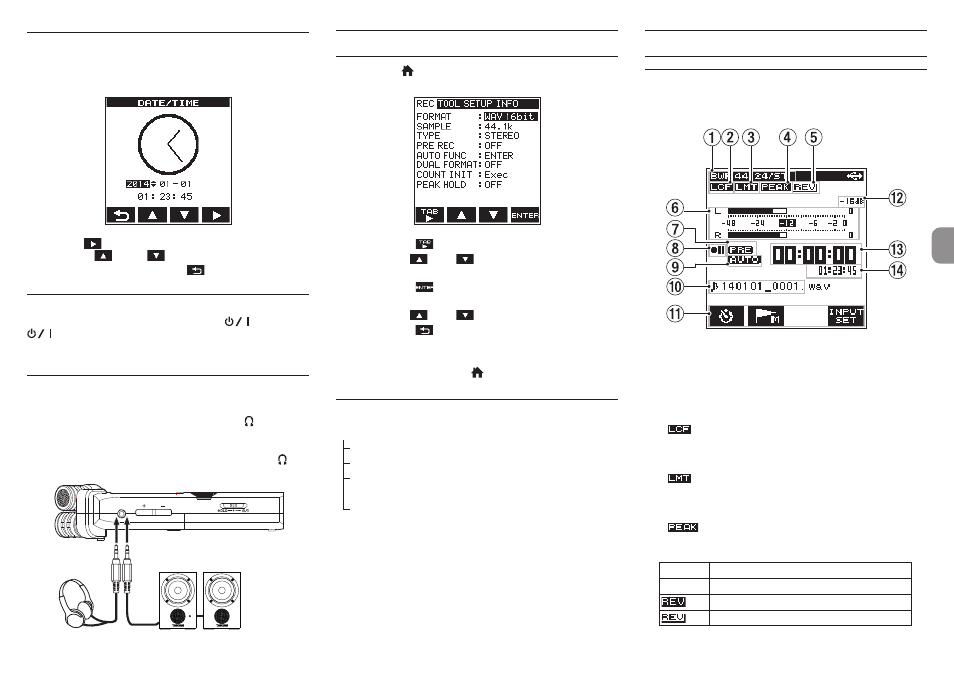
Setting the built-in clock
When the unit is started up for the first time (or after being left
without batteries), the
DATE/TIME
screen appears before
the start-up screen to allow the date and time to be set.
Press the F4
button to move the cursor (highlighted part),
and use the F2
and F3
buttons to set the date and time.
When finished setting, press the F1
button to return to the
menu screen.
Shutting down
While the unit is turned on, slide the HOLD/
switch to the
position until
TASCAM DR-22WL shutting
down
appears on the display.
The power turns off in a few seconds.
Connecting monitoring devices and
headphones
To listen with headphones, connect them to the /LINE OUT
jack.
To listen with an external monitoring system (powered monitor
speakers or an amplifier and speakers), connect it to the /
LINE OUT jack.
Headphones
Powered monitor speakers
or
an amplifier and speakers
Basic menu operation procedures
1. Press the /MENU/8 button to open the
REC
page
on the menu screen.
2. Press the F1
button to open menu pages.
3. Use the F2
or F3
button to select (highlight) a
menu item to set.
4. Press the F4
button to show the pop-up setting
screen.
5. Use the F2
or F3
button to change the setting.
6. Press the F1
button to set a different item in the same
menu page.
7. Repeat step 2 to 6 as necessary to set other items.
8. When finished, press the /MENU/8 button to return
to the Home Screen.
Menu structure
MENU
REC
Basic settings for recording
TOOL
Convenient functions for playback files
SETUP
Basic settings to make the device easy to
use
INFORMATION View information
Recording
Recording Screen
The screen below is shown when the unit is in the recording
standby state or while recording is in progress.
1
Recording mode
The recording file format, sampling frequency and stereo/
mono (
ST
/
MONO
) status are shown.
2
Low cut filter on/off status
Blank: Low pass filter off
: Low pass filter on
3
Limiter on/off status
Blank: Limiter off
: Limiter on
4
Peak reduction on/off status
Blank: Peak reduction off
: Peak reduction on
5
Reverb on/off status
Icon
On/off status
Blank
Reverb off
Reverb on (Recording with the effector on)
Reverb on (SEND status)