Setup – system, Firmware upgrade – OpenEye D4000 User Manual
Page 32
32
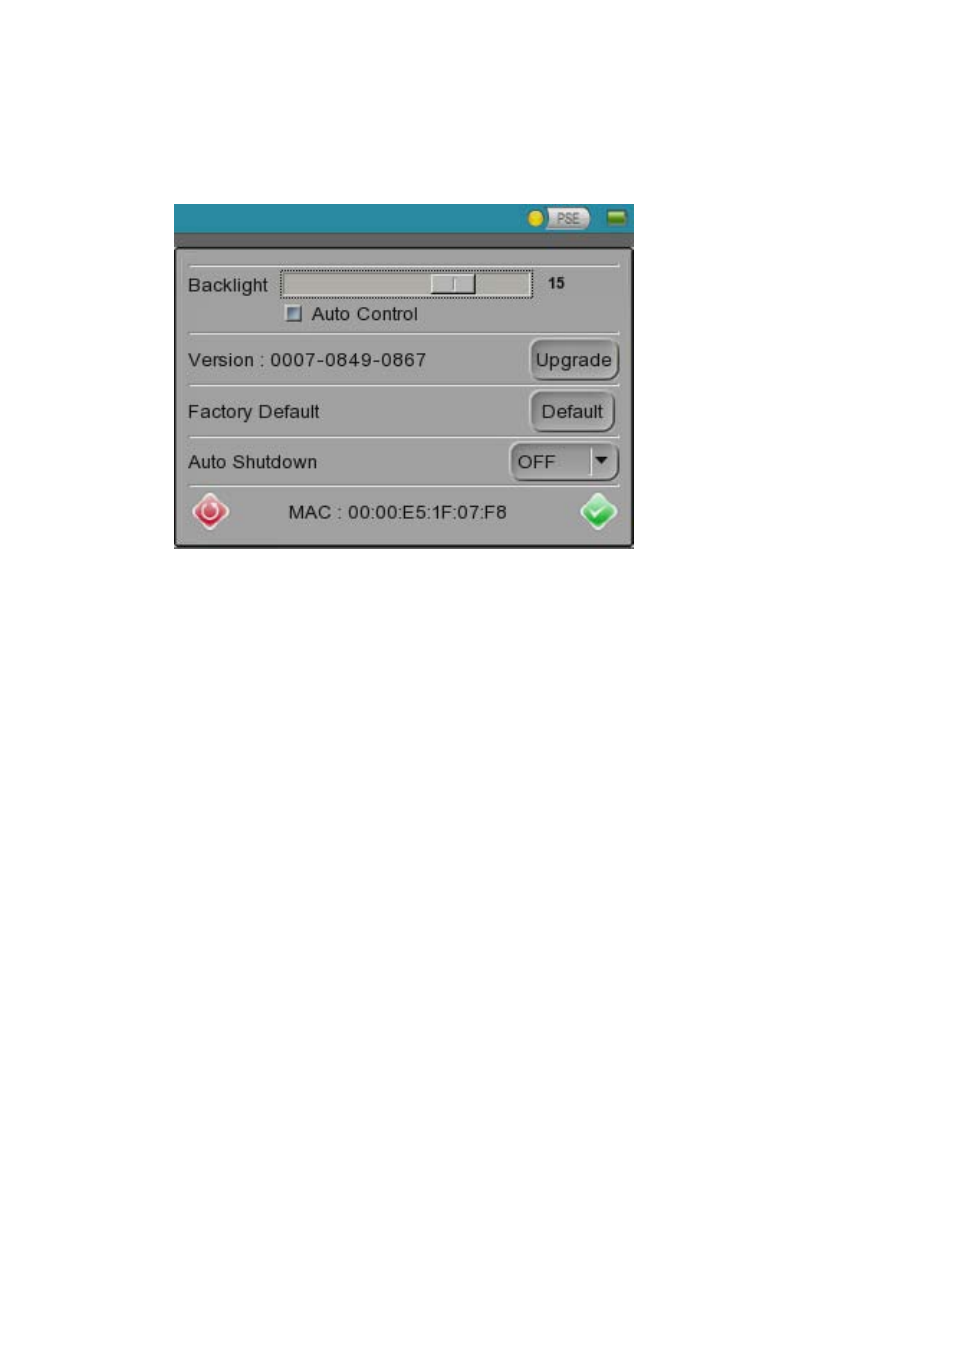
Setup – System
Use the System Setup screen to reset the system defaults or update the firmware.
Backlight – Adjust the brightness of the LCD screen. The Auto Control function fixes the
brightness at the default setting.
Version – Shows the tester’s firmware version. See steps below to upgrade the firmware.
Factory Default – Resets all the D4000’s settings to the factory default settings.
Auto Shutdown – defines a specific amount of time the tester will stay idle before
automatically turning off. Use this setting to conserve battery life.
Firmware Upgrade
To upgrade the tester’s firmware:
1. Unzip the Upgrade folder into the root of the USB device.
Note
This means that the firmware files (a .tgz and a .md5 file) must be located in
update/upd_dt01s)
2. Plug the power supply in, this is required to power the USB device.
3. Plug the USB device into the tester.
4. Navigate to the System Setup screen, and tap the Upgrade button, this will open the file
selection dialog.
5. Check the Upgrade All box, then tap the USB button, and pick the firmware upgrade file
from the list.
6. Tap the Enter button, or press the enter key on the tester keypad, tap OK to proceed.
The tester must complete the upgrade and then reboot. Do not interrupt the upgrade
process, as this can corrupt the tester’s firmware.