Setting up a device, Connecting the device to a network, Chapter 2 – Measurement Computing WiFi-500 Sensor Series User Manual
Page 8
8
Chapter 2
Setting Up a Device
To set up a WiFi-500 Sensor Series wireless device for use on either the PC or the Cloud, make sure you have
the following items:
Micro-USB cable
802.11b-compliant router or access point
WiFi-enabled computer with WiFi Sensor Software installed
The computer running the WiFi Sensor Software must be connected to the router either wirelessly or by
Ethernet cable.
Connecting the device to a network
Complete the following steps to connect a WiFi-500 Sensor Series data logger to a WiFi network:
1. Find the password for the router (often located on the bottom of the router).
2. Double-click the WiFi Sensor Software desktop icon (
) to run the software.
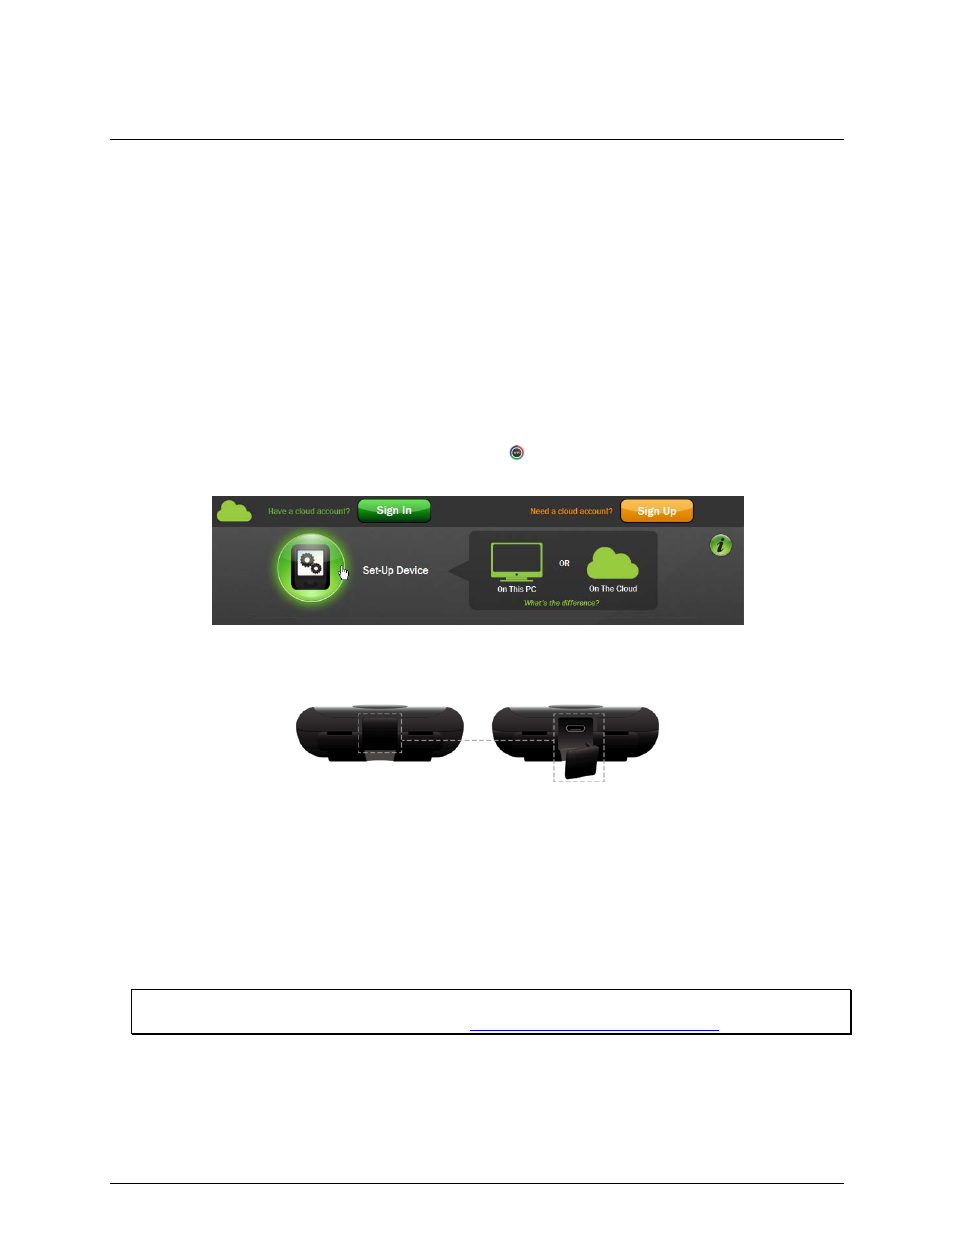
3. Click either
Set-Up Device»On This PC
or
Set-Up Device»On The Cloud
in the main software screen.
Figure 1: WiFi Sensor Software Set-Up Device options
4. Remove the rubber plug that protects the USB connector on the sensor and connect the sensor to the
computer using the Micro-USB cable.
Figure 2: Removing rubber plug over USB connector
Allow any security access highlighted by your firewall or antivirus program if you are prompted.
A
CONNECTED
message indicates the WiFi Sensor Software has detected the device.
If a
NOT CONNECTED
message displays, reconnect the USB cable and the software automatically
attempts to detect the device.
5. Once a list of available WiFi networks displays, click on a network to connect to the device. This must be
the same network that is connected to the host computer. If a
FAILED
message displays, click
Refresh
Connections
until a list of networks displays.
6. Enter the network password and click
CONNECT
.
Problems connecting?
If a
NOT CONNECTED
dialog box displays, refer to
Cannot connect device to WiFi network