Kip print pro user guide – KIP PrintPro User Manual
Page 94
KIP Print Pro User Guide
No part of this publication may be copied, reproduced or distributed in any form without express written permission
from KIP. 2015 KIP. v1
- 87 -
Step
Action
Illustration
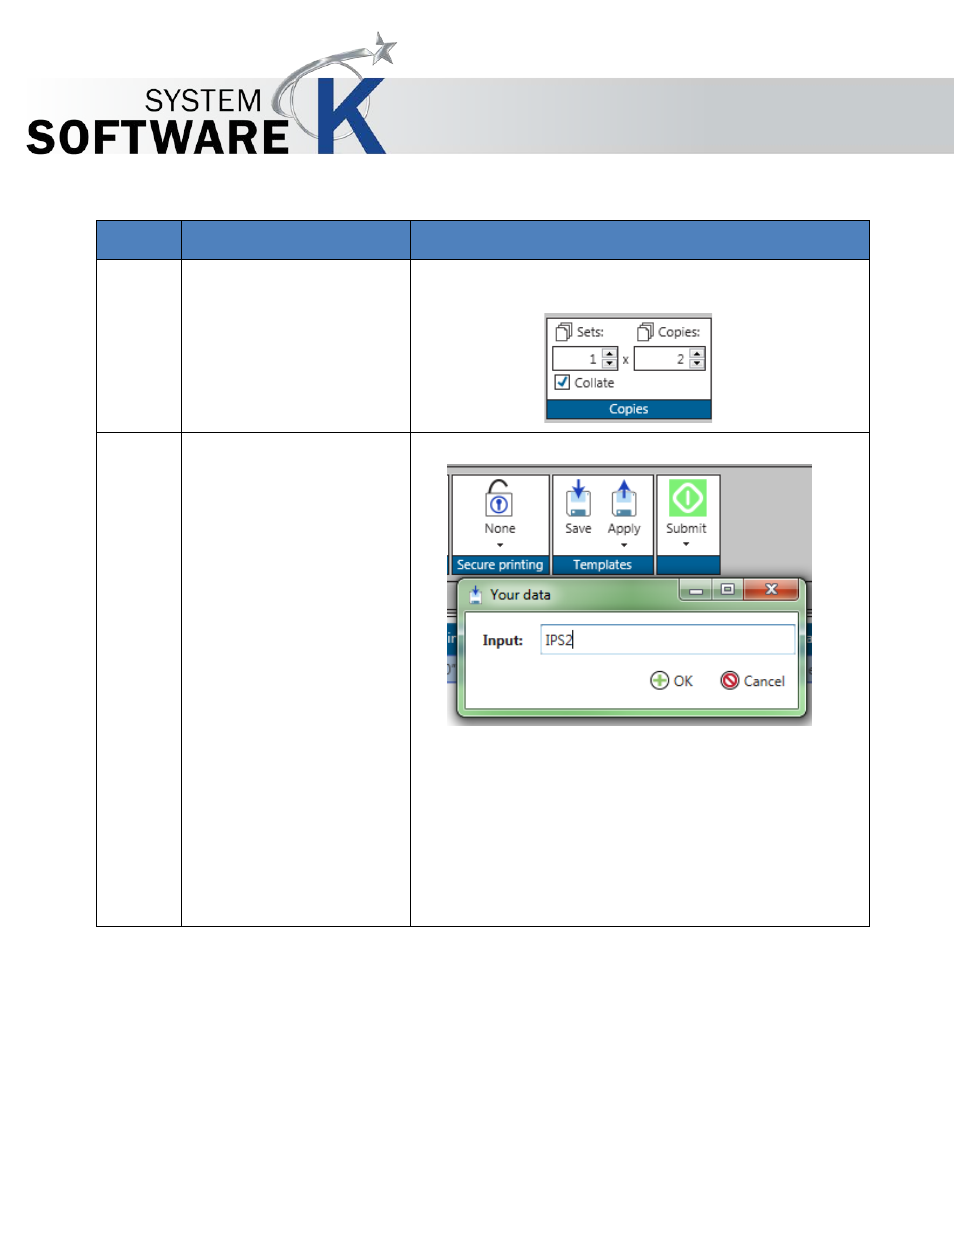
5.
Select the desired settings
that will be applied to the
LRP queue for all files that
are sent to it to be printed.
For this example this will be
kept simple. This will be
configured to print 2 copies.
6.
Select the Save Icon in the
Templates button.
This will prompt for a Input
name (this will be the
Queue Name)
Here the Queue Name is set
to IPS2.
When LPR is used to send
files to the KIP Printer
anything sent to IPS2 will
produce 2 sheets at 100%.