12 hpgl presets, Hpgl presets, Kip print pro user guide – KIP PrintPro User Manual
Page 69
KIP Print Pro User Guide
No part of this publication may be copied, reproduced or distributed in any form without express written permission
from KIP. 2015 KIP. v1
- 62 -
3.12 HPGL Presets
Step Action
Illustration
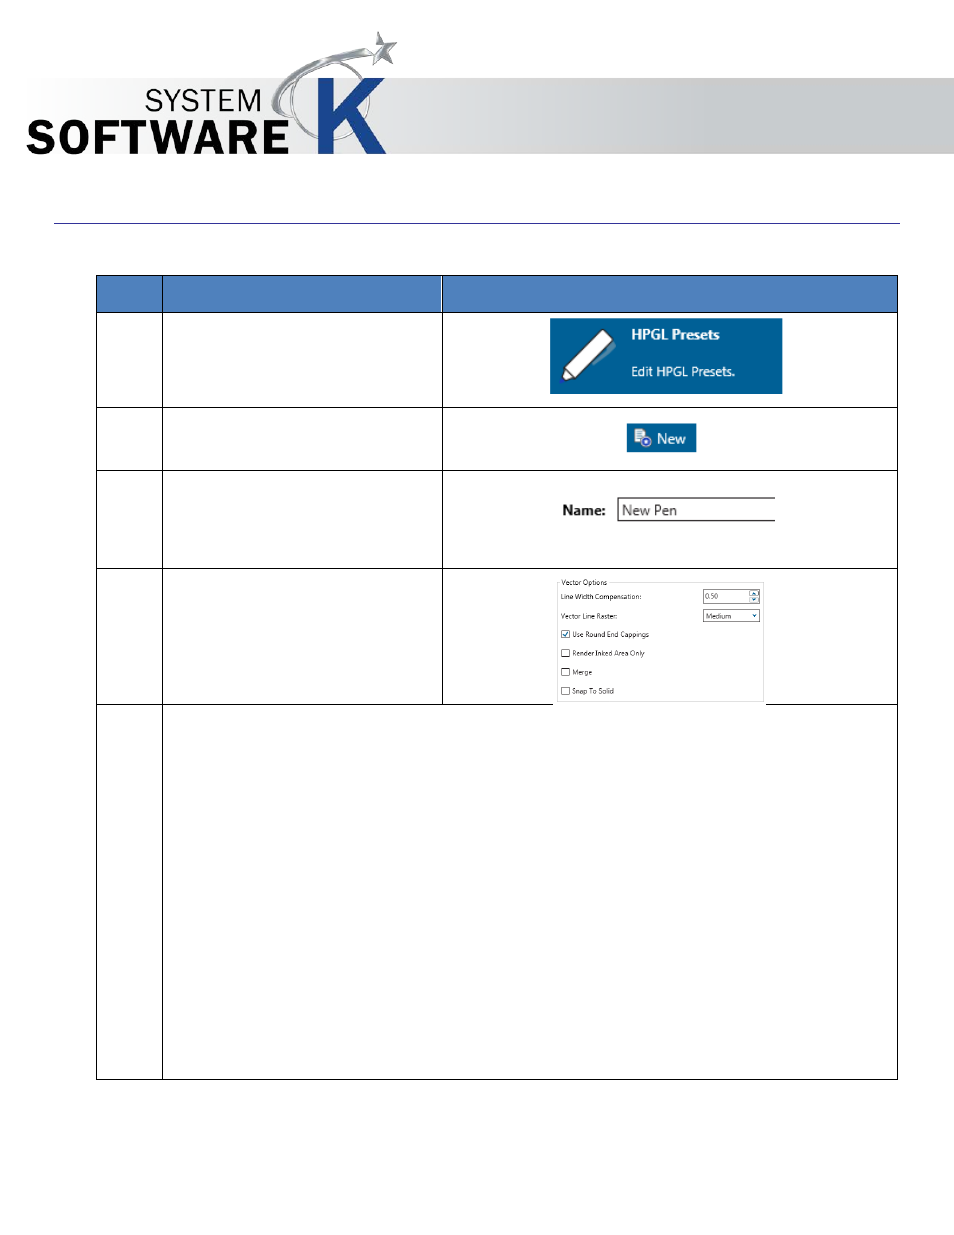
19. Select the HPGL Presets button
from the Printer Information page.
20. Select the New Button
21. Name – This is the name that will
be displayed in the Preset list of
names and will be displayed on
the main screen.
22. Vector Options – Select from the
available selections:
Line Width Compensation - Allows addition and subtraction of pixels from the overall width of
all vector lines. Users have the choice of selecting negative values (to compensate for thick
lines) to positive values (to compensate for thin lines)
Vector Line Raster - Users have 3 choices of dither output patterns. There is no ‘correct’ setting.
Set according to user preference.
Use Round End Capping – Forces end capping on lines in vector files to round ends.
Render Inked Area Only -
Merge - This enables the user to merge lines of different shades. When not applied, the layers
within the plot file determine how lines merge on each other.
Snap to Solid -