Setting up mail designer pro 2 for sending, Configuring the design delivery account, Configuring a standard email service – equinux Mail Designer Pro 2 User Manual
Page 32: Configuring a generic email service
Setting up Mail Designer Pro 2 for
sending
Before you can use Mail Designer Pro 2 for sending your template to your
recipients, we have to configure the email account you want to use.
Configuring the Design Delivery Account
Mail Designer Pro 2 comes with a free mail delivery service you can use for
testing your design. This account is called ”Design Delivery” and can be con-
figured in the preferences of Mail Designer Pro 2.
‣ Open Mail Designer Pro 2‘s preferences by choosing ”Mail Designer Pro >
Preferences…“ from the top menu bar.
‣ Open the ”Mail“ tab and select the ”Design Delivery” account.
‣ Enter the email address your recipient will see when receiving your mes-
sage and your name.
‣ Click ”Mail” to save your changes.
Configuring a standard email service
With Mail Designer Pro 2 you can configure the most popular email services
with a few easy steps and use them for sending your messages.
‣ Open Mail Designer Pro 2‘s preferences by choosing ”Mail Designer Pro >
Preferences…“ from the top menu bar.
‣ Open the ”Mail“ tab.
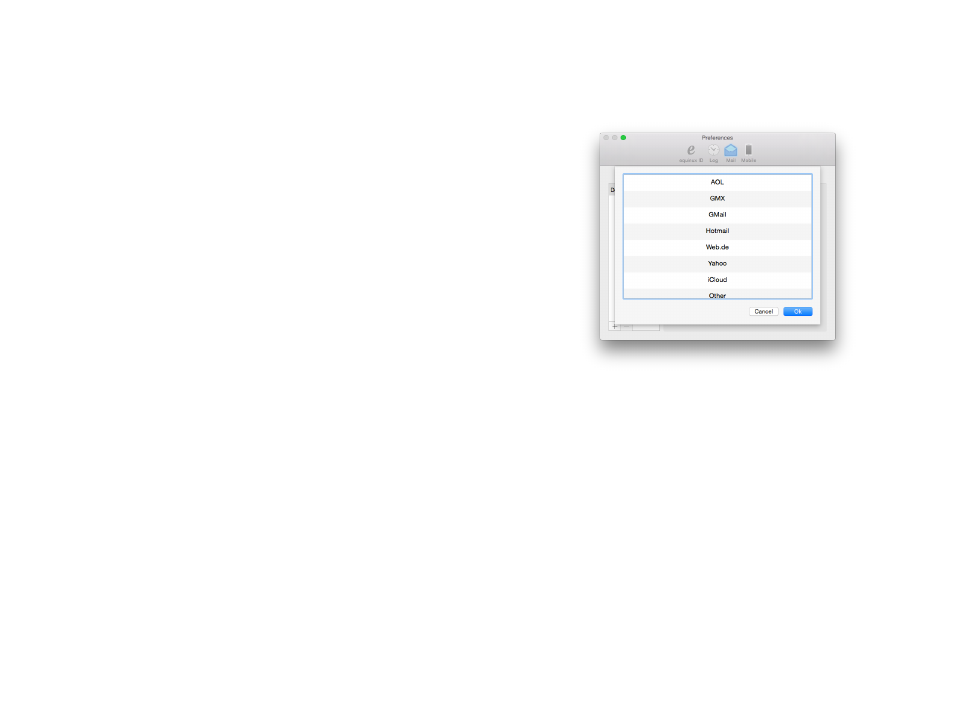
‣ Click ”+“ at the end of the list and choose the account type you want to
add.
‣ Enter the missing information like user name and password.
‣ Click ”Mail“ to save your changes.
By choosing one of the standard services, all you have to do is enter a few
things like the description you want to use, your email address, your name
and user name and password.
Mail Designer Pro 2 knows all the other settings like SMTP server or port so
you don’t have to. After you are done, close the preference window and save
the changes.
You can now add additional services or begin sending your messages.
Configuring a generic email service
In order to set up an email service which is not already in the list of precon-
figured services, please choose ”Other”.
32