Adding a mask, Filling a mask with your image – equinux Mail Designer Pro 2 User Manual
Page 18
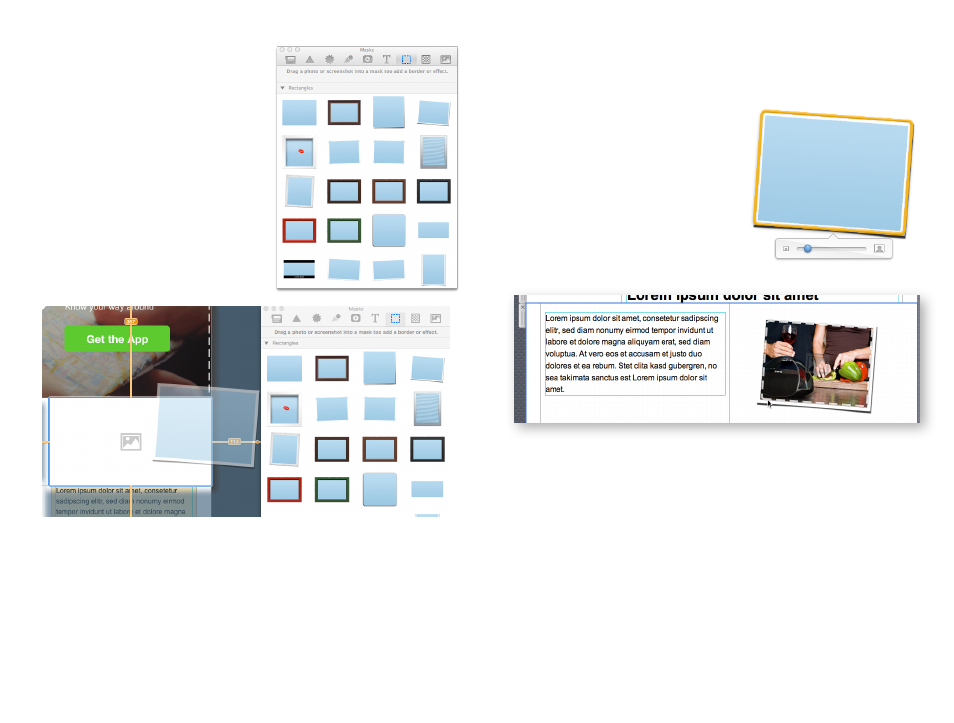
Open the Masks tab in the content win
dow. Mail Designer Pro 2 includes plain
placeholders, framed placeholders and
even masking effect placeholders, like
the t-shirt or flag designs.
Adding a mask
Pick the placeholder style that you
would like to use and drag it into your
design. You'll notice that Mail Designer
Pro 2 has highlighted the image areas
again, so you know which areas you can
add your placeholder to.
This blue rectangle is the mask we have added.
Filling a mask with your image
After you have added a mask to your template simply drag your own photo
on to it in order to apply it for your
mask.
Double-click the image placeholder
we just added. You'll see the image
zoom slider which allows you to zoom
in to your image.
18
This manual is related to the following products: