Rotating objects, Using objects with text, Adding photos – equinux Mail Designer Pro 2 User Manual
Page 17: Adding masks, Photos
Rotating objects
You can rotate an object in 90 degrees steps by clicking ”Rotate” from the
toolbar. Hold down the Command key before clicking one of the graphics
resize controls in order to rotate the shape or mask freely. You will see that
the cursor will turn into a rotate icon.
Using objects with text
Some of the objects may contain text. You can double-click the text to re-
place it with your own.
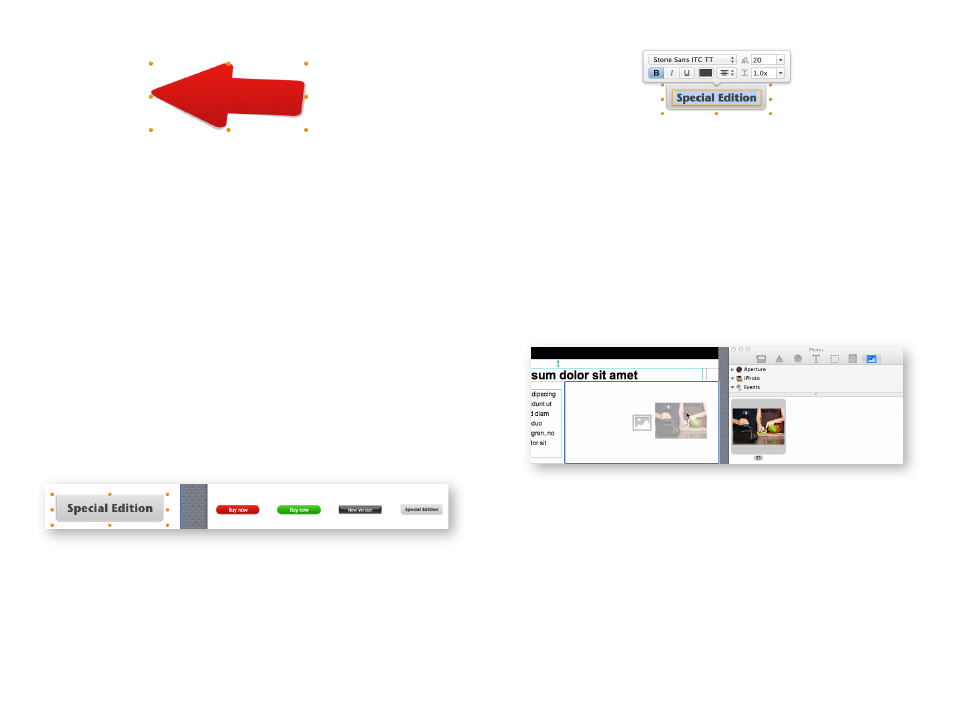
Choose “Graphics” in the Contents panel, choose for example the grey “Spe-
cial Edition” image and drag it into an image area:
Double-click the “Special Edition” text and we can type in a custom name.
You can also choose a font and make it bigger or smaller to fit the available
space:
Hold down the Command while resizing for more options
Photos
As everyone knows, a picture is worth a thousand words. Photos are a great
way to grab your readers attention and immediately let them know what the
email is about.
Adding photos
Open the Contents panel and choose "Photos". The photos tab gives you
quick access your iPhoto and Aperture libraries, as well as other folders that
contain images.
To add an image, just drag it into an image area.
Once you've dragged your image into an image area, you can use the or-
ange resize controls along the edge of your picture to resize it.
Adding masks
For greater flexibility, Mail Designer Pro 2 also includes masks that can be
used to crop or resize a picture and also offer interesting frame designs and
masking effects.
17