Working with image areas, Adding graphics and shapes, Duplicating objects – equinux Mail Designer Pro 2 User Manual
Page 15: Adding animated graphics, Graphics and other objects
Working with image areas
Image areas can contain images, photos, shapes, masks and stylized text – so
you can really let your creativity flow.
Image areas are highlighted in blue in the Contents panel:
You can drag graphics, shapes, masks, photos and stylized text to these areas
in your design. Mail Designer Pro 2 will highlight those areas where you can
drop images into.
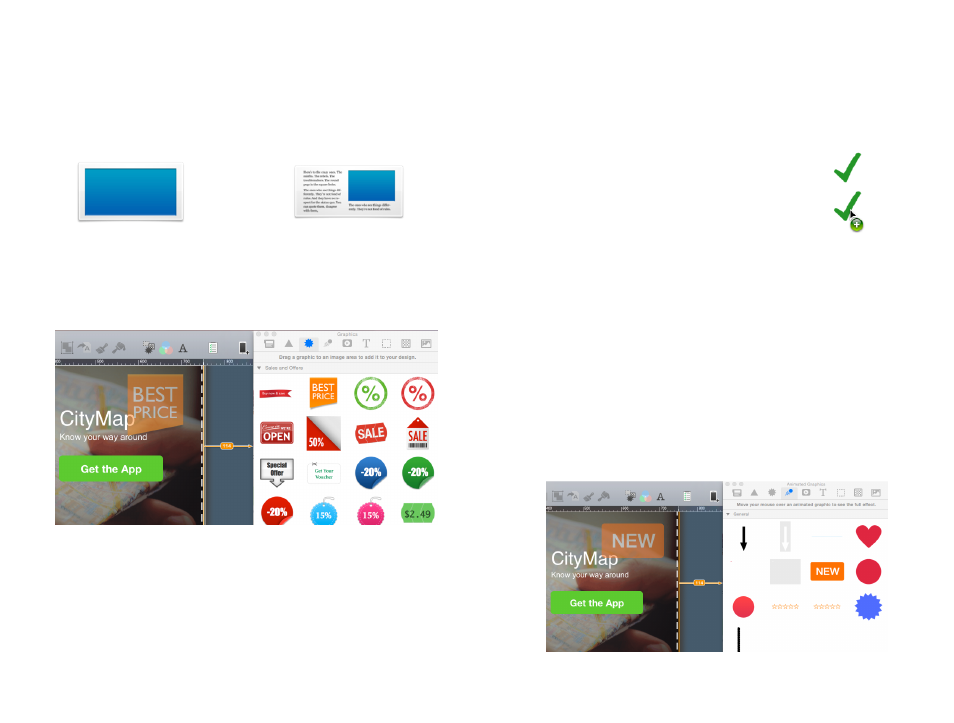
Graphics and other objects
Mail Designer Pro 2 includes graphics that you can use to spruce up your
email design. These include sales promotion artwork as well as border de-
signs.
Layout block with text and image areas
Layout block with an image area
Adding graphics and shapes
To add graphics or shapes, simply choose one from the Contents panel and
drag it into an image area in your mail design.
Duplicating objects
You can duplicate objects by choosing Edit >
Duplicate from the menu bar. Alternatively,
you can also hold down the option key and
drag the object to place a duplicate in your
design.
Adding animated graphics
Mail Designer Pro 2 comes with a variety of animated graphics. Drag the
animated graphic you want to use in your design from the Animated
Graphic section into your template.
As long as the animated graphic you have added is selected, you will see the
animation of the graphic.
You can also add custom gif files you‘ve created in your design. Simply drag
the file into an image area.
Hold down the Option key and
drag to duplicate an object
15