Editing text in an image area, Working with links, Creating a text link – equinux Mail Designer Pro 2 User Manual
Page 22: Special characters
Editing text in an image area
In an image area, Mail Designer Pro 2 offers more flexibility and you can get
really creative with your text. Let's try out some creative ideas!
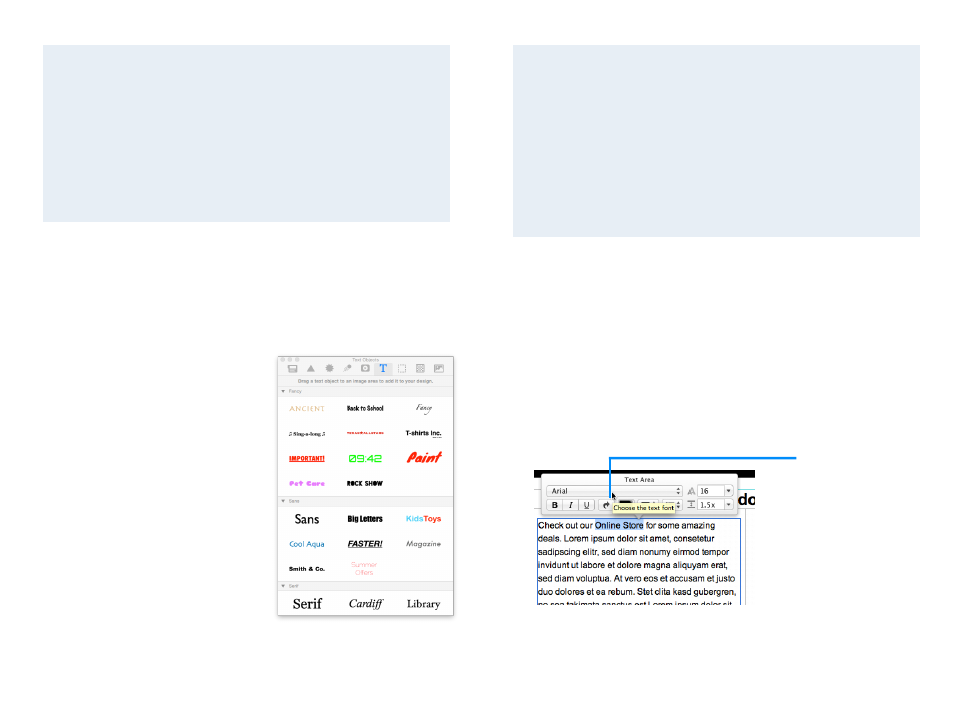
Open the Contents panel and choose "Text Objects".
Like every tab in the Contents window,
also the Text Objects are divided into
multiple subsections. This allows you to
easily find the font and style you want.
We have also created a few other text
styles using different fonts and colors.
Drag any of these text objects into an
image area and double-click it to edit
the text.
A note about font options
If you're in a text area, the font options in the popover only include
so-called "Web-safe Fonts". These are fonts that can be viewed on
most computers. If you're adding text to an image area, you can
choose from a wider selection of fonts, as these will be displayed as
part of an image, ensuring their compatibility with most email pro-
grams.
Working with links
You can include links to your website, file downloads or other resources on
the web in your design. Mail Designer Pro 2 support links for image areas as
well as text links.
Creating a text link
Mark the text that you would like to turn into a link. Then click the arrow link
in the popover. A dialog will slide in and you can enter your link.
Then enter your URL in the Link destination dialog box:
Special Characters
You’ll notice that some of the text objects use special characters like
these: ★ .
You can find lots more of these types of characters under “Edit >
Special Characters…”
Select text somewhere in an image area, choose a special character
and click “Insert” to add it to your text.
Select some text
and click the link
button.
22