Adjust position of printhead, Adjust pressure of printhead – Avery Dennison TTX 450 User Manual
Page 19
User Manual
TTX 450/650/950/1050 – Puma/Lion/Tiger/Tiger XXL – TDI/STDI/XXtreme –
S45/65/95/105
05/08 Rev.
2.14
19
Adjust position of printhead
The zero line of the printhead can be varied from 2 - 13 mm of the left material edge
(this is only true for TTX 650, 950, 1050, TDI – not for the TTX 450)
• Loosen screw at center of printhead axle and set printhead to required
position.
Attention: Printhead must not be plugged off !
• Fix screw
• Loosen black plastic disk at ribbon rewind and unwind mandrell by means of 2
mm
allen key
• Adapt them both to position of printhead zero line and tighten again
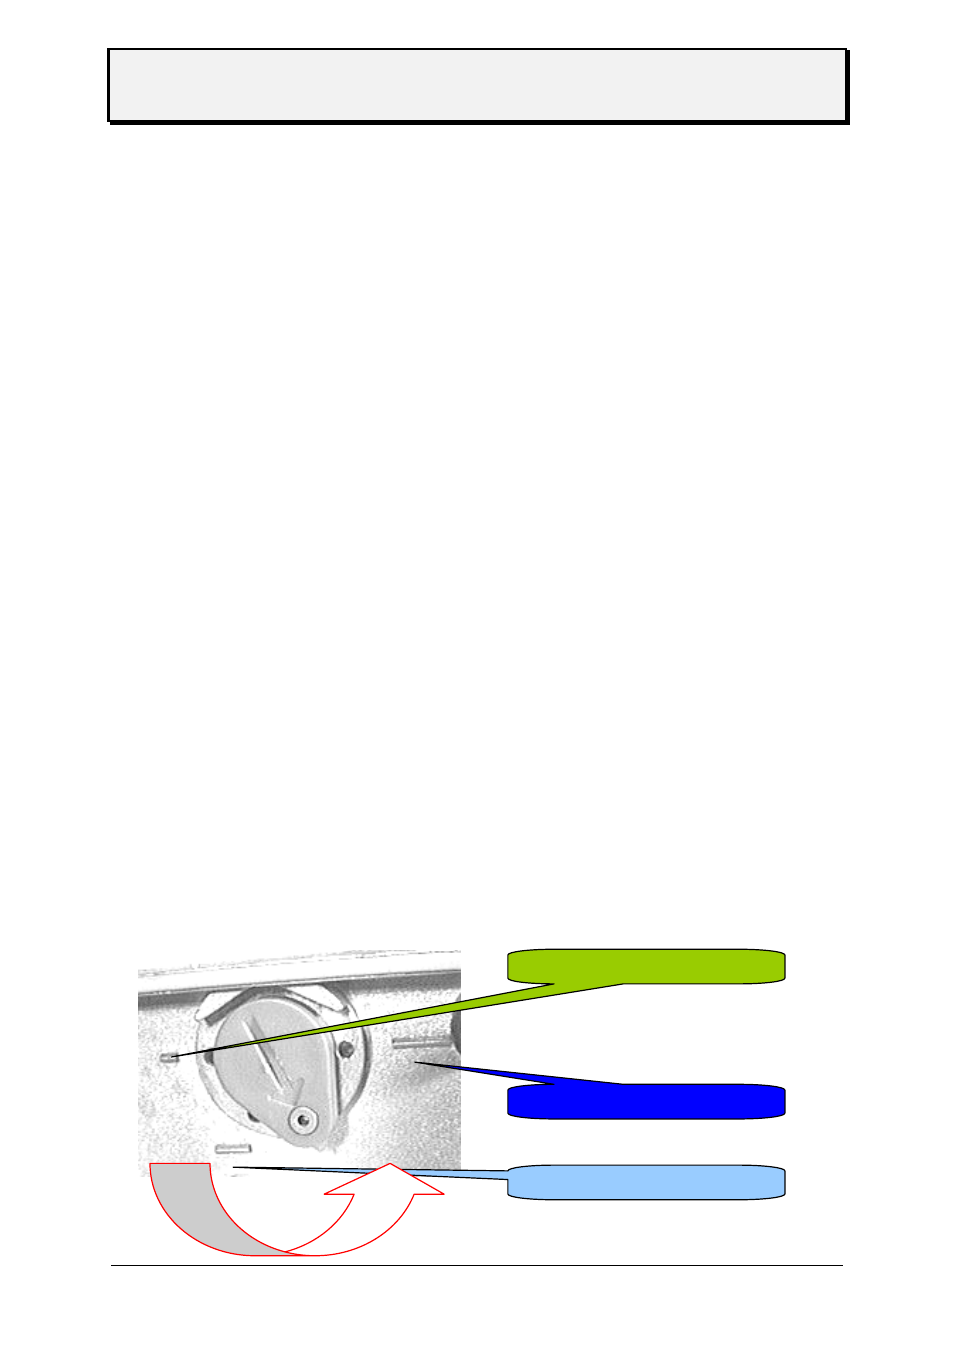
Adjust pressure of printhead
Different material width may require different pressure of printhead to material in order to
optimise the print quality.
• 3 grades are available.
• Rotate the adjustment disk by means of a coin or screwdriver to the required
position.
Note: Select pressure only as high as necessary for the best print quality. Too
high pressure may lead to damages at the printhead.
thin media / small media
thick media / wide media
medium media / medium