Inserting and removing a pc card, Inserting the pc card, Removing the pc card – Dukane 8768 User Manual
Page 57: Direction for inserting the pc card, Pc card type, Using the viewer, The pc card slot accepts pcmcia type ii only, Pc card (not supplied) eject button
57
Inserting and Removing a PC Card
NOTE:
• Do not try to force the PC card into the slot.
• A dummy card is inserted into the PC CARD slot at the time of shipment. First remove the dummy card before use.
AC IN
3D REFORM
SOURCE
SEL
EC
T
STATUS
LAMP
PC CARD
POWER
ON/STAND BY
AUTO
ADJUST
MEN
U
EN
TE
R
CAN
CEL
COM
PON
ENT
Y
Cb/P
b
Cr/P
r
AUD
IO
AUD
IO
AUD
IO
AUD
IO
L/M
ONO
S-V
IDE
O
COM
PUT
ER 1
AUD
IO
PC C
ARD
USB(COMPUTER)
USB(MOUSE)
MO
NIT
OR O
UT
COM
PUT
ER 2
PC C
ONT
ROL
R
L/M
ONO
VID
EO
R
PC card (not supplied)
Eject button
AC IN
COM
PON
ENT
Y
Cb/P
b
Cr/P
r
AUD
IO
AUD
IO
AUD
IO
AUD
IO
L/M
ONO
S-V
IDE
O
COM
PUT
ER 1
AU
DIO
PC C
ARD
USB
(COM
PUTE
R) USB(M
OUS
E)
MO
NIT
OR O
UT
COM
PUTE
R 2
PC C
ONT
ROL
R
L/M
ONO
VID
EO
R
STA
TUS
LAM
P
PC C
ARD
POW
ER
ON/S
TAN
D B
Y
EN
TE
R
CAN
CEL
3D R
EFO
RM
SOU
RCE
SELECT
AUT
O A
DJU
ST
MEN
U
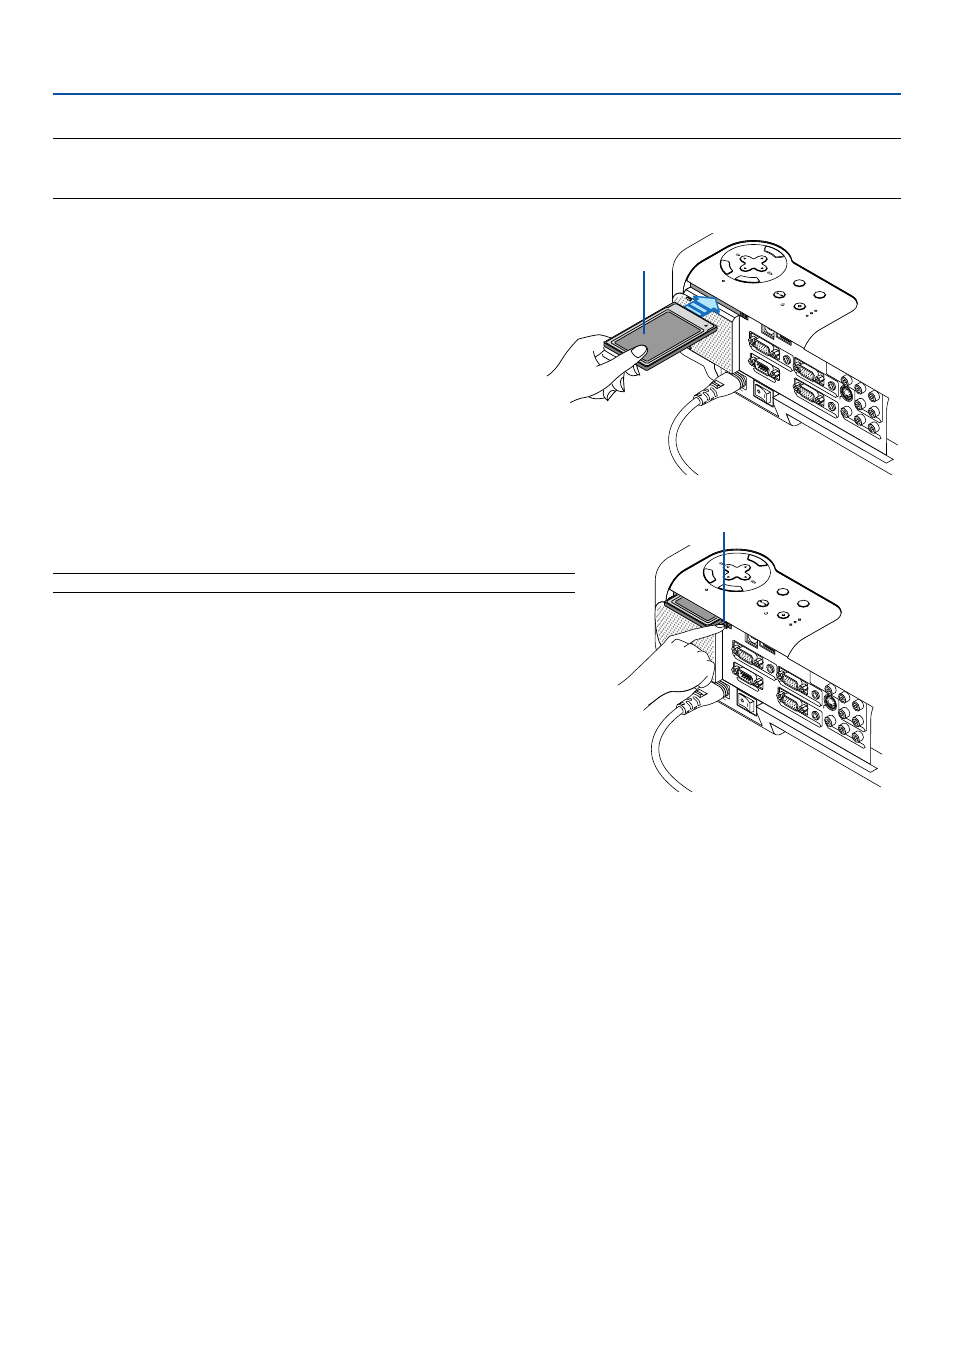
Inserting the PC Card
•
Hold the PC card horizontally and insert it slowly into the
PC card slot with its top facing up.
Removing the PC Card
NOTE: Do not eject the PC card while its data is being accessed.
Press the eject button twice. The PC card pops out a little. Grasp the
edges of the PC card and pull it out.
Direction for Inserting the PC Card
The PC card has a top and bottom and must be inserted into the PC card slot in a specific direction. It cannot be
inserted backwards or upside-down. Attempting to force it into the slot in the wrong direction may break the internal pin
and damage the card slot. Refer to the PC card's operating instructions for the proper direction of insertion.
PC Card Type
The PC Card slot accepts PCMCIA Type II only.
5. Using the Viewer