Mounting the drive, Connecting to the pc using rs-232, 8sv7 hardware manual – Applied Motion SV7-C-CE User Manual
Page 8
8
SV7 Hardware Manual
920-0012F
12/18/2014
Connecting to the PC using RS-232
(for Ethernet drives, see Connecting the Drive to Your PC using Ethernet)
• Locate your computer within 8 feet of the drive.
• Your drive was shipped with a communication cable. Plug the large end into the serial port of
your PC and the small end into the PC/MMI jack on your drive. Secure the cable to the PC with
the screws on the sides.
Never connect a drive to a telephone circuit. It uses the same connectors and cords
as telephones and modems, but the voltages
are not compatible.
If your PC does not have a serial port, you should
purchase a “USB Serial Converter”. We recommend
the USB-COM-CBL from byterunner.com. This
adapter is compatible with all versions of Windows
including Windows 7, 64 bit.
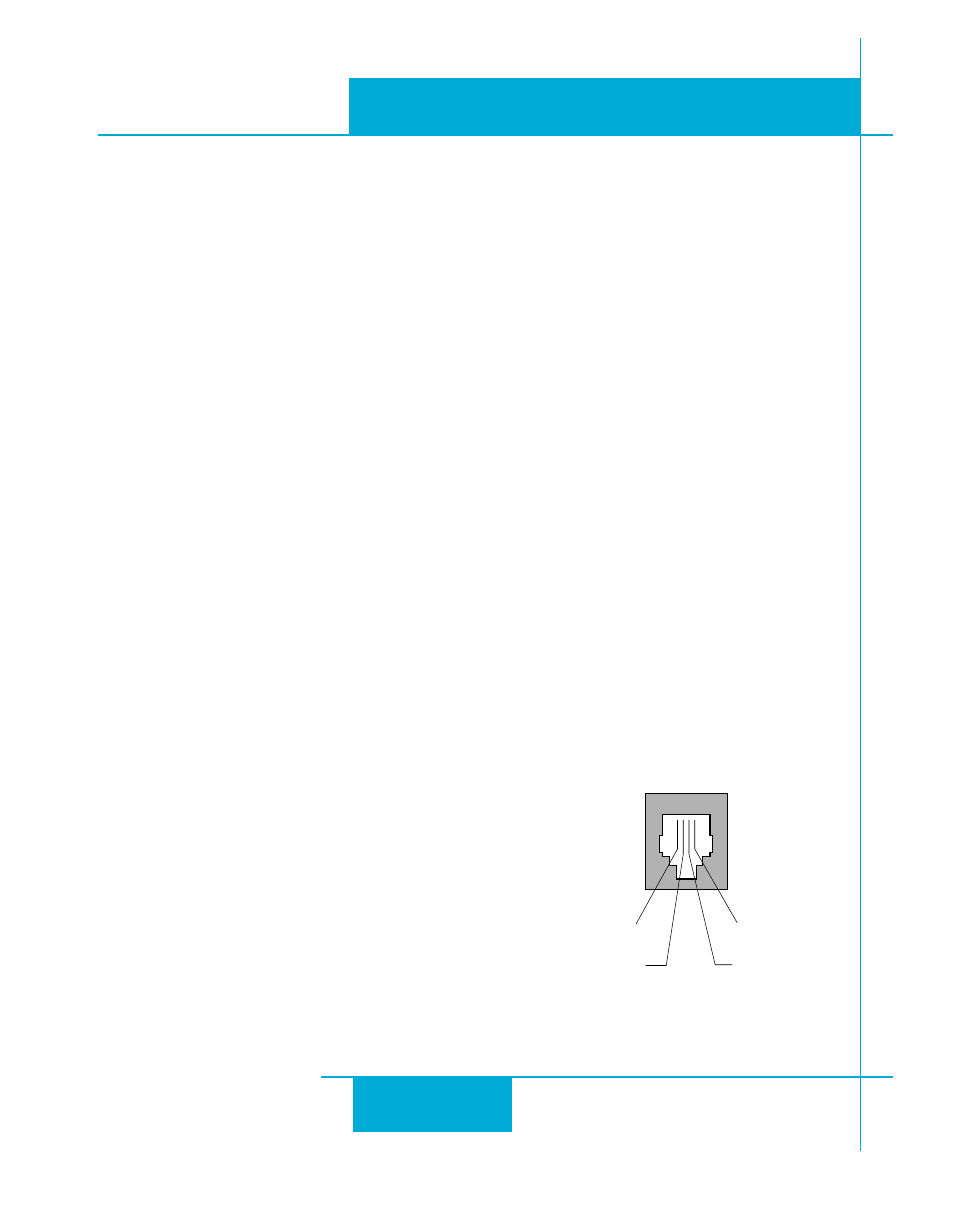
Pin Assignments of the PC/MMI Port
(RJ11 connector)
Not used for Ethernet drives.
ground (to PC ground)
TX (to PC RX)
No connection
RX (to PC TX)
Mounting the Drive
You can mount your drive on the wide or the narrow side of the chassis using #6 screws. If pos-
sible, the drive should be securely fastened to a smooth, flat metal surface that will help conduct
heat away from the chassis. If this is not possible, then forced airflow from a fan may be required to
prevent the drive from overheating. The SV7 will automatically remove power from the motor and
generate an overtemperature fault at a chassis temperature of 65°C.
• Never use your drive in a space where there is no air flow or where other devices
cause the surrounding air to be more than 40°C.
• Never put the drive where it can get wet or where metal or other electrically con-
ductive particles can get on the circuitry.
• Always provide air flow around the drive. When mounting multiple SV drives
near each other, maintain at least one half inch of space between drives.