Using templates – UVP 81-0345-01 ChemiDoc-ItTS2 Imager User Manual
Page 25
GelDoc-It
TS2
and ChemiDoc-It
TS2
Imagers
25
Once the ideal composited image has been created, press
the Checkmark button below the Preview composited
image to complete fluorescent compositing.
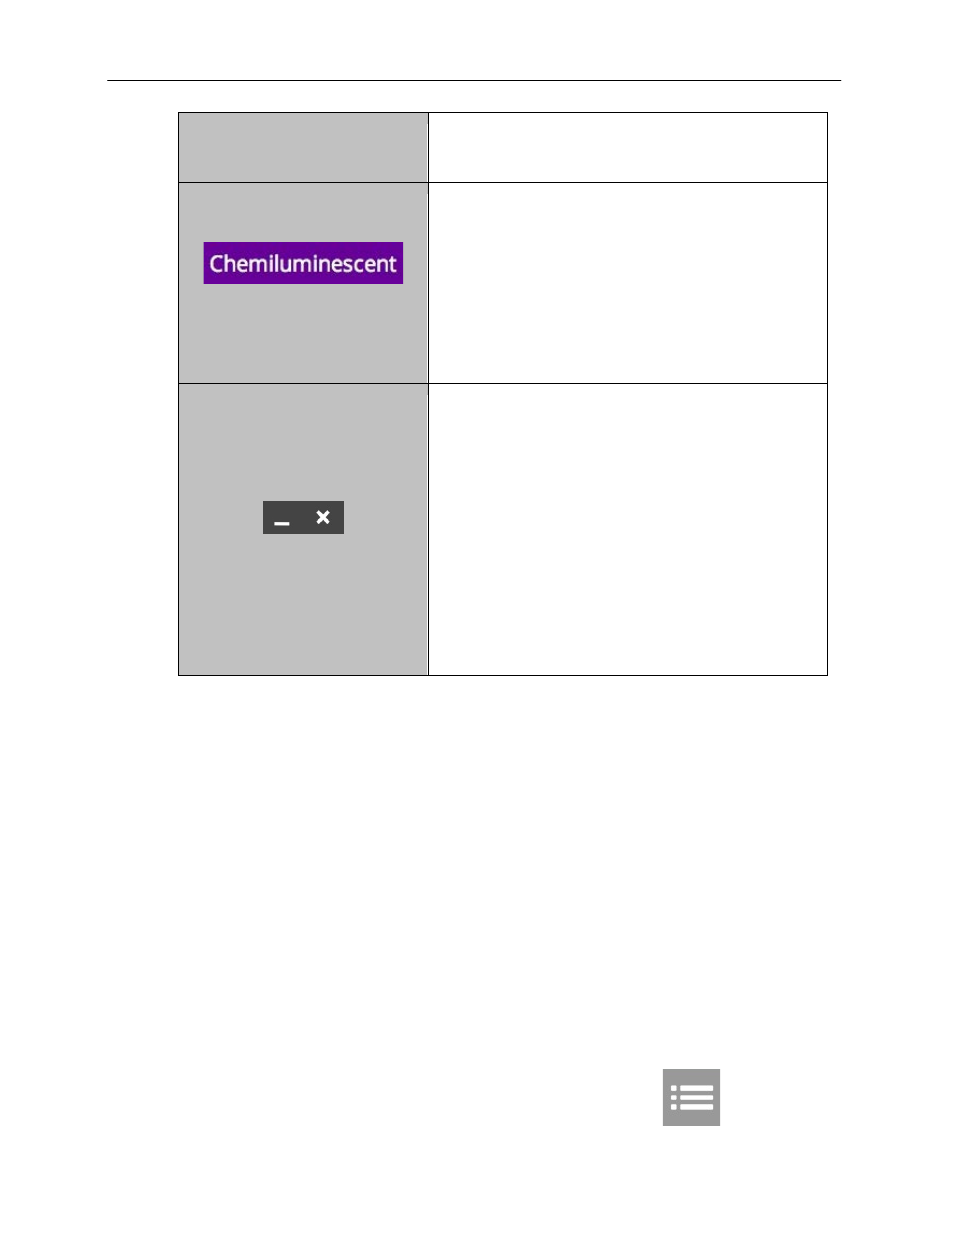
Chemiluminescent Compositing
Tool
The Chemiluminescent Compositing Tool is used to
merge various image channels for chemiluminescent
imaging.
This tool functions exactly the same as the Fluorescent
Compositing Tool described earlier, except that the
middle overlay image will always automatically be inverted.
This is ideal for chemiluminescent white light overlays.
For more information on using this tool, see the
Fluorescent Compositing Tool as described earlier in
this manual.
Minimize and Close
Press the Minimize (“_”) button in the upper-right corner of
the screen to minimize the TS2 Software.
Press the Close (“X”) button in the upper-right corner of
the screen to close the TS2 Software. If any unsaved
images are open prior to closing the TS2 software, the
user will be prompted to choose one of the following:
1. Save the current image
2. Not save the current image
3. Cancel closing the software
4. Save none of the images
5. Save all images
The user will also be prompted to Save Selected
Format or Save Selected and Original Formats. See
the “Preferences” section of this manual for more
information.
Using Templates
The TS2 Imagers are capable of utilizing templates to recall pre-saved systems settings for repeat
experiments. An unlimited number of templates can be saved in the system, with up to five quick-access
templates available at the top of the main system screen for easy access.
To create a template:
1. Set the various system settings (lens settings, lighting, filters, etc.) as desired following the
instructions shown in the Identifying the Touch Screen Buttons and Functions section of this
manual.
2. Once all desired settings have been selected, press Done at the bottom left of the screen. A
summary of all settings will be shown. Then, press Save to save the template:
a. For new templates, a popup will appear requesting for the template to be assigned a
name.
b. For existing templates, the keyboard will appear with the template name shown. The user
can then accept the current name by pressing the Checkmark button, enter a new
template name then press the Checkmark button, or press the “X” button to cancel
saving.
3. To access saved templates, press the Templates button as shown: