Identifying the touch screen buttons and functions – UVP 81-0345-01 ChemiDoc-ItTS2 Imager User Manual
Page 17
GelDoc-It
TS2
and ChemiDoc-It
TS2
Imagers
17
Edit: To change a filter name, press the desired radio button to select the emission filter and then press
the Edit button. A screen will appear allowing the user to type in a new filter name. Press the
Checkmark button to accept the new name or the “X” button to cancel the filter name change.
Identifying the Touch Screen Buttons and Functions
Using the TS2 System’s built-in touch screen monitor allows for convenient selection of all system functions
including image capture, save and print. Following is a list of buttons on the touch screen and their individual
functions.
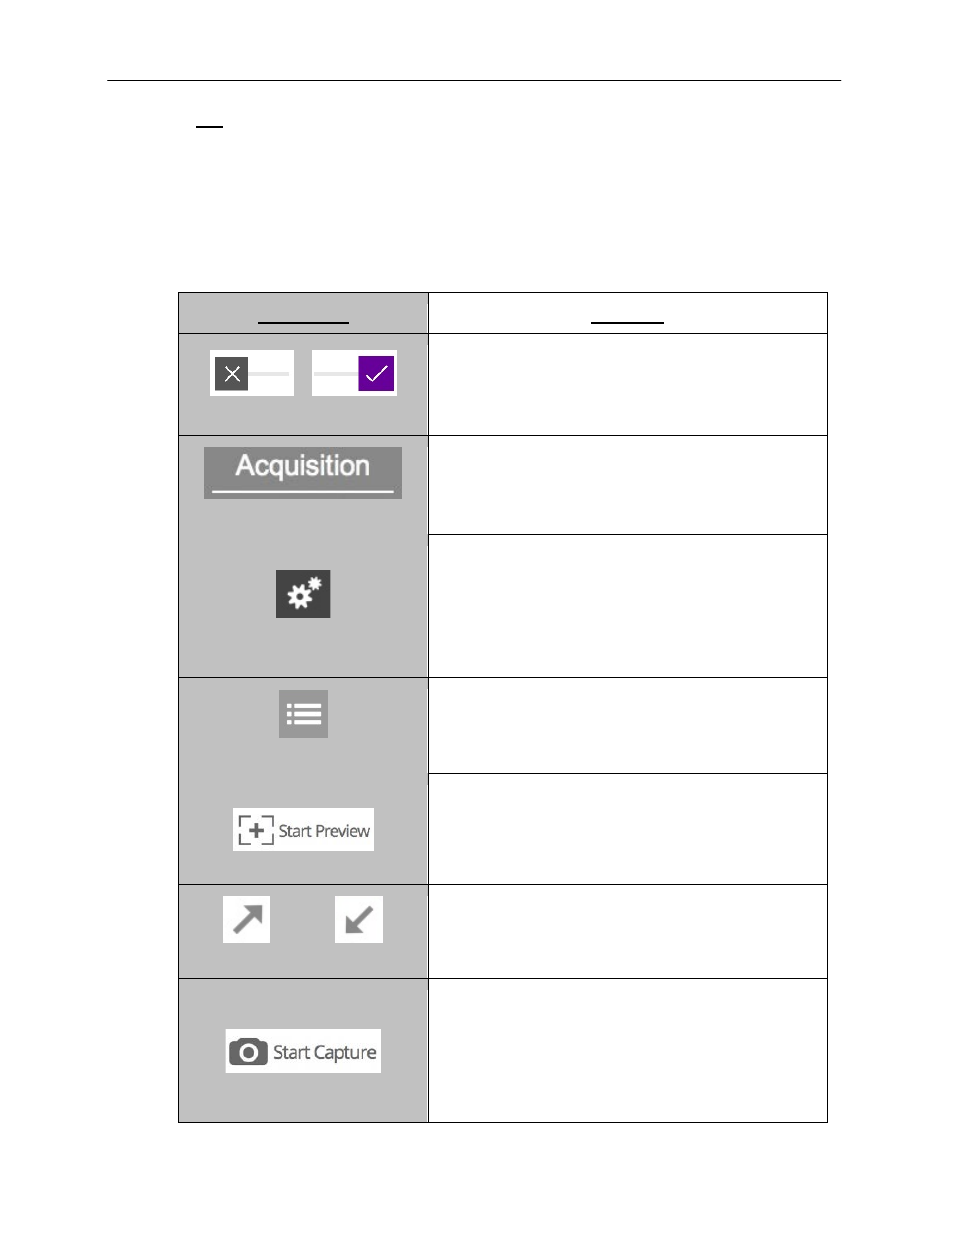
TS2 Button
Function
“Off” and “On” Sliders
Throughout the TS2 interface, the “Off” and “On” Sliders
are used to turn settings either off or on. To toggle
between off and on, tap the Slider; the Slider will
autmatically move between the “X” (off) and the checkmark
(on).
“Acquisition” Tab
To access system acquisition settings, press to select the
Acquisition tab.
Settings
Access user preferences by pressing the Settings button
in the upper-right corner of the main TS2 screen. The
Settings screen allows the user to select settings which
are normally chosen once and rarely changed, such as
interface language and image save format.
See the Setting User Preferences section of this manual
for further information.
Templates
Press the Templates button to access the list of templates.
Press again to close the list of templates.
For more information on templates, see the Using
Templates section of this manual.
To view a preview of the image prior to capturing, press
the Start Preview button.
This function is active when the button’s text and pictogram
are shown in purple and read “Stop Preview”. When active,
press the button again to deactivate live preview.
Maximize Minimize
When an image preview is open, press the Maximize
button to show the image in full-screen mode.
Press the Minimize button to close full-screen.
To capture an image with user-defined settings, press the
Start Capture button. For longer exposures, the amount of
time remaining for the capture to complete will appear to
the right of the “Start Capture” button.
This function is active when the button reads “Stop
Capture” in purple lettering.
NOTE: When using the Start Capture button, if the Auto