UVP 81-0345-01 ChemiDoc-ItTS2 Imager User Manual
Page 23
GelDoc-It
TS2
and ChemiDoc-It
TS2
Imagers
23
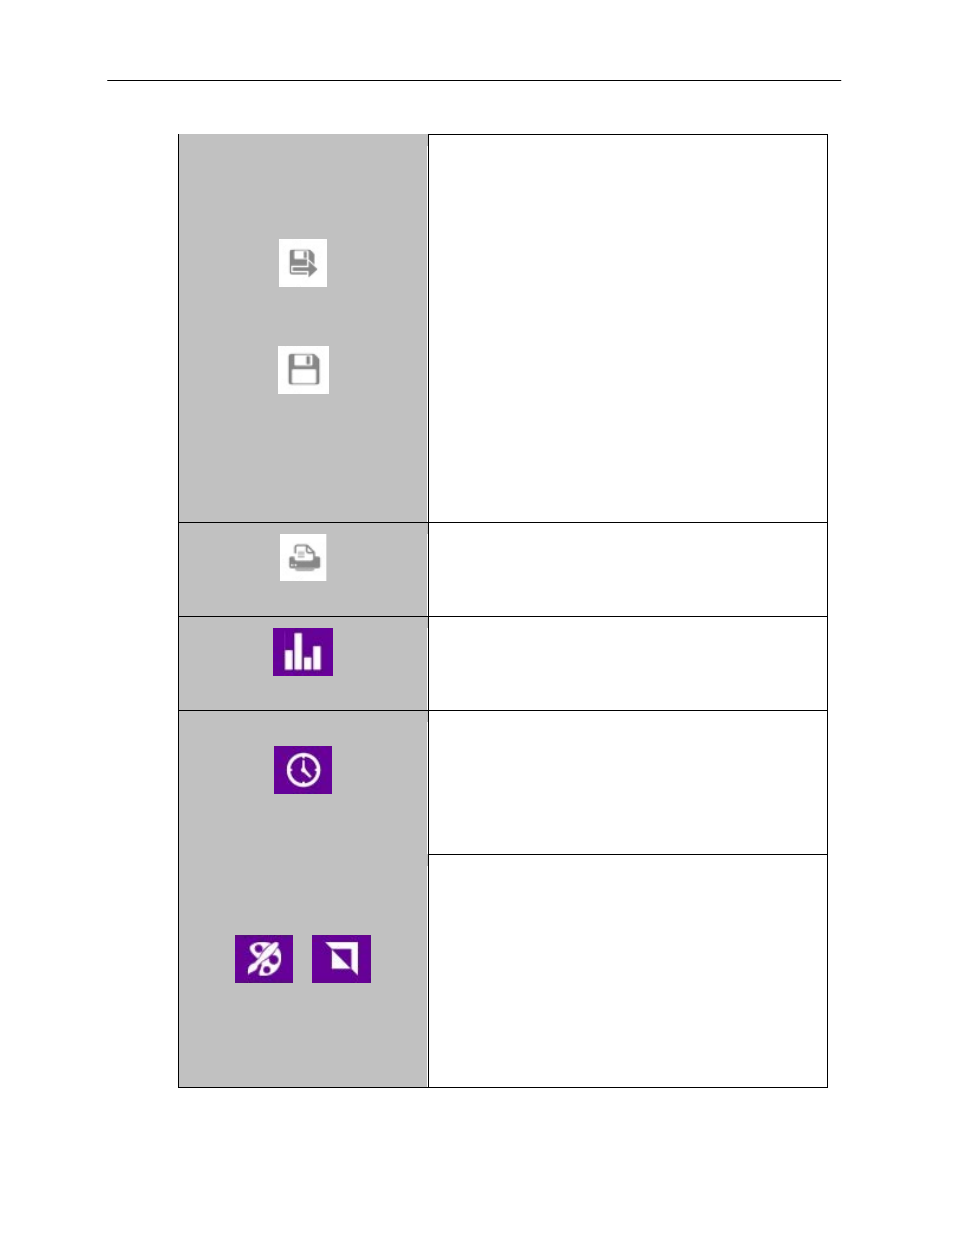
Save Burned
Save
Press the Save Burned button to save the image with all
modifications (such as time stamp and histogram
modifications) embedded in the image. Or, press the Save
button to save the raw image without any modifications
embedded. Images will be saved to the location specified
in Preferences.
The file name is automatically assigned by the software as
mmmddyyyyhhmmss, with “mmmddyyyy” being the date
of image capture and “hhmmss” being the time of image
capture.
NOTE: To manually change the file name when saving an
image, select Prompt for Location under the Saving tab
in Settings prior to saving. Then, each time the a save
button is pressed, the user will be prompted to select a file
save location and can enter a custom file name.
NOTE: If Save Selected and Original Formats is
selected in the Settings menu (described earlier in this
manual) and the Save button is pressed, both the selected
and original formats will be saved. However, if the Save
Burned button is pressed, only the selected format will be
saved.
Press the Print button to print the current image on the
default printer. If a default printer is not installed, pressing
the Print button will place the print request in queue.
Histogram
See the Histogram section in the Acquisition portion of
this manual for information on using the histogram in
Gallery view.
Time Stamp
To add a date stamp to the captured image, press the
Time Stamp button, then press the slider until the check
mark appears. This will add UVP#####mmm/dd/yyyy
hh:mm:ss to the bottom right corner of the image.
NOTE: The time stamp is not saved to the image unless
Save Burned is selected (as described earlier in this
manual).
Pseudocolor and Invert
Press the Pseudocolor button to access a variety of
Pseudocolor options for captured images. Pseudocolor
options include in vivo, oversaturation (shows yellow to
indicate mild overexposure and red to indicate extreme
overexposure), yellow, red, green and blue. Press the
appropriate radio button to select the desired pseudocolor.
Press the Invert button to access image inversion
selection. Under Invert, touch the slider until the check
mark appears to activate image inversion.
NOTE: Pseudocolors and image inversion are not saved to
the image unless Save Burned is selected (as described
earlier in this manual).