Connecting the drive to your pc using ethernet, Addresses, subnets, and ports, Stp-10 hardware manual – Bimba STP-10 User Manual
Page 7
STP-10 Hardware Manual
7
Connecting the Drive to Your PC using Ethernet
This process requires three steps
• Physically connect the drive to your network (or directly to the PC)
• Set the drive’s IP address
• Set the appropriate networking properties on your PC.
Addresses, Subnets, and Ports
Every device on an Ethernet network must have a unique IP address. In order for two devices to communicate with each other,
they must both be connected to the network and they must have IP addresses that are on the same subnet. A subnet is a logical
division of a larger network. Members of one subnet are generally not able to communicate with members of another unless they
are connected through special network equipment (e.g. router). Subnets are defined by the choices of IP addresses and subnet
masks.
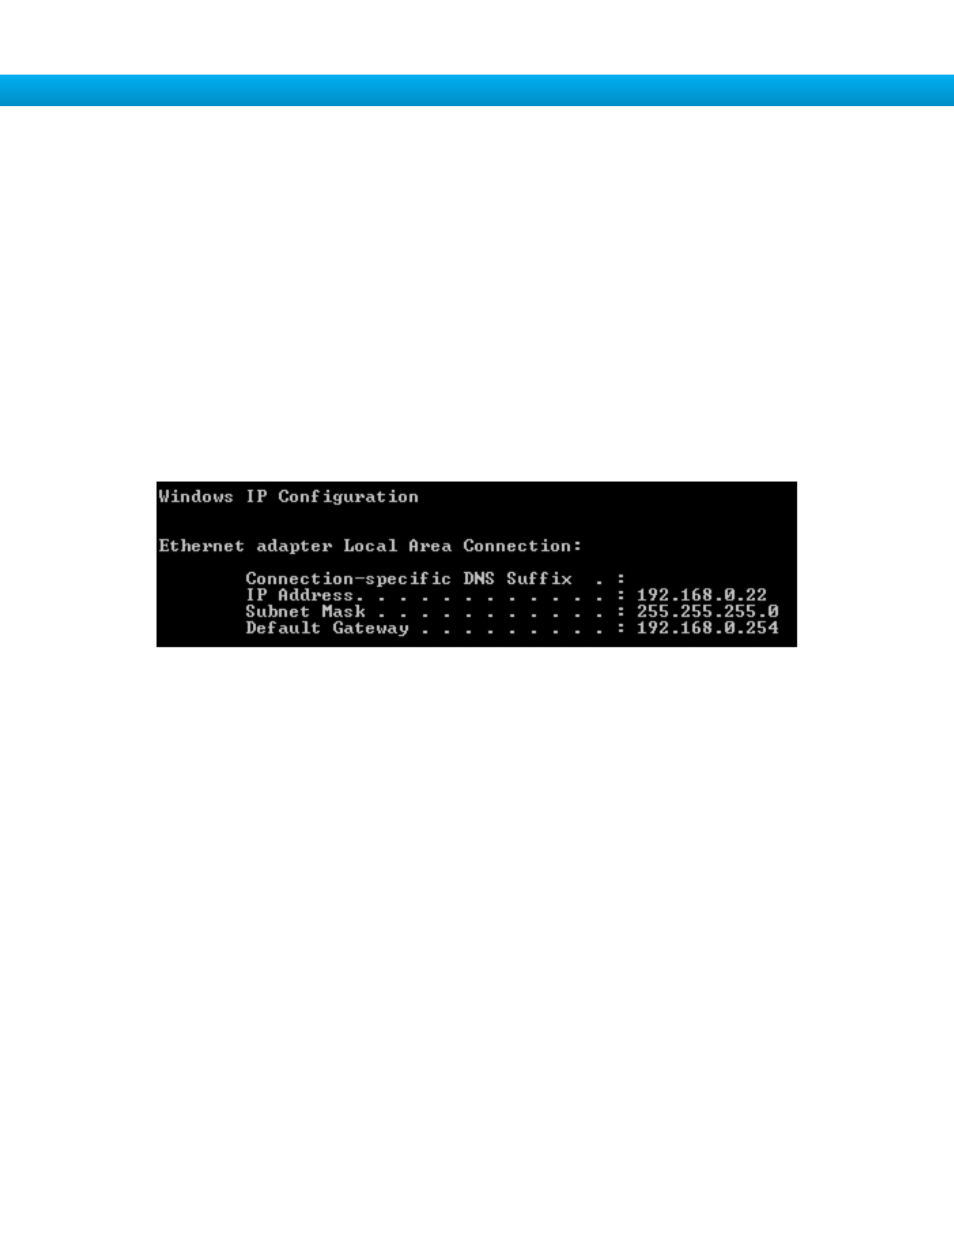
If you want to know the IP address and subnet mask of your PC, select Start…All Programs…Accessories…Command Prompt.
Then type “ipconfig” and press Enter. You should see something like this:
If your PC’s subnet mask is set to 255.255.255.0, a common setting known as a Class C subnet mask, then your machine can
only talk to another network device whose IP address matches yours in the first three octets. (The numbers between the dots in
an IP address are called octets.) For example, if your PC is on a Class C subnet and has an IP address of 192.168.0.20, it can
talk to a device at 192.168.0.40, but not one at 192.168.1.40. If you change your subnet mask to 255.255.0.0 (Class B) you can
talk to any device whose first two octets match yours. Be sure to ask your system administrator before doing this. You network
may be segmented for a reason.
Your drive includes a 16 position rotary switch for setting its IP address. The factory default address for each switch setting is
shown in the table on the next page.