Aiwa CX-NV8000 User Manual
For assistance and information, United states and puerto rico)
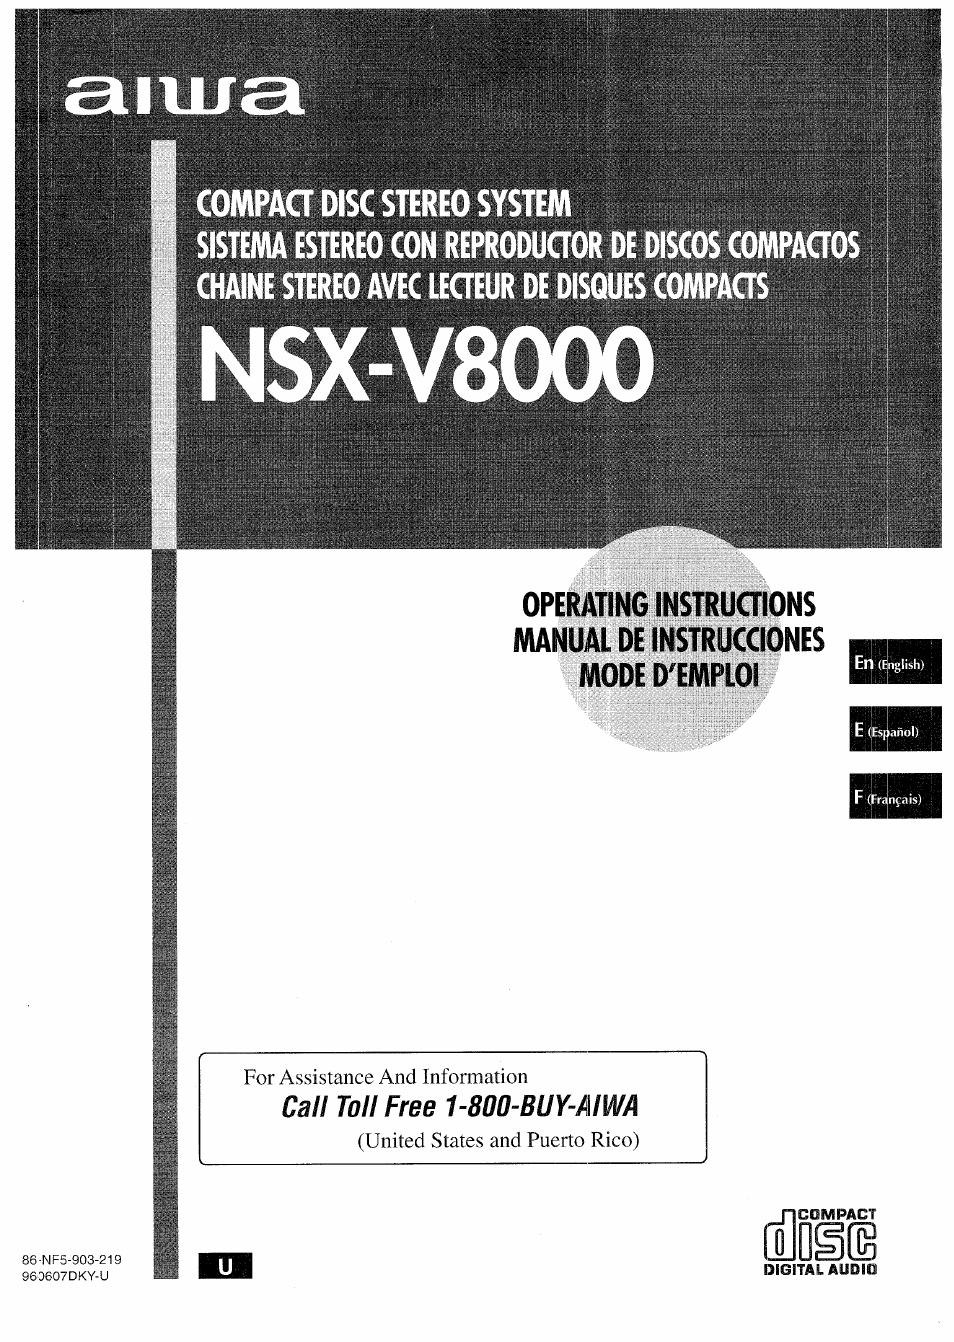
Table of contents
Document Outline
- OPERATING INSTRUaiONS MANUAL DE INSTRUCCIONES MODE D'EMPLOI
- ENGLISH
- PRECAUTIONS
- CONNECTIONS
- BEFORE OPERATION
- SEniNG THE CLOCK
- 1 Press the II SET button.
- 2 Press the DOWN or UP button to
- designate the hour.
- 3 Press the II SET button to set the hour.
- 4 Press the DOWN or UP button to
- designate the minute.
- 5 Press the II SET button to set the minute and complete setting.
- VOLUME CONTROL
- BBE SYSTEM
- SOUND ADJUSTMENT DURING RECORDING
- SUPER T-BASS SYSTEM
- FRONT SURROUND SYSTEM
- Press the FRONT SURROUND button repeatedly until the desired FRONT SURROUND mode is dispiayed.
- When the music source is monaural
- To cancel the selected mode
- Press the TUNER/BAND button repeatedly to select the desired band.
- Press the DOWN or UP button to select a station.
- 1 Press the TUNER/BAND button to select a band, and press the DOWN or UP button to select a station.
- 2 Press the II SET button to store the station.
- 7 Press the TUNER/BAND button to select a band.
- 2 Press the numeric buttons to select a preset number.
- 3 Repeat steps 1 and 2.
- BASIC OPERATIONS
- LOADING DISCS
- PLAYING DISCS
- RANDOM PLAY
- REPEAT PLAY
- PROGRAMMED PLAY
- BASIC OPERATIONS
- BASIC RECORDING
- DUBBING A TAPE MANUALLY
- DUBBING THE WHOLE TAPE
- Al EDIT RECORDING
- MICROPHONE MIXING
- 1 Connect your microphones to the MIC 1 and MIC 2 jacks.
- 2 Press one of the function buttons to seiect the source to be mixed, and play the source.
- 3 Adjust the volume and tone of the source.
- 4 Adjust the microphone volume with the MIC MIXING control.
- 5 Adjust the echo with the DIGITAL ECHO control.
- VOCAL FADER/MULTIPLEX FUNCTIONS
- KARAOKE PROGRAMS
- SETTING THE SLEEP TIMER
- CONNECTING OPTIONAL EQUIPMENT
- LISTENING TO EXTERNAL SOURCES
- CARE AND MAINTENANCE
- SPECIFICATIONS
- Speaker system SX-ANV8000
- General
- DOLBY NR
- Compact disc player section
- GENERAL There is no sound.
- Sound is emitted from one speaker oniy.
- The output sound is not stereo.
- An erroneous display or a malfunction occurs.
- TUNER SECTION
- There is constant, wave-like static.
- The reception contains noise interferences or the sound is distorted.
- CASSETTE DECK SECTION The tape does not run.
- The sound is off-balance or not adequately high.
- Recording is not possible.
- Erasure is not possible.
- High frequency sound is not emitted.
- CD PLAYER SECTION The CD player does not play.
- To reset
- ESPAÑOL
- W'X--
- PRECAUCIONES
- Antena exterior
- Mantenimiento
- Daños que necesitan ser reparados
- Antes de conectar el cable de alimentación de CA
- IMPORTANTE
- 1 Conecte el altavoz derecho a la unidad principal.
- 2 Conecte el altavoz izquierdo a la unidad principal.
- 3 Conecte las antenas suministradas.
- 4 Conecte el cable de alimentación de CA a una toma de CA.
- CONEXION DE UNA ANTENA EXTERIOR
- CONTROL REMOTO
- ANTES DE LA OPERACION
- PUESTA EN HORA DEL RELOJ
- Para encender la unidad
- Modo de demostración (DEMO)
- Para cancelar el modo DEMO
- Guías de iluminación
- Ventanillas parpadeantes
- Después de la utilización
- 1 Pulse el botón II SET.
- 2 Pulse el botón DOWN o UP para designar
- la hora.
- 3 Pulse el botón II SET para poner la hora.
- 4 Pulse el botón DOWN o UP para designar
- el minuto.
- 5 Puise ei botón II SET para poner el minuto y terminar la puesta de la hora.
- CONTROL DE VOLUMEN
- SISTEMA BBE
- ECUALIZADOR GRAFICO
- AJUSTE DEL SONIDO DURANTE LA GRABACION
- SISTEMA SUPER T-BASS
- SISTEMA DELANTERO DE SONIDO AMBIENTAL
- SINTONIZACION MANUAL
- PREAJUSTE DE EMISORAS
- OPERACIONES BASICAS
- INTRODUCCION DE DISCOS
- REPRODUCCION DE DISCOS
- REPRODUCCION ALEATORIA
- REPETICION DE REPRODUCCION
- REPRODUCCION PROGRAMADA
- 1 Pulse dos veces el botón PRGWI estando en el modo de parada.
- Pulse uno de los botones DISC DIRECT PLAY para seleccionar un disco.
- 3 Pulse los botones numéricos y el botón +10 para programar una canción.
- 4 Repita los pasos 2 y 3 para programar otras canciones.
- 5 Pulse el botón ◄ ► para iniciar la reproducción.
- OPERACIONES BASICAS
- REPRODUCCION CONTINUA
- GRABACION BASICA
- Preparación
- 1 Inserte la cinta que vaya a grabar en la platina 2.
- 2 Pulse el botón REV MODE para seleccionar el modo de inversión.
- 3 Pulse el botón DOLBY NR para activar o desactivar Dolby NR.
- 4 Pulse uno de los botones de función y prepare la fuente de sonido de la que vaya a grabar.
- REC/REC MUTE para iniciar la
- газа
- INSERCION DE ESPACIOS SIN GRABAR
- COPIADO MANUAL DE UNA CINTA COPIADO DE TDDA LA CINTA
- GRABACION CON EDICION Al
- GRABACION CON EDICION PROGRAMADA
- MEZCLA MICROFONICA
- Antes de conectar un micrófono
- 1 Conecte sus micrófonos a las tomas MIC 1 y MIC 2.
- 2 Pulse uno de los botones de función para seleccionar la fuente de sonido que vaya a ser mezclada y luego reprodúzcala.
- 3 Ajuste el volumen y el tono de la fuente de sonido.
- 4 Ajuste el volumen del micrófono con el control MIC MIXING.
- 5 Ajuste el eco con el control DIGITAL ECHO.
- FUNCIONES DE DESVANECIMIENTO DE VOZ/MULTIPLEX
- PROGRAMAS DE KARAOKE
- AJUSTE DEL TEMPORIZADOR
- AJUSTE DEL TEMPORIZADOR PARA DORMIR
- CONEXION DE UN EQUIPO OPCIONAL
- ESCUCHA DE FUENTES DE SONIDO EXTERNAS
- CUIDADOS Y MANTENIMIENTO
- ESPECIFICACIONES
- GUIA PARA LA SOLUCION DE PROBLEMAS INDICE DE LAS PARTES
- TABLE DES MATIERES
- PRECAUTIONS
- AVANT L’UTILISATION
- REGLAGE DE L’HORLOGE
- Pour mettre l’appareil sous tension
- Mode DEMO (Démonstration)
- Pour annuler le mode DEMO
- Guides par éclairage
- Fenêtres clignotantes
- 1 Appuyer sur la touche II SET.
- 2 Appuyer sur la touche DOWN ou UP pour spécifier ies heures.
- 3 Appuyer sur ia touche II SET pour régier ies heures.
- 4 Appuyer sur ia touche N-4 DOWN ou>N UP pour spécifier ies minutes.
- 5 Appuyer sur ia touche II SET pour spécifier ies minutes et terminer ie régiage.
- COMMANDE DU VOLUME
- SYSTEME BBE
- EGALISEUR GRAPHIQUE
- REGLAGE DU SON PENDANT L’ENREGISTREMENT
- SYSTEME SUPER T-BASS
- SYSTEME SURROUND AVANT
- MEMORISATION DE STATIONS
- OPERATIONS OE BASE
- OPERATIONS DE BASE
- ENREGISTREMENT DE BASE
- Préparation
- 1 Insérer la cassette à enregistrer dans la platine
- 2 Appuyer sur la touche REV MODE pour sélectionner le mode d’inversion.
- 3 Appuyer sur la touche DOLBY NR pour mettre le réducteur de bruit Dolby en ou hors service.
- 4 Appuyer sur une des touches de fonction et préparer la source à enregistrer.
- 5 Appuyer sur la touche • REC/REC MUTE pour démarrer l’enregistrement.
- INSERTION D’ESPACES BLANCS
- ENREGISTREMENT AVEC MONTAGE ET CALCUL DU TEMPS
- ENREGISTREMENT AVEC MONTAGE PROGRAMME
- MIXAGE AVEC MICROPHONE
- Avant de brancher un microphone
- 1 Brancher les microphones aux prises MIC 1 et MIC 2.
- 2 Appuyer sur une des touches de fonction pour sélectionner la source à mixer, et mettre cette source en marche.
- 3 Régier le voiume et ia tonaiité de ia source.
- 4 Régier ie voiume de microphone avec la commande MIC MIXING.
- 5 Régler l’écho avec la commande DIGITAL ECHO.
- FONCTIONS VOCAL FADER/MULTIPLEX
- PROGRAMMES DE KARAOKE
- 5 Appuyer sur la touche pour démarrer la lecture.
- 1 Appuyer une fois sur la touche PRGM.
- 2 Appuyer sur une des touches DISC DIRECT PLAY pour sélectionner un disque, puis sélectionner une plage à l’aide des touches numériques.
- 3 Appuyer sur la touche KARAOKE ENTER.
- 4 Répéter les étapes 2 et 3 pour réserver d’autres plages.
- ENREGISTREMENT COMMANDE PAR LA MINUTERIE
- REGLAGE DE LA MINUTERIE D’ARRET
- CDNNEXIDN D’UN APPAREIL OPTIDNNEL
- ECOUTE DE SOURCES EXTERNES SOINS ET ENTRETIEN
- SPECIFICATIONS
- EN CAS DE PROBLEME
- GENERALITES Il n’y a pas de son.
- PARTIE TUNER
- PARTIE MAGNETOCASSETTE La bande ne défile pas.
- PARTIE LECTEUR DE DISQUES COMPACTS La lecture ne fonctionne pas.
- Pour réinitialiser
- Figure 1 Enceinte acoustique à diffusion frontale sur 180°
- Figure 2
- Effet stéréo avec des enceintes acoustiques classiques
- Figure 3
- Effet stéréo avec des enceintes acoustiques Aiwa à diffusion sonore frontale sur 180°
- NOTE
- PRECAUCIONES