SINGER 9100 User Manual
Page 34
Attention! The text in this document has been recognized automatically. To view the original document, you can use the "Original mode".
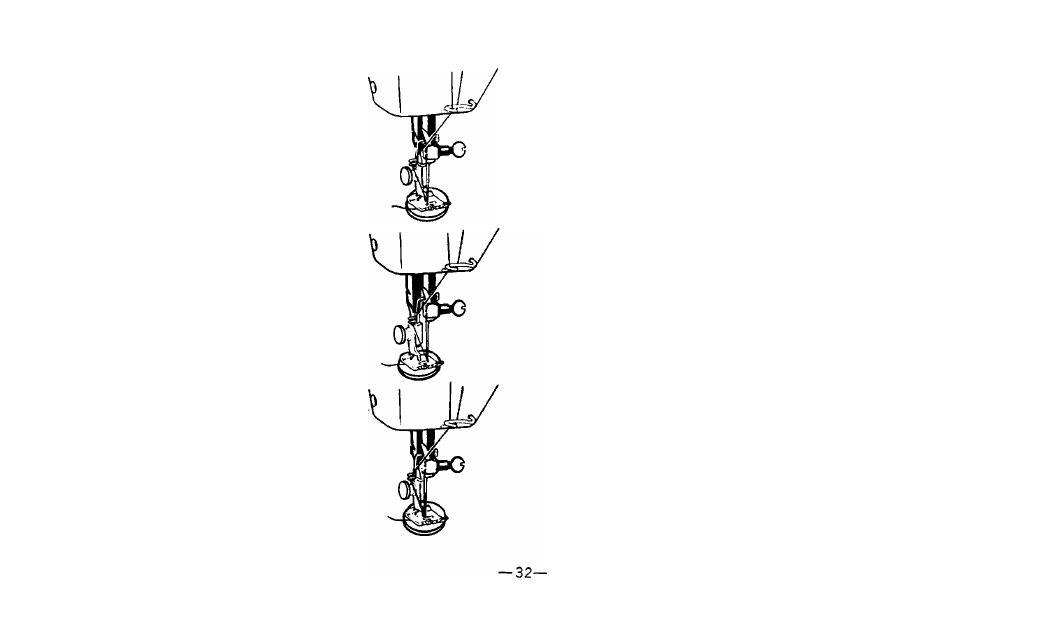
BUTTON SEWING
•
Needle Position: Left
•
Stitch Width: See illustrations
• Feed Throw-out Knob: To Right (Darning)
Position
Flat buttons, one inch or more in diameter,
can be sewn on by machine using the plain
zig-zag
stitch.
Turn
feed
throw-out
knob
to
right to lower the feed. Set stitch width at
0
and needle position at left.
Place button under presser foot and lower the
needle into the left hole. Lower the presser
foot and move the stitch width selector to a
medium-wide
zig-zag
setting.
Check
stitch
width setting by turning the hand wheel slowly
toward you: increase or decrease width setting
to suit hole-spacing of the button. Take six
or more zig-zag stitches to attach the button.
Move stitch width selector to 0 and take a
few stitches in the left hole of the button to
fasten threads.