SINGER 9100 User Manual
Page 21
Attention! The text in this document has been recognized automatically. To view the original document, you can use the "Original mode".
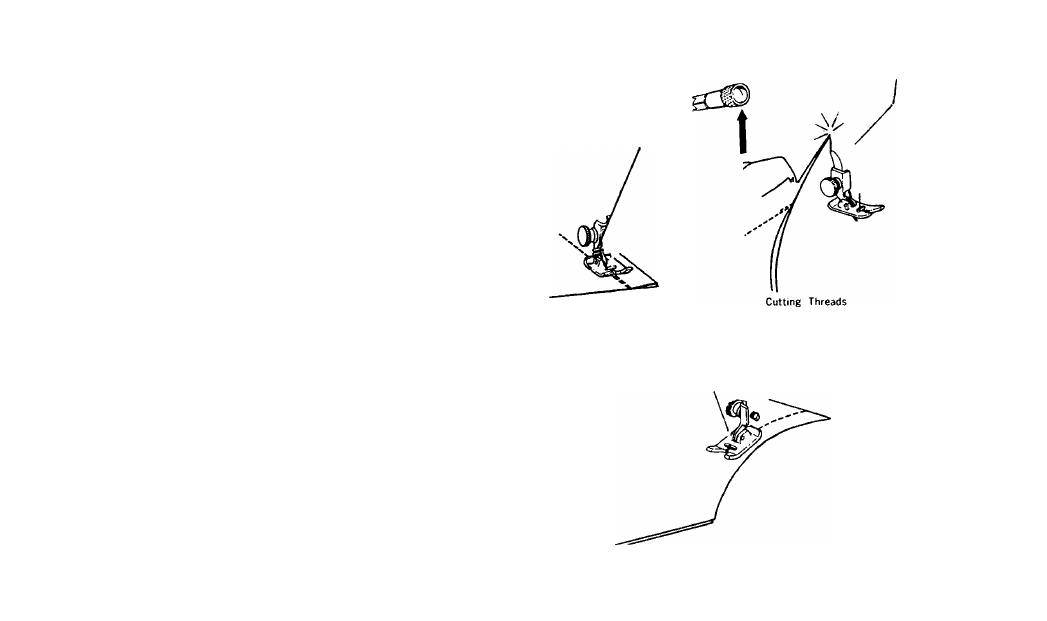
REINFORCING END OF SEAM
1. Stitch to the edge of the fabric.
2.
Raise stitch length selector as far as it will
go and backstitch to reinforce end of seam.
Then lower stitch length selector for forward
stitching.
3.
Raise needle to its highest position, raise
the presser foot, and remove the fabric by
drawing
It
to the back and left.
4.
Cut threads on thread cutter at rear of
presser bar.
Ending a Seam
CURVED SEAMS
When sewing armhole and neckline seams, you
usually will be sewing on a curve. To do this,
follow the same procedure as for sewing a
straight seam except:
• Use a short stitch length for elasticity and
strength. For example, if you use 12 stitches
to the inch for straight seams, select 15 to 20
per inch for curved seams in the same fabric.
Sewing a Curved Seam
A-
— 19-