SINGER 9100 User Manual
Page 31
Attention! The text in this document has been recognized automatically. To view the original document, you can use the "Original mode".
BUTTONHOLES
• Needle Position: Left
• Stitch Width; 3 and 5
• Stitch Length: Above 20
• Special-Purpose Foot
Make a test buttonhole on a sample of your
fabric so you can adjust stitch length to produce
a closely spaced, freely-feeding zig-zag stitch.
Be sure to duplicate the thickness of the gar
ment and include interfacing if appropriate.
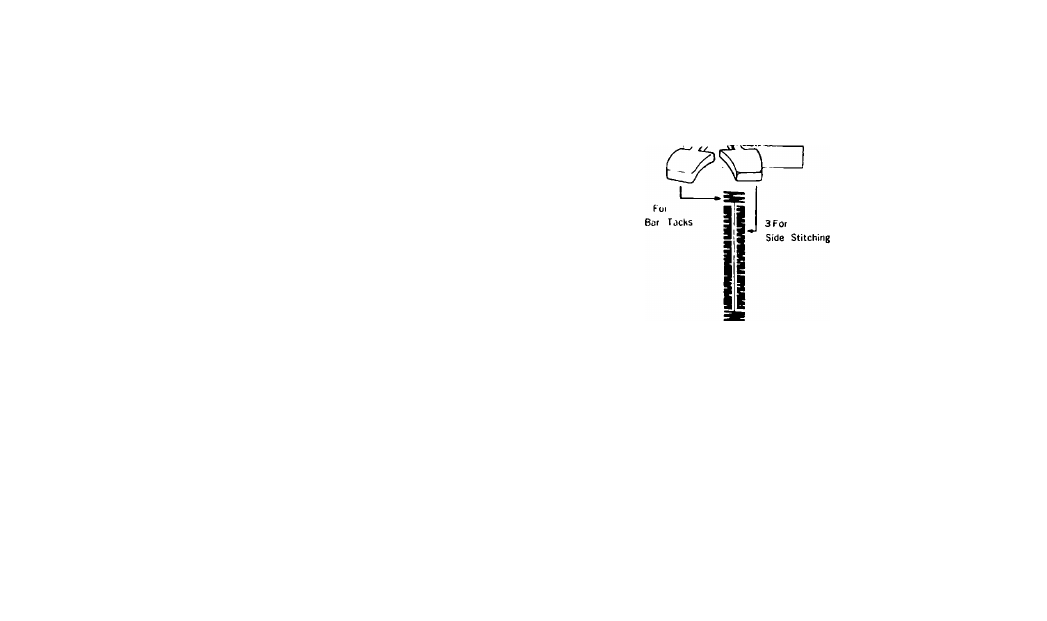
Stitch Width Settings
You will use two stitch width settings: for side
stitching, stitch width 3, and for bar tacks (clos
ings at ends of buttonhole), stitch width 5.
Buttonhole Length
The length of the buttonhole depends on the
diameter and thickness of the button. To find
the correct length:
1. Cut a small slit in a scrap of fabric and
gradually
enlarge
it
until
the
button
slips
through easily.
2. Add approximately 1/8 inch (2mm) at each
end for bar tacks.and mark the fabric as shown.
This bar-tack measurement is approximate: on
some buttonholes, you may need to increase it
or decrease it to arrive at pleasing proportions.
Stitch Width Settings
5
3
I I
Marking Lines
Length of
Cutting Space
Bar Tacks and
Side Stitching
-29-