Install the cockpit & canopy – Great Planes Giant Extra 330L Kit - GPMA0250 User Manual
Page 41
❏ 19. Trim and sand the sheeting flush with former TD1.
❏ 20. Rough cut a slot for the fin approximately 8-5/8" long,
3/4" wide at the trailing edge. Removing a little material at a
time, cut the slot in the turtle deck sheeting until it properly
fits the fin. Note: Take your time and be patient, fitting the
fin as you go.
❏ 21. Draw a centerline down the TE of the fin. Fit the stab
tube in place. Fit the fin in place against the fin locators
installed in step 9. Use a triangle to check that the center
line of the fin is perpendicular to the stab tube. Remove the
fin and use 6-minute epoxy to glue the fin to the fin base
and the TE of the fuse. Do not disturb for at least ½ hour to
allow the epoxy to fully and properly cure.
❏ 22. Using a piece of leftover 3/8" x 5/8" balsa, cut a 1-1/2"
long hinge block. Using the plan as a reference, locate the
lowest hinge block in the rudder, and glue the hinge block
you just made into the fuse against the F11 at that location.
❏ 23. Using the cross sections on the plan as a reference,
bevel the trailing edge of the fin post to match the
shape of the fuselage and to allow for full rudder throw.
Bevel the leading edge of the rudder to match the angle
shown on the plan.
❏ 1. Select the four pieces of 3/32" x 3" x 24" hard balsa
cockpit floor sheeting. Cut them in half and edge glue
seven pieces, making a 12" x 21" balsa sheet. Position one
12" edge against FD3 and trim the length so the trailing
edge is flush with TD1.
❏ 2. Using a pen, mark where the fuse makes contact with the
underside of the cockpit floor sheeting on each fuse side. Trim
the floor sheeting 1/16" inside of the lines you marked.
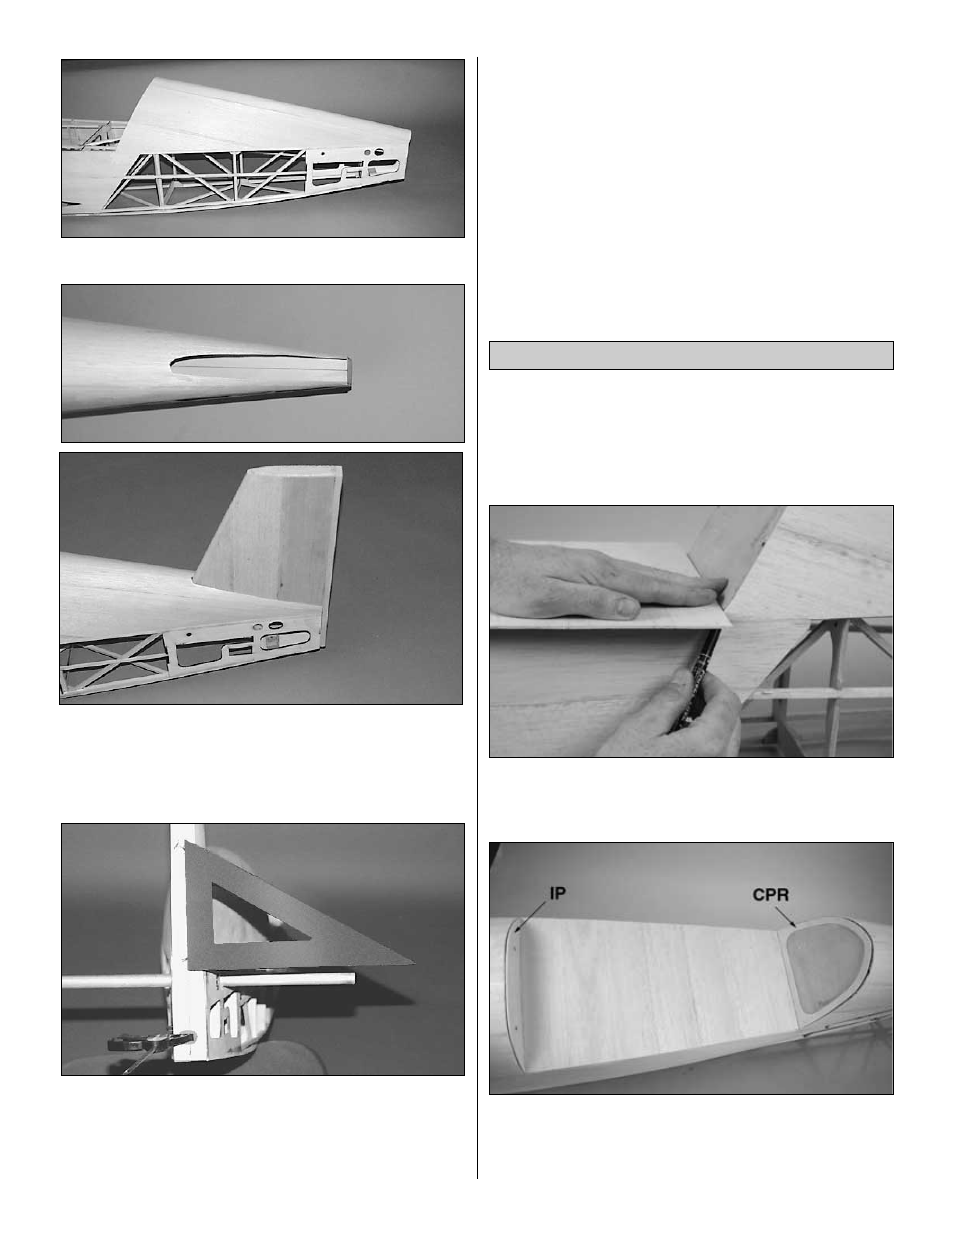
❏ 3. Position and test fit the die-cut 1/8" ply instrument
panel (IP) and cockpit rear (CPR) to the cockpit floor
sheeting, making sure the sheeting is properly positioned
and confirming that IP and CPR are both also 1/16" inside
Install the Cockpit & Canopy
41