Mount the cowl – Great Planes Giant Extra 330L Kit - GPMA0250 User Manual
Page 38
❏ 10. Test wrap the sheet over the front deck several times
until you can comfortably get it tight along the formers and
running along the outer shell sheet. When you are confident
that you have a good, tight fit and the sheeting isn’t going to
split, trim the right side of the sheet until it mates up to the
outer shell sheeting and the gluing stringer as the left side
does. HINT: We recommend trimming a small amount at a
time until you get a perfect fit. The sheeting MUST be tight
across the formers AND have a good glue joint to the gluing
stringer and outer shell sheeting.
❏ 11. Carefully roll the top deck sheet back from the
stringers and formers. Coat the formers and stringers with
medium CA where they make contact with the sheet.
Working from the left side, smoothly roll the front deck sheet
over the formers and stringers, being careful to hold it tight
to the stringers and formers along the way. Hold in place
until the CA has fully cured. NOTE: Do NOT attempt the
accelerator approach here. You will have accelerator kicking
off the CA before the sheeting is in contact.
❏ 12. Trim and sand the front deck and outer shell sheeting
flush with SF1, FD1 and FD3.
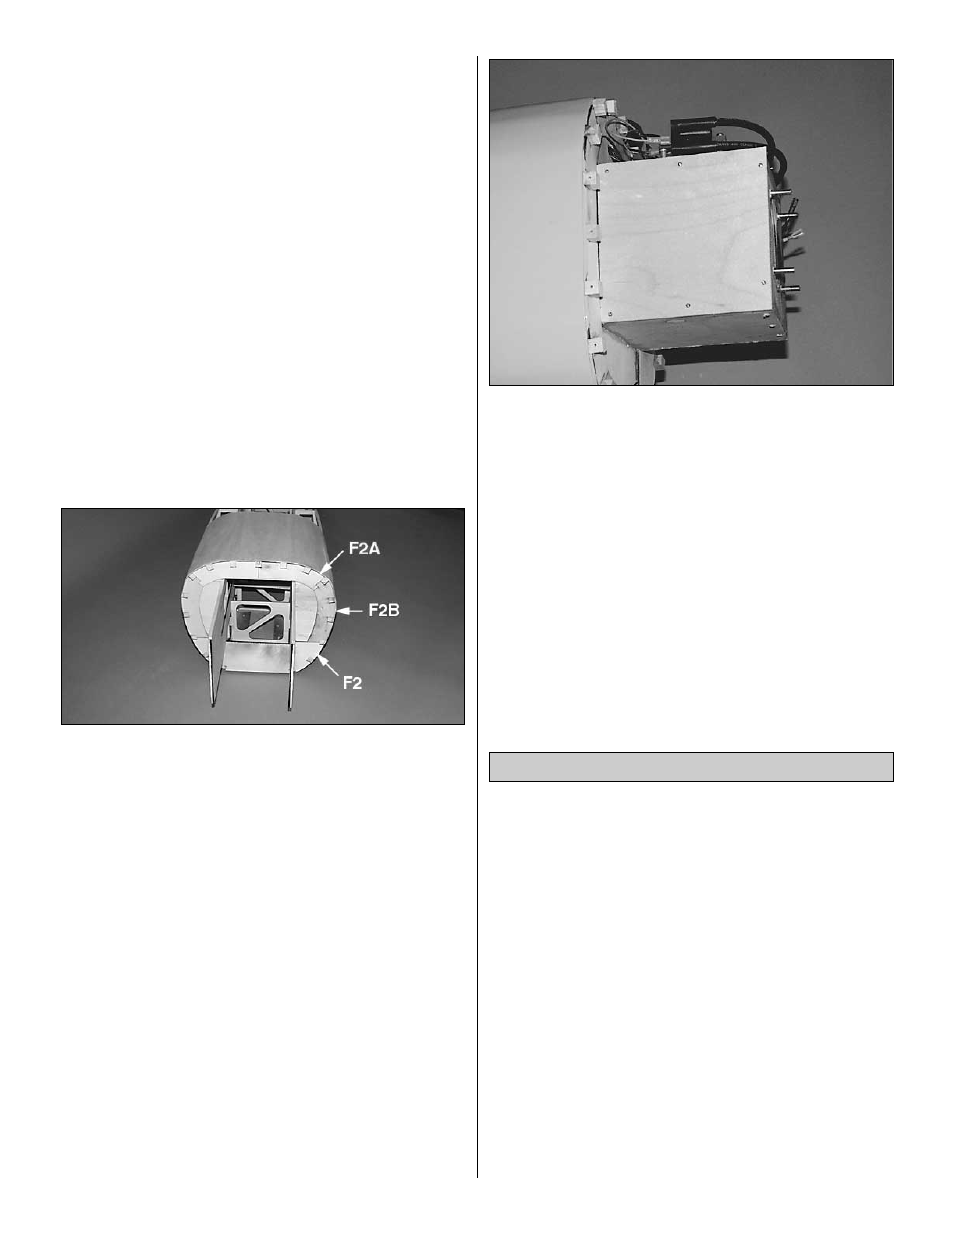
Note: Firewall removed from this photo for clarity.
❏ 13. Position and glue the die-cut 1/8" ply formers F2, F2A
and F2B, being sure to leave an equal gap all the way
around for the cowling to fit flush against the upper deck
sheet. Refer to the F2 cross section on the plan as needed.
❏ 14. Select seventeen of the 1/2" x 1/2" x 1/2" basswood
cowl mounting blocks. Test fit the blocks into the notches
in the F2 ring, rounding the blocks slightly to match the
shape of F2. When satisfied with the fits, glue them in place.
❏ 15. Select the two pre-cut 1/8" x 6" x 6-9/16" light ply
pieces, the firewall box bottom (FBB) and access hatch
(FBA). Align one as the box bottom FBB flush against F2,
and mark on FBB where it meets the leading edge of the
firewall. Trim FBB at the line, and glue FBB to the formers,
forward box sides, basswood longerons and firewall.
❏ 16. Position the access hatch FBA flush against F2A and
F2B and mark the firewall location as you did for FBB. Trim
FBA. Select the remaining four 1/2" x 1/2" x 1/2" basswood
hatch mounting blocks and position and glue them flush
with the upper bass longerons as shown on the plan.
❏ 17. Using a 3/32" drill bit, drill pilot holes through FBA and
four mounting blocks, and also two holes equally spaced
across the front of the firewall. Using six of the #4x1/2"
screws, attach the access hatch to the mounting blocks and
to the firewall. Remove the screws and hatch and harden
the threads with thin CA.
❏ 1. Bolt the engine to the firewall.
❏ 2. Trim the bottom of the cowl as shown on the plan and
the air inlet from the front of the cowl. Note that you may
need to trim this air outlet larger to accommodate your
exhaust. Do NOT decrease the size of the air outlet any
smaller than shown on the plan, but cutting it larger as
needed for your engine application is fine.
❏ 3. Fit the cowl in place on the fuselage, making sure that
the spinner will fit without rubbing the cowl. When you can
fit the cowl confidently, confirm the cowl is square on the
fuselage, and drill a 3/32" hole through the top of the cowl
and the top center cowl block and screw the cowl in position
with a #4 x 1/2" screw. Confirming at each step that the cowl
is still straight and square, drill each mounting block hole
and screw the cowl to each mounting block.
❏ 4. Remove the cowl and engine and set them aside.
Harden the threads in each cowl mounting block with thin CA.
Mount the Cowl
38