Assemble the fuselage center box – Great Planes Giant Extra 330L Kit - GPMA0250 User Manual
Page 27
❏ ❏ 9. Position the upper center box longeron, again being
careful that the splice is properly positioned over the joint
support and with the angled sides facing in/out. Trim the
upper longeron to length and glue it to the forward and aft
center box sides with thin CA.
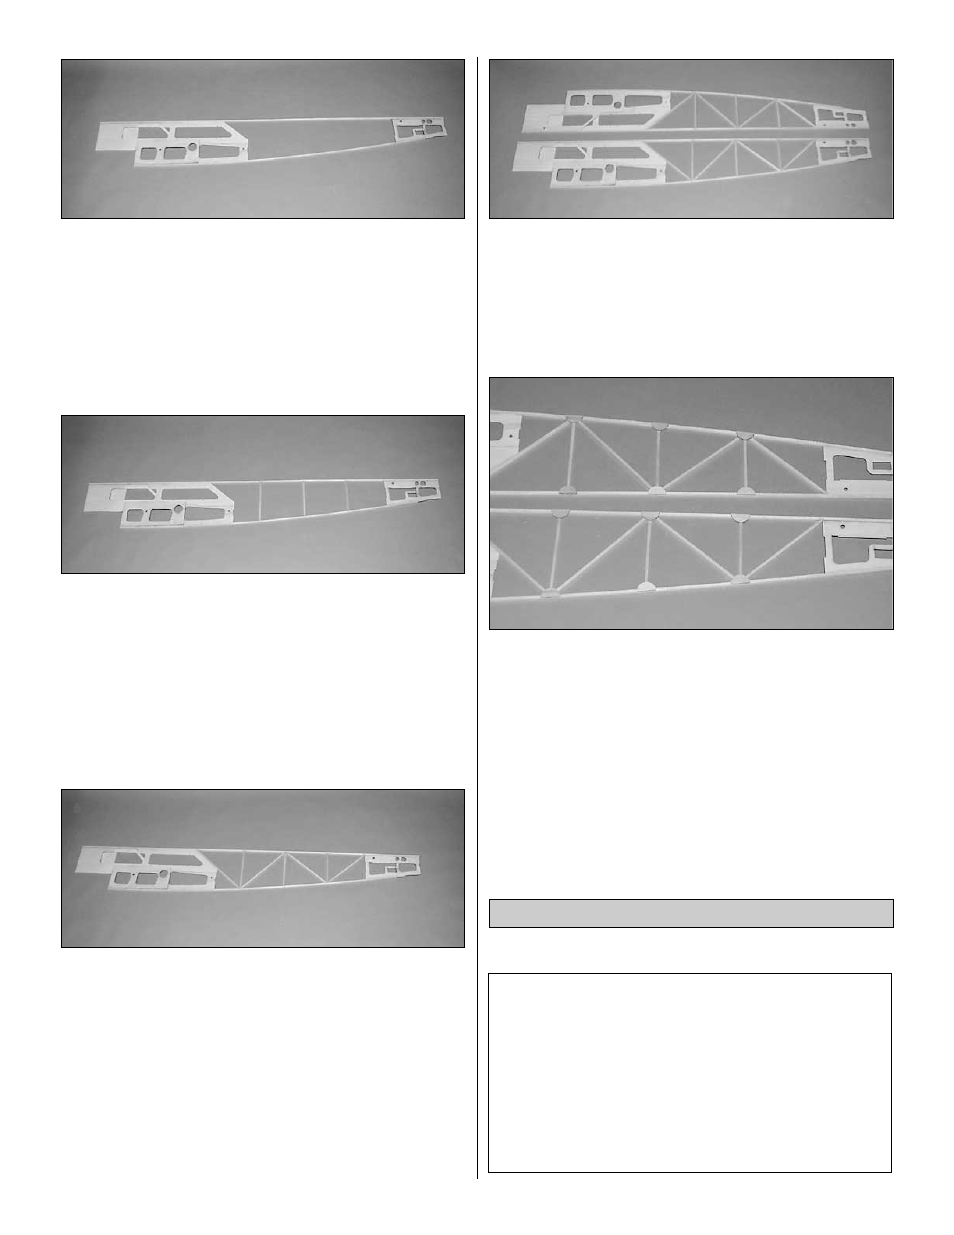
❏ ❏ 10. Using a 1/4" x 1/4" x 36" balsa stick, cut, fit and glue
the 3 fuse box vertical trusses. NOTE: It is critical that you
do not spread or pinch the longerons when you install the
trusses. You may wish to use T pins to support the outside
edges of the fuselage to be sure they don’t get pushed out
of position.
❏ ❏ 11. Using the remaining 1/4" x 1/4" balsa and an
additional 1/4" x 1/4" x 36" balsa stick, cut, fit and glue the
4 fuse box diagonal trusses, again being careful not to
deform or reposition the longerons.
❏ 12. Unpin the right fuse side from the plan. Flip it over so
the right inside is now against the work surface. Cover the
right fuse side with Great Planes Plan Protector.
❏ 13. Repeat steps 4 through 10, building the LEFT fuse
side as a mirror image on top of the RIGHT fuse side.
❏ 14. With the fuse sides laying mirrored as shown in the
photo above, gently sand the joints where the joint supports
will be installed. Then install the 12 die-cut 1/8" ply joint
supports (JS) over their locations on the plan. NOTE: Be
SURE you are putting the joint supports on the INSIDE of
the left and INSIDE of the right fuse sides.
DESIGNER’S NOTES: During this entire segment of
assembly the center box sides MUST be perpendicular to
the work surface. You should check that the sides remain
perpendicular to the work surface prior to gluing each and
every piece.
All formers are installed with the embossed part #s going
toward the front of the aircraft AND with the “top” label, if
applicable, toward the top of the aircraft.
Assemble the Fuselage Center Box
27